Command Prompt is a powerful command-line utility that is available in all the versions of Windows Operating systems. You can access the command prompt by typing cmd command in the Run command. Command prompt contains a list of commands to interact with the Operating system, Using command prompt it is very easy to troubleshoot many windows and network related problems, many network engineers still use command prompt to troubleshoot network-related issues. You can create batch file scripts and run using the command prompt. Using command prompt you can create lot of tricks, that will be useful in many ways. Like making bootable USB drive using command prompt, Add, delete, rename power plans, add or remove users, etc. Today in this article we are going to share another interesting trick. Hiding Drive or Partition, you can use Windows Disk Management Console or any third-party tools to Hide Drive or Partition, This article will guide you to Hide Drive using Command Prompt.
Hide Drive using Command Prompt:
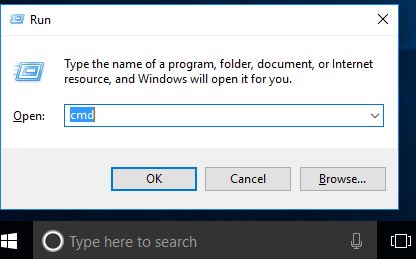
- Open Run Command by pressing Windows + R.
- Type Cmd and the open command prompt
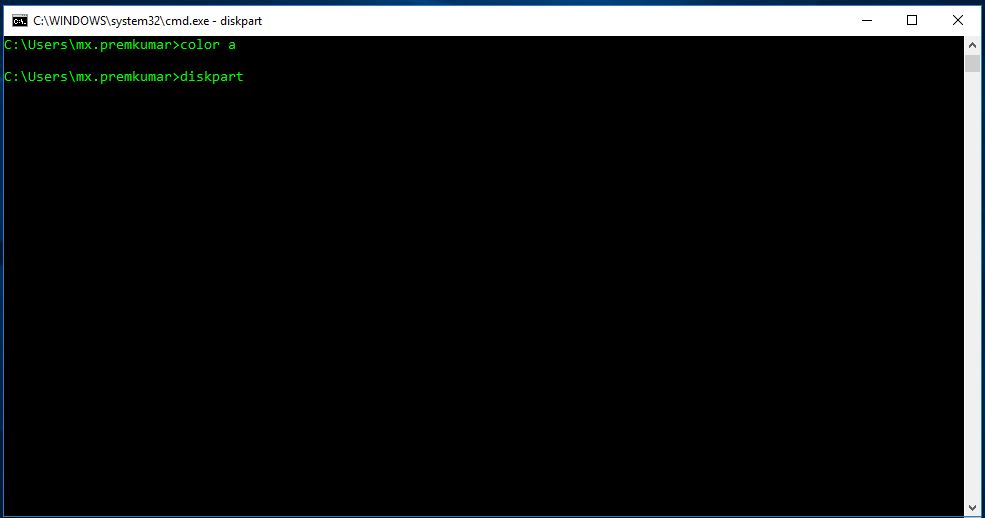
- Now type DISKPART and hit enter.
- It will open another cmd prompt named as Diskpart
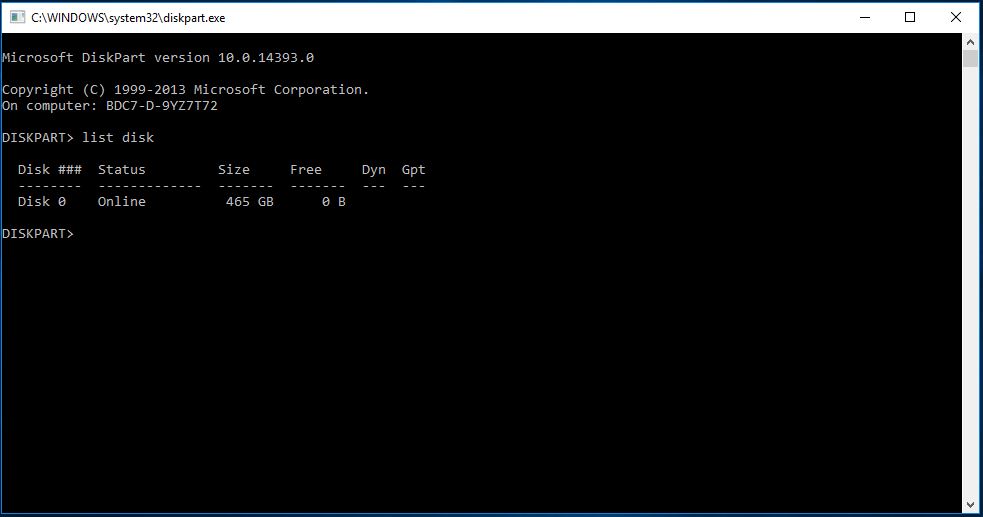
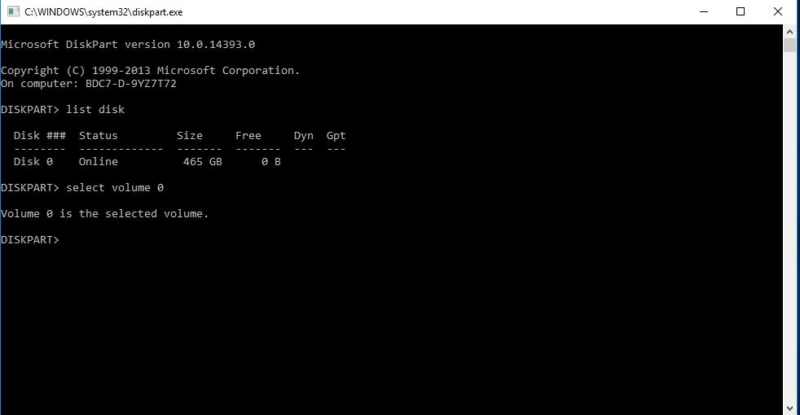
- Type list disk
- This will list out the Partitions and external Drives which is connected to the system.
- Type select disk Number
- Choose the Disk Number
- In my case select disk 0
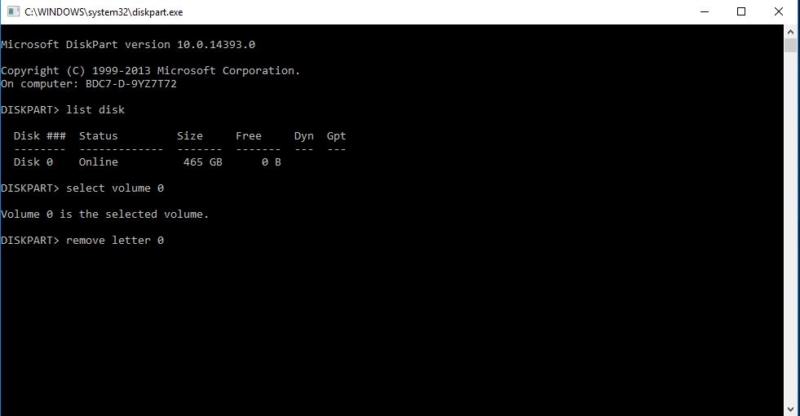
- Type Remove letter volume number or letter
- In my case remove letter 0
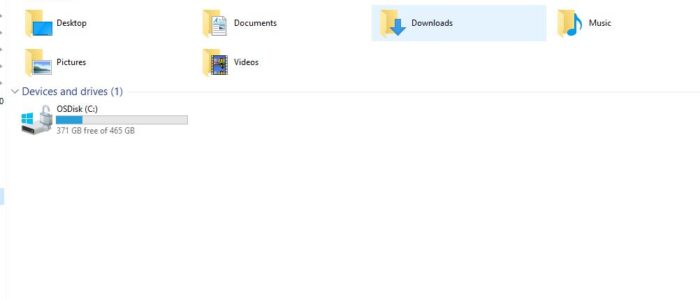
That’s it you have successfully Hide Drive using Command Prompt. Close the command prompt and check it.
Show Hidden drive using Command Prompt:
If you want to revert it back follow the steps until select disk then type the below-mentioned command Assign letter volume number or Letter Replace the Volume Number or Letter with your own Drive Letter or Number and hit enter, This command will assign the drive letter to that partition or drive and you can see the drive in the file explorer.

