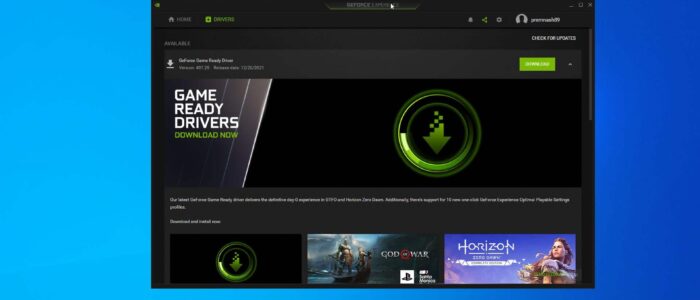
NVIDIA GeForce Experience is a software suite for Nvidia Graphics card, If you are an Nvidia Graphics card user then there is a strong chance that you use either the Nvidia Control panel or Nvidia GeForce Experience. Both software suites are the same, you can use these software to control and modify different graphics settings, to update the drivers and you can do the other performance tweaks. NVIDIA GeForce Experience is better than the Nvidia control panel, it has a lot of features like, you can tweak performance and configurations for games, automatic driver updates for your GPU, Nvidia shadowplay for live streaming, integrated game filters, and many more options. By default, you’ll get the following features in Nvidia GeForce Experience.
- Automatic game optimization
- Record and create automatic gameplay highlights using Nvidia ShadowPlay
- Broadcast gameplay live from GeForce Experience to Facebook, Twitch, and YouTube
- Capture and filter screenshots
- Update Nvidia GPU drivers automatically
- Stream games to Nvidia Shield devices
Sometimes this app won’t launch properly or it will get stuck, if you a facing any issue with the Nvidia GeForce Experience then this article will guide you to fix Unable to Open NVIDIA GeForce Experience in Windows 11/10.
Unable to Open NVIDIA GeForce Experience:
Recently few users reported that they are not able to open the GeForce Experience, and sometimes they faced an issue like the share feature option is not able to open. If you are facing a similar issue, then follow the recommended solutions.
Solution 1: Open NVIDIA GeForce Experience in elevated mode:
If you are unable to launch the GeForce in normal mode, try to open the app in elevated mode, right-click on the NVIDIA GeForce Experience and choose Run as Administrator.

If the app opened then modify app compatibility settings, right-click on the GeForce Experience and Choose properties, under the Compatibility tab check the Run this program as an administrator.

Click on Apply and OK. Now open the Program and check it’s launching or not.
Solution 2: Check the GeForce Experience Service Stopped:
Open Run command by pressing Windows + R and type services.msc and hit enter, this command will open the Service Management Console.
Now look for the NVIDIA GeForce Experience Service and make sure the service is running. If not just start the service.
Find the “Nvidia Telemetry Container” service, right-click on it and choose Start the service.

Or choose the Properties and change the startup type from manual to automatic.
Once the steps are done, just re-open the program and check its opening or not.
Solution 3: Reinstall GeForce Experience:
Open Run command by pressing Windows + R and type appwiz.cpl, this command will open the Programs and features.
Find “Nvidia GeForce Experience” program and choose Uninstall. Complete the Uninstallation.

Once the uninstallation is done, go to the official NVIDIA website and download the installer again. And install it on your system.
After the installation, just open the program, mostly this will fix the issue.
Solution 4: Update the Graphics Driver:
Sometimes you’ll receive this kind of error if there is any issue with the Graphics card driver, so reinstall the NVIDIA graphics card driver.
Open Device Manager and look for the Display adapters, Expand it and right-click on the Nvidia GeForce card, and choose Uninstall.

Complete the uninstallation by following the uninstallation wizard. Once the uninstallation is completed, restart your system once.
Now go to the official Nvidia site and download the suitable drivers for your Graphics card and install it. Mostly this will fix the issue.
Solution 5: Disable the Antivirus:
If you are using any third-party antivirus, Disable it once and check, follow the instructions as per your antivirus guidelines. If you are using windows 10 default built-in Windows Defender Antivirus. Then follow the below-mentioned steps to disable the Real-time protection.
Open Start and search for Windows Security and Click on Windows Security. From the Left-hand side click on Virus & threat protection.
Under Virus & threat protection settings from the right-hand side click on the Manage settings.
Turn Off the Real-time Protection toggle switch to disable Windows Defender temporarily.
Related: Stuck on Preparing to Launch in Steam on Windows 10