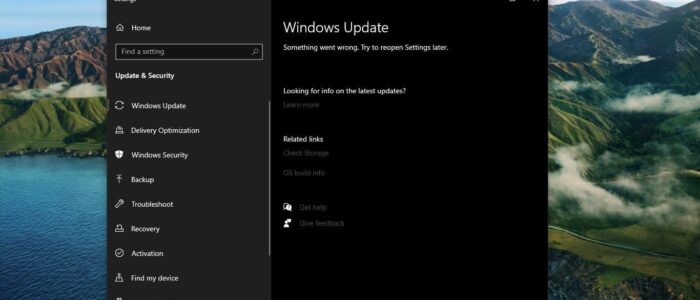
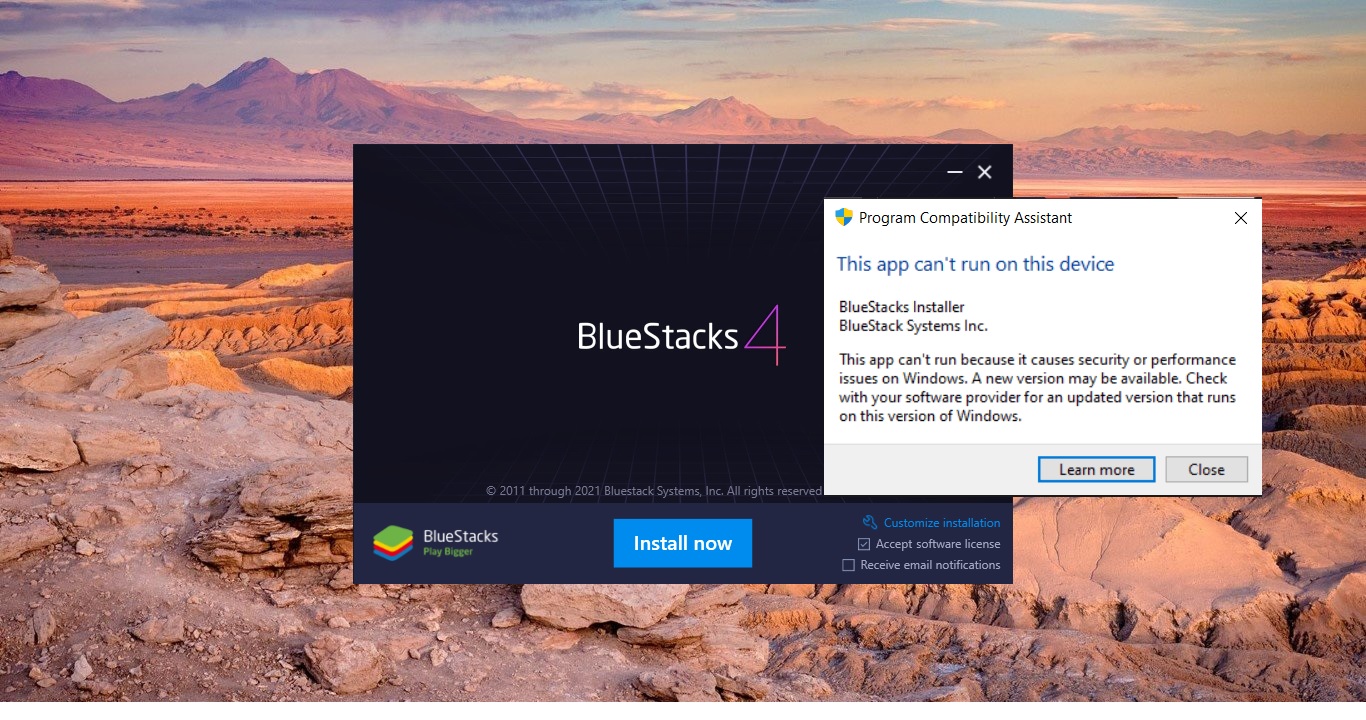
Windows 10 Mostly install updates automatically, but sometimes some of the feature updates will cause an update error due to several reasons. Then it requires manual intervention, we need to install the update manually. If you try to install any feature update on your Windows 10 devices and end up with the following error, then this article will guide you to fix this error 0xc19001e1.
Once you encounter this error, you will receive one of the following error codes.
“Feature update to Windows 10, version 1909. Last failed install attempt on -0xc19001e1”
“The error code 0xc19001E1 is described as MOSETUP_E_PROCESS_SUSPENDED”
Once you receive these error, you try our recommended solutions below one by one, but not in the particular order to fix this issue.
Fix Windows Update failed to install, Error 0xc19001e:
Check Windows Update Service
Disable Antivirus Software
Remove External Hardware
Run Disk Cleanup
Run Pre-Validation upgrade check before installing the feature update.
Use Media Creation Tool to Upgrade
Let’s see the topics in detail.
Check Windows Update Service:
Once you encounter this error, the first thing you need to check the Windows update service is running or not.
Open run command by pressing Windows + R and type Services.msc and hit enter. This command will open the service management console.
Now look for the following Windows services is running or not.
- Windows Installer
- Windows Update
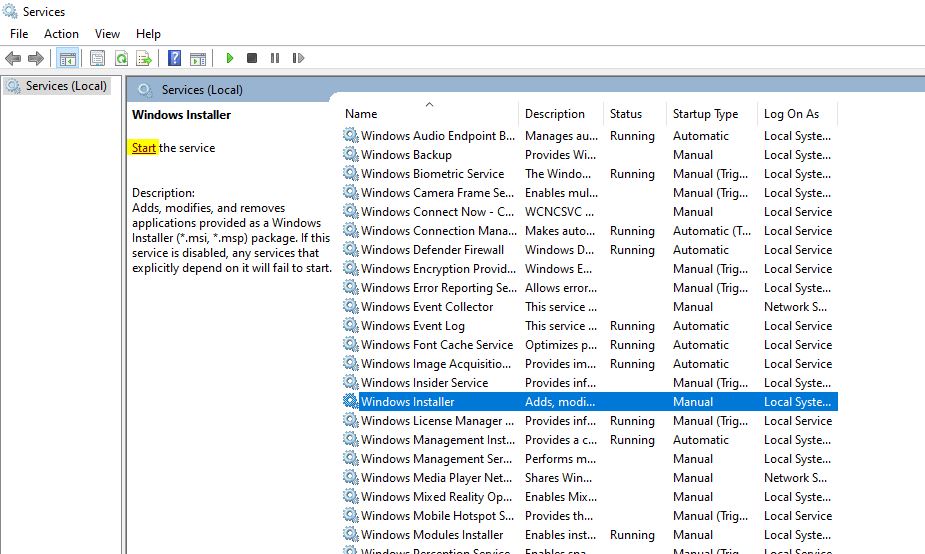
If the services are not running, then you can click on the Service and Start it. Then try to install the feature update.
Disable Antivirus Software:
If you are using any antivirus, disable it once and check, follow the instructions as per your antivirus guidelines. If you are using windows 10 default built-in Windows Defender Antivirus. Then follow the below-mentioned steps to disable the Real-time protection.
Open Start and search for Windows Security and Click on Windows Security.
From the Left-hand side click on Virus & threat protection.
Under Virus & threat protection settings from the right-hand side click on the Manage settings. Turn Off the Real-time Protection toggle switch to disable Windows Defender temporarily.
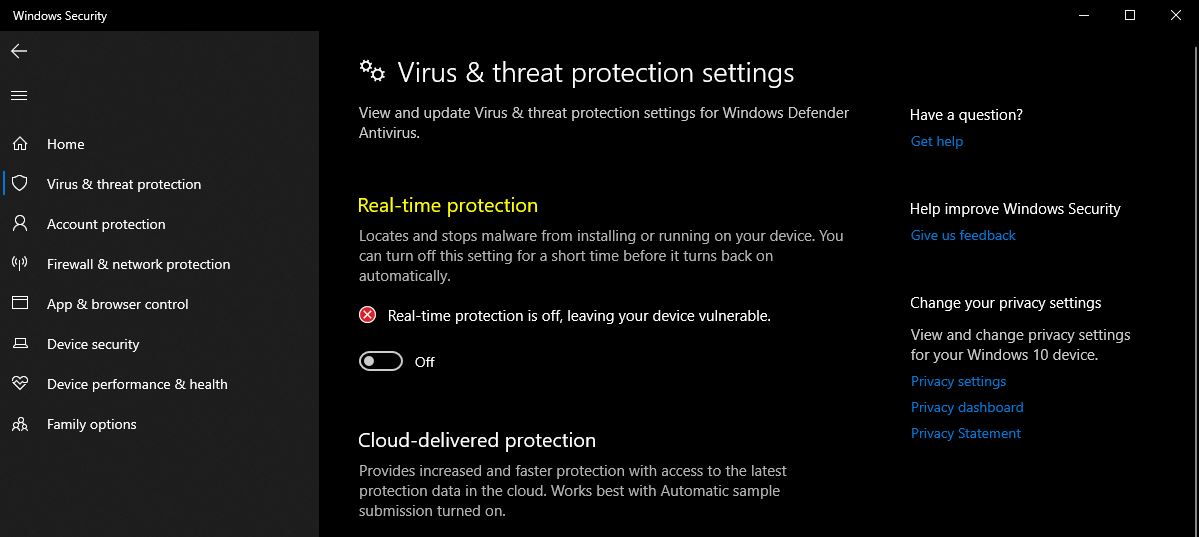
If you are using any third-party antivirus then you can stop the antivirus service. This will disable the antivirus.
Remove External Hardware:
If you are using any external peripherals like printers, scanners, or any plug-and-play devices, during the windows update, then you will receive this error. To fix this error, remove all non-essential peripherals and then try to update.
Run Disk Cleanup:
Disk Cleanup is a windows utility that allows users to remove files that are no longer needed or that can be safely deleted.
Press Start button and search for Disk Cleanup.
Open Disk Cleanup and choose C drive.
Click on Clean up system files and choose system error memory dump files.
Click on Ok.
Run pre-validation upgrade check before installing the feature update:
Before Installing the feature update using setup.exe, you need to run the pre-upgrade validation check. Follow the below-mentioned steps.
Open Command Prompt in Elevated mode and then navigate to the Windows installation source path drive. That means where you mounted the ISO file.
And then run the following command.
SETUP.EXE /Auto Upgrade /Quiet /NoReboot /DynamicUpdate Disable /Compat ScanOnly
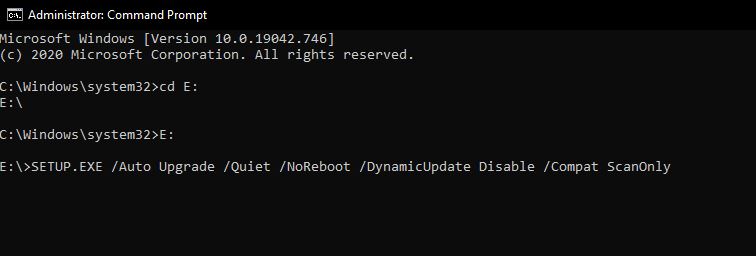
This command will make your system to download the latest compatibility information from the windows update and then run the check.
Use Media Creation Tool to Upgrade:
If the above-mentioned solutions doesn’t fix the issue, then you can use Windows Media creation tool or Windows update Assistant to update your windows.
Read Also:
How to Resolve Error Code 0x80070BC9 in Windows 11/10?
How to Re-register Windows Update Components in Windows 11/10?

