In computer networks, a proxy server is a server (a computer system or an application) that acts as an intermediary for requests from clients seeking resources from other servers. A client connects to the proxy server, requesting some service, such as a file, connection, web page, or other resources available from a different server and the proxy server evaluates the request as a way to simplify and control its complexity. Proxies were invented to add structure and encapsulation to distributed systems. Today, most proxies are web proxies, facilitating access to content on the World Wide Web, providing anonymity, and may be used to bypass IP address blocking. This article will guide you to setup auto and manual proxy in windows 10.
Setup Auto-Proxy in windows 10:
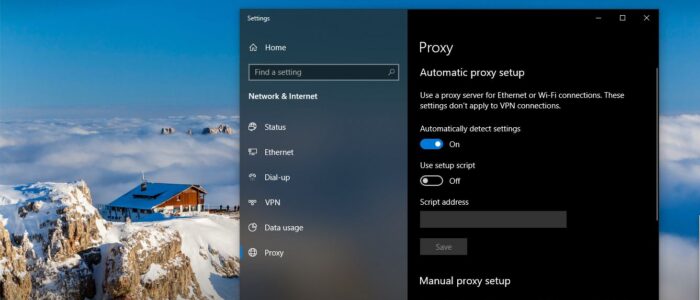
- Open Settings.
- Click Network & Internet.
- Click Proxy.
- In the Automatic Proxy Setup section, set the Use Setup Script switch to On.
- Enter the script address as it was given to you; then click Save.
- Close Settings.
Setup PROXY Manually in Windows 10:
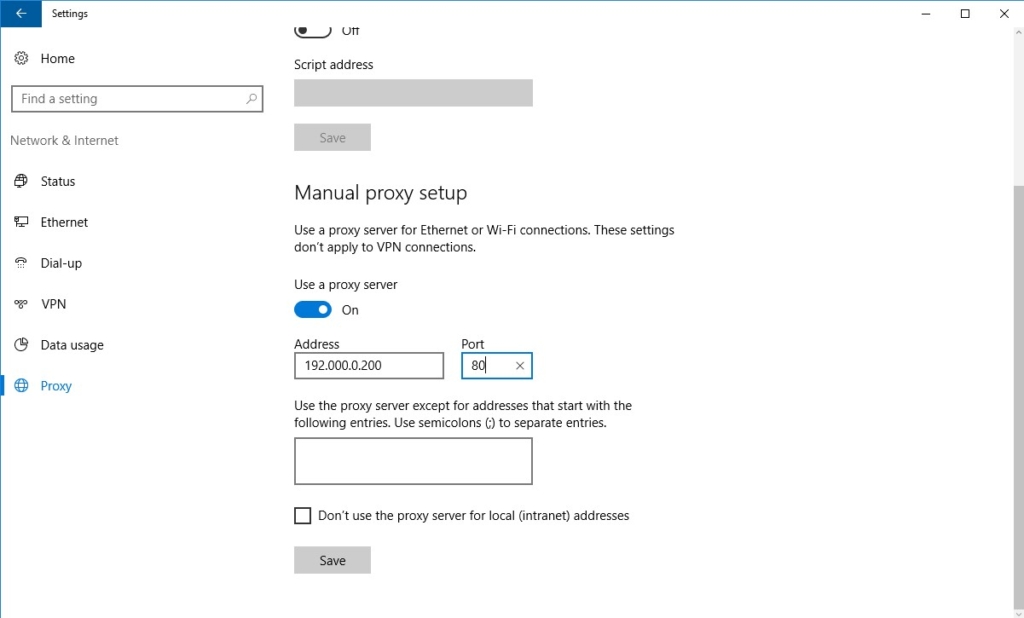
Another way to set a proxy is to manually enter its IP address and port number. The address of a proxy server is similar to that of any computer on the network, and it could be something like 192.000.0.200. The port can be any combination of up to four figures. It can be any combination of digits, including 80 or 8080, depending on how its administrator(s) set it. The IP address and port of your company’s proxy server are given to you by the network administrator or by the company’s IT department.
- Open Settings.
- Click Network & Internet.
The list of network- and Internet-related settings appears.
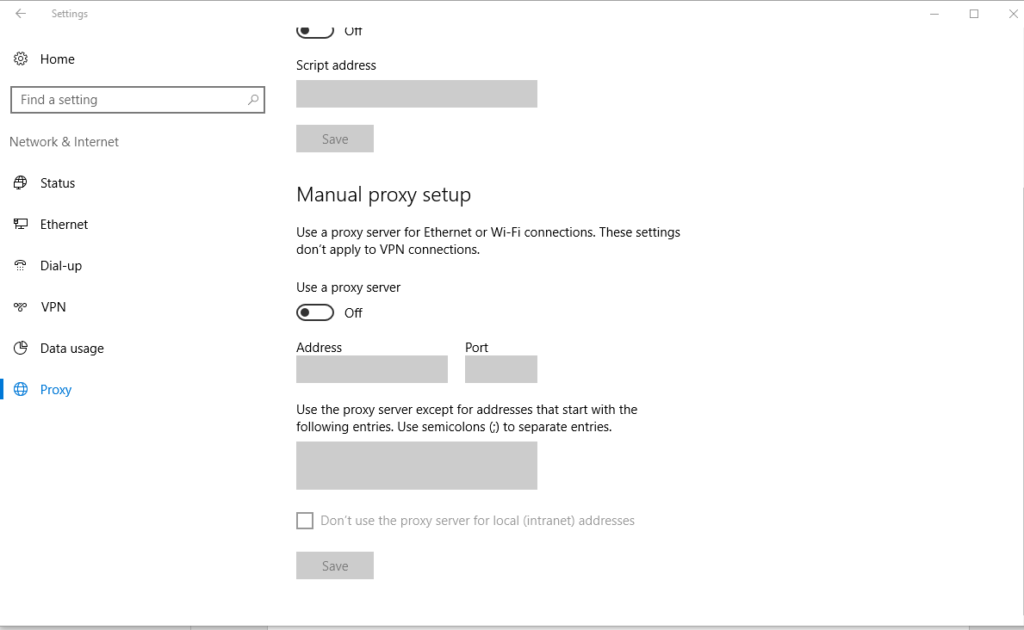
- Click Proxy.
- In the Manual Proxy Setup section, set the Use a Proxy Server switch to On.
- In the Address field, type the IP address.
- In the Port field, type the port.
- Click Save; then close the Settings window.

