There are two ways to assign the IP addresses to Systems, One is a Dynamic IP address and the other one is a static IP address, it is like an automatic and manual mode of assigning the IP address. Dynamic is like automatic and Static is like Manual mode. And one more difference is the Dynamic address can change frequently depends on the availability, But Static doesn’t change it is constant. Nowadays there are lot of devices connected to the internet like Phones, laptops, Desktops, switches Routers, etc. Assigning Static IP address to all the devices manually is not possible. That’s where the DHCP comes into Place, DHCP server assigns the IP address to all the systems automatically, SO if DHCP is that much helpful why we have to assign a static IP address. Mostly network engineers use this static IP address to troubleshoot the networking devices and connection. And also Using a Static IP address we can easily manage the home network. Like sharing files through the network from one computer to another. And to configure the printer through the network. This guide will help you to Assign Static IP Address in different methods. There are Four methods to assign static IP address
- Using Windows Setting
- Using control Panel
- Using Power shell
- Using Command Prompt
So Without wasting any time we will dig into these methods.
1. Using Windows Setting
- Click on the setting icon from the Start menu.
- Choose the Network and Internet tab.
- You can choose Wi-Fi current connection, the network which you connected with.
- Click on IP settings section and hit edit to change the IP address.
- Once the Edit IP setting pops up choose the manual and select the IP address version to IPv4
- Now you can set the IP address, Subnet mask, and Default gateway.
- Then Give Ok.
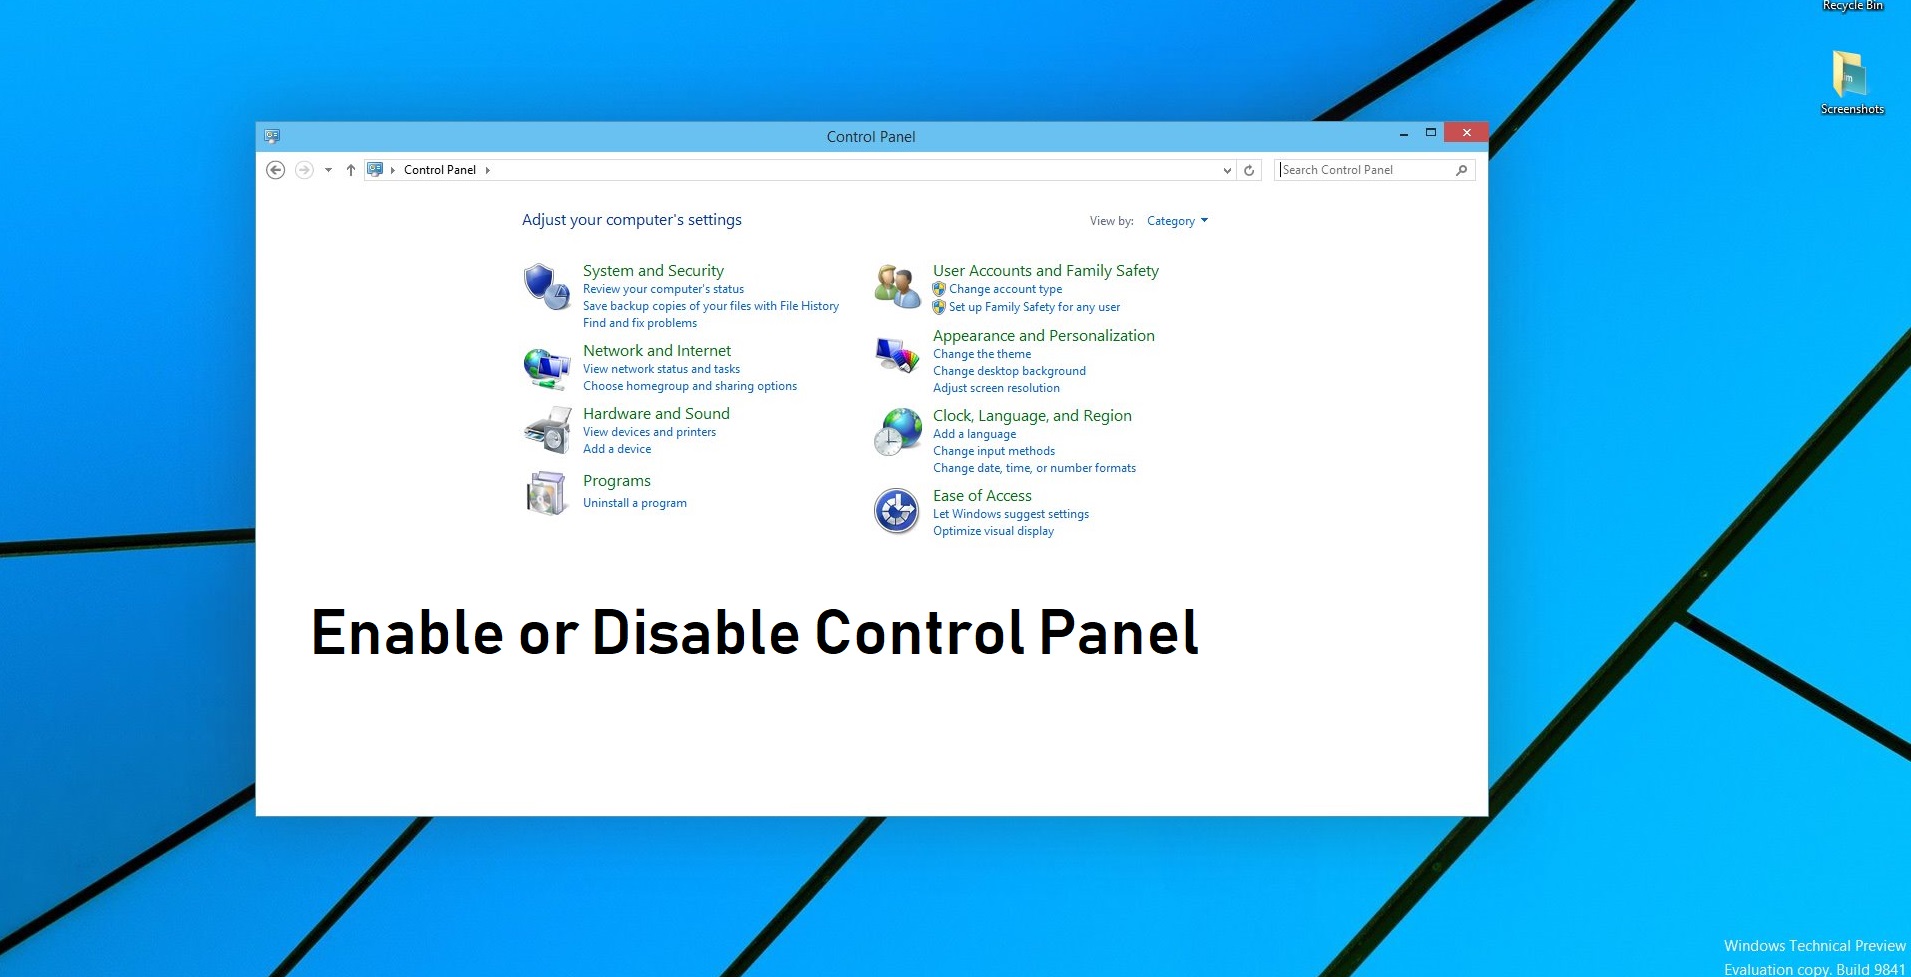
2. Using control Panel
- Open Run command by pressing Windows + R and type control, this will open the control panel.
- And search for network and Sharing Center and open it.

- From the left-hand side, you can see the change adapter setting, click on it from the separate panel you can see the available network connections

- Select Ethernet and right-click on Ethernet or Local area connection which is currently available.
- And choose properties now you will get the Ethernet properties
- Select Internet Protocol Version 4 and click on properties. Now you will get another Pop up window.
- In that, you can assign the IP address. Click on the use the following IP address.

- Give IP address, Subnet mask, Default Gateway.
- In section, you have to give DNS address, Find more about DNS address.
- And give OK.
3. Using Power shell
- Go to search and Open PowerShell as an admin mode.
- Now Type the following command in the PowerShell
Get-NetIPConfiguration
- This command will display the current network IP configuration. The below mentioned Four parameters are very important, to set a static IP address using PowerShell. Note down the values whatever you got from the Get-NetIPConfiguration
- InterfaceAlias
- InterfaceIndex
- IPv4Address
- IPv4DefaultGateway

InterfaceAlias: This cmdlet user to set the name of the network adapter for example currently Ethernet is the InterfaceAlias name and if you want to change that name type New-NetIPAddress –InterfaceAlias Ethernet 2 And hit enter.
InterfaceIndex: As per Cisco an interface index Number is the unique identifying number for a Physical or logical network device.
IPv4Address: I think everyone knows what is IPv4 address, Type what static IP address you need to set.
IPv4DefaultGateway: Type the default Gateway address
DNSServer: Then the final to set is DNS server IP.
- Now type the below-mentioned command to set the static IP.
C:\Windows\system32> New-NetIPAddress -InterfaceAlias Ethernet3 -IPAddress 192.168.11.24 -PrefixLength 14 -DefaultGateway 192.168.11.2
- We have set the IPv4 Network IP address but we can’t set the DNS address using above mentioned address, Type the following command to set the DNS server address.
PS C:\Windows\system32> Set-DnsClientServerAddress -InterfaceIndex 4 -ServerAddresses 1.1.1.1

4. Using Command prompt
Last but not least. The command prompt is an old but golden tool to do a lot of useful stuff, so this post concern changing the Static IP address.
- Open command Prompt as Run as admin.
- Type Netsh and hit enter
- Then type interface ip show config
- This command will show the current network IP Configuration.
- Now set the IP address using the following command
Interface ip set address name=”Local Area Connection” static 192.168.11.24 255.255.255.0 192.168.11.2

- And to set the Dns server address type the following command.
Interface ip set dns “Local Area Connection” static 1.1.1.1

Try these methods and comment below if you got any doubt.