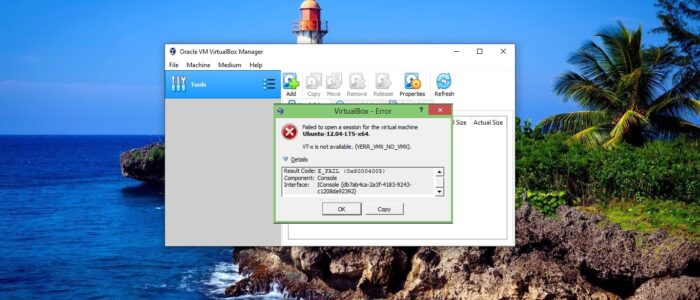
Oracle VM VirtualBox is a free and open-source hypervisor for x86 virtualization, VirtualBox helps users to create and run multiple VMs (Virtual Machines). VirtualBox supports Windows, Linux, or macOS as its host OS. Installing and configuring VirtualBox is easy and when configuring VirtualBox users can specify the CPU Cores, RAM, and Disk Space to the VM. Recently few users reported that they are not able to create or open VM in VirtualBox on their Windows 10 Computer. And while opening VM using VirtualBox, they encounter an error like “VT-x is not available (VERR_VMX_NO_VMX)”. If you are facing the same issue then, this article will guide you to fix VT-x is not available in VirtualBox.
Fix VT-x is not available in VirtualBox:
In general, VT-x is not available error is caused by various reasons. And this article will list out the cause for this issue and the possible resolution methods to fix this issue.
The error clearly indicated that VT-x is not available, so the VT-x is not enabled in the BIOS settings. Before that make sure your CPU support vt-x.
Check VT Virtualization technology is enabled in BIOS settings.
Turn off the Hyper-V using Command Prompt:
Open Command Prompt in elevated mode and type the following command and hit enter.
bcdedit /set hypervisorlaunchtype off
Once the Command executes successfully, restart your PC once and check for the issue.
Disable the Core Isolation feature in Windows Defender:
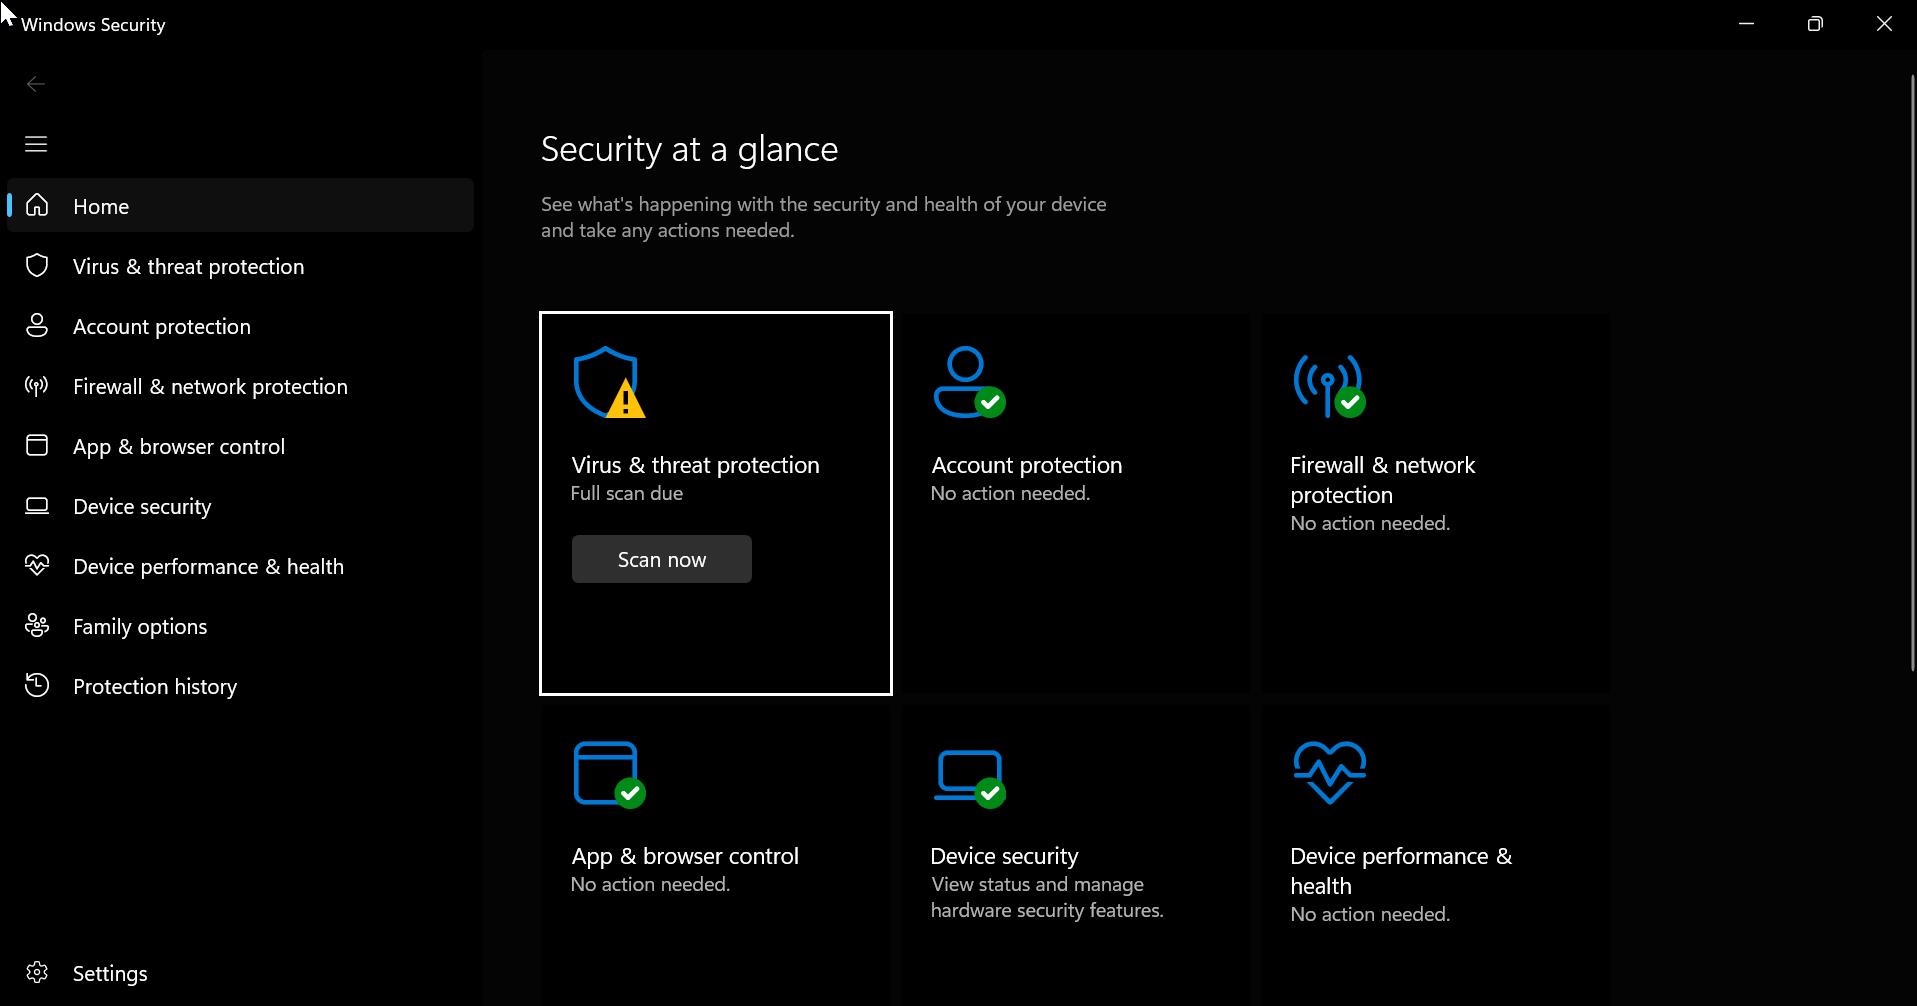
Search for “Windows Security” in the search box and click it to open.
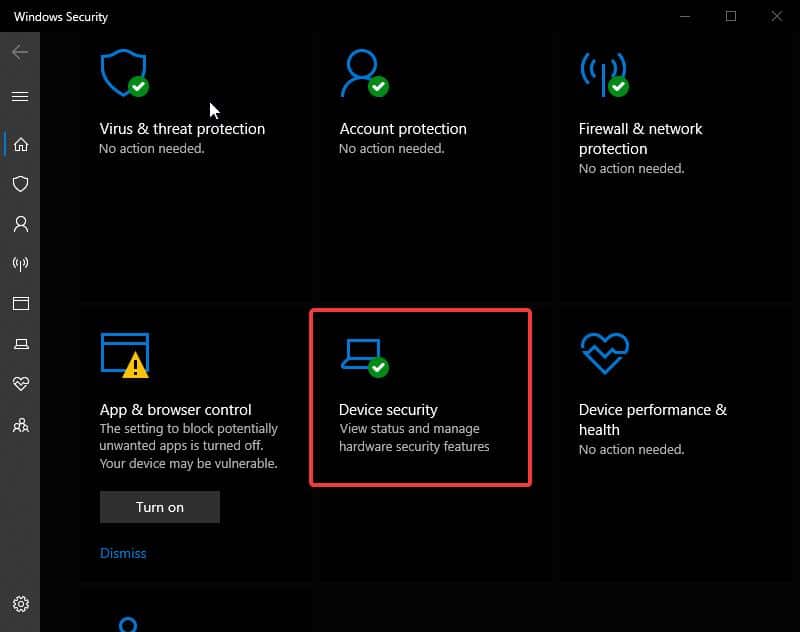
Once you open Windows security click on the “Device Security”.
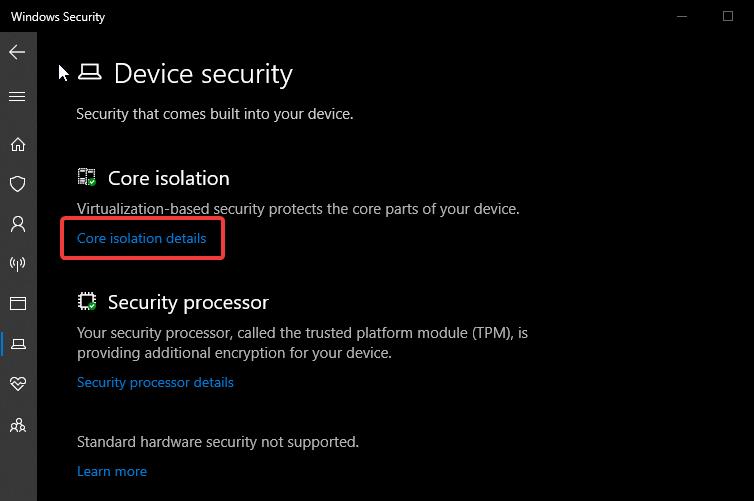
Next under Device Security, look for Core isolation and click on the Core isolation details.
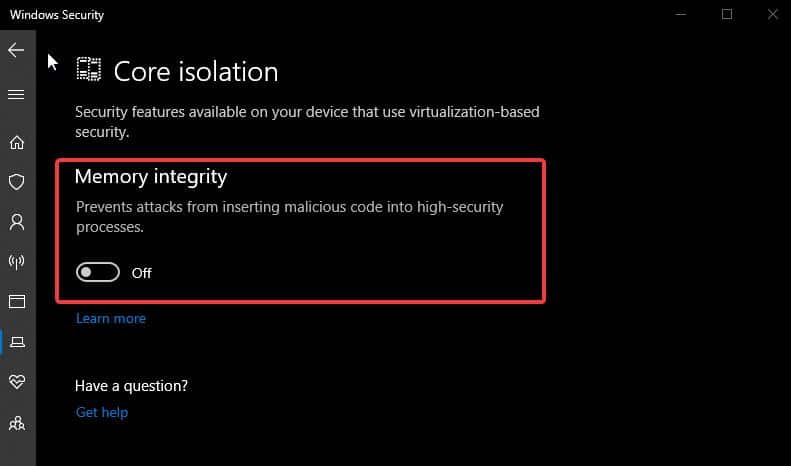
Then Under Core isolation details, make sure the Memory integrity is turned off, if it is in on state, then turn off the toggle button.
Next close the windows defender and restart the system once, after the restart check you are able to access the VM in VirtualBox.
Enable Hardware Virtualization:
Note: The Virtualization Option is differ from one system to another. Kindly check your motherboard manufacturer guide to enable this option.
- Restart the computer.
- Go to BIOS -> Advance setting
- Select the VTx & VTd
- Now restart the machine
- Now launch VMware, it will work.
Uninstall Hyper-V:
Open Run command by pressing Windows + R and type optionalfeatures and hit enter. This will open Turn Windows features on or off.
Now you need to search for Hyper-V and uncheck the Hyper-V Checkbox and click on OK.
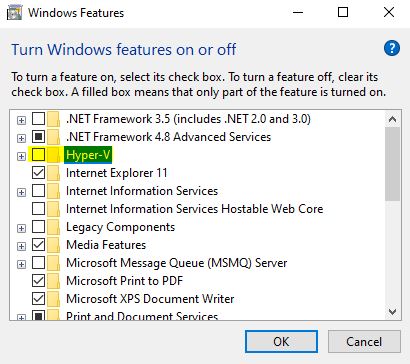
This will remove the Hyper-V Windows feature from your Computer. Now restart your PC once and check you are able to access the VM in VirtualBox.

