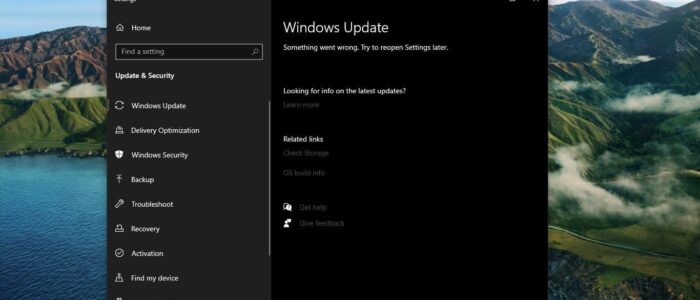
Windows updates are very important and mandatory to keep our systems secure and bug-free in Windows operating system. Windows update service automatically downloads and install all the necessary updates based on your Windows update channel. Windows users with active Windows licenses are entitled to receive Windows updates and regular patches, these updates are critical to removing potential security holes, installing new features, and addressing the current issues or bugs. While updating your Windows sometimes you may receive the following error code 0x80070BC9. You’ll receive the following full error message, this article will guide you to Resolve Error Code 0x80070BC9 in Windows 11/10.
0x80070BC9 – ERROR_FAIL_REBOOT_REQUIRED. The requested operation failed. A system reboot is required to roll back changes made.
What Cause Windows update error code 0x80070BC9?
This issue mostly caused by newly installed problematic software, and corrupted Windows Update Components, such as the Windows Update service, BITS service, and Windows update database, can cause this kind of error. If any policy restricting the Start behavior of the Windows Module Installer service then you need to contact your IT team to check.
This issue also occurs due to slow internet or unstable internet connection, Antivirus software interference, and insufficient storage space.
Resolve Error Code 0x80070BC9 in Windows 11/10:
Follow the below-mentioned resolution steps to resolve Error code 0x80070BC9, before proceeding make sure your Windows device is connected to a stable internet, and restart your system once to complete the Windows update installation.
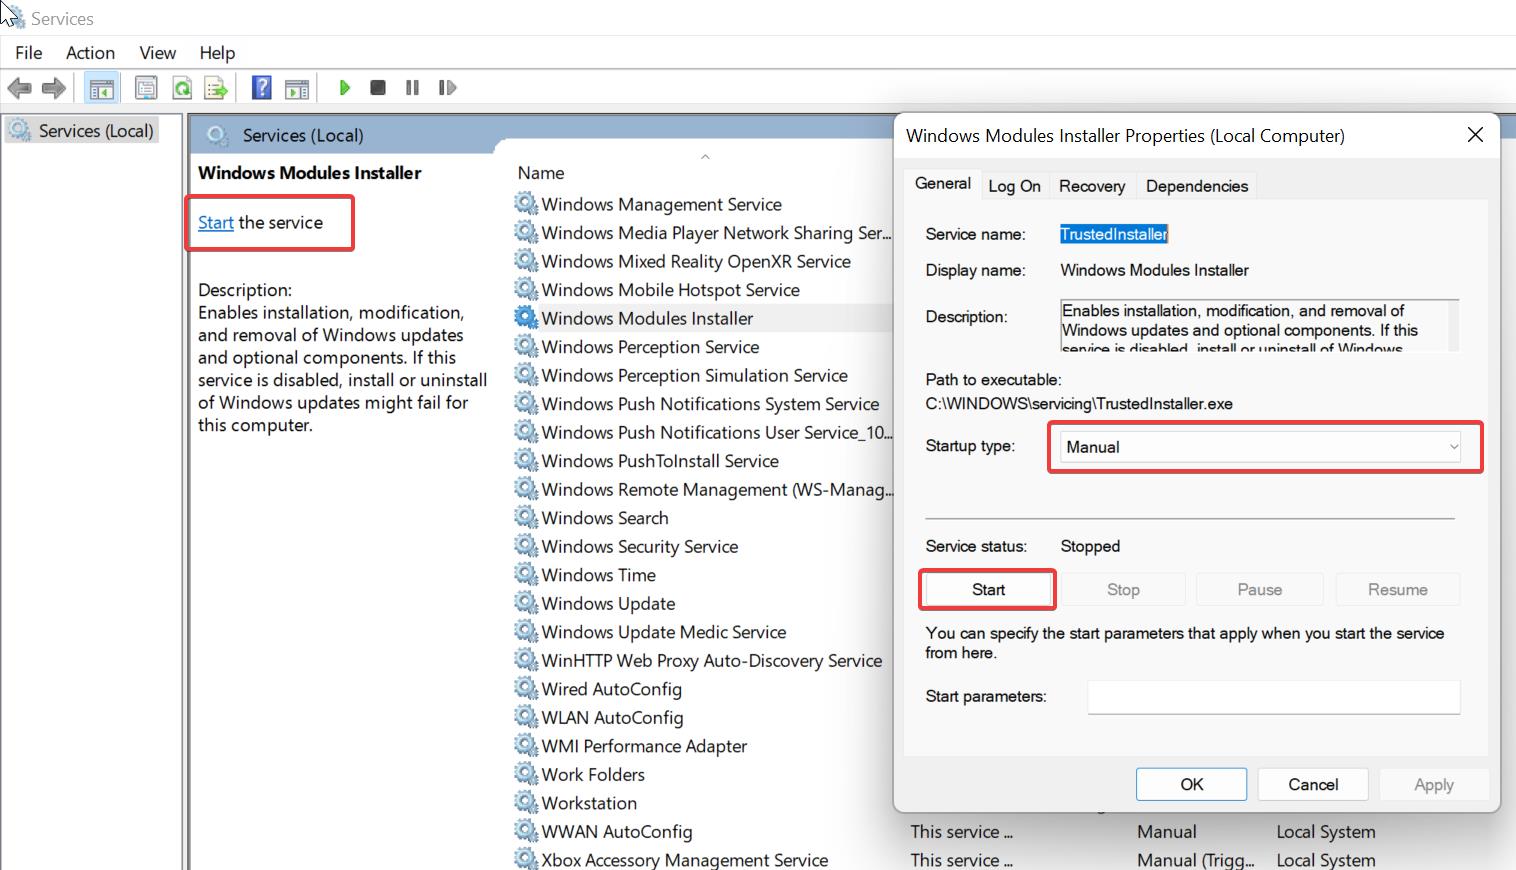
Solution 1: Check Windows Modules Installer Worker Service status
Open Run command by pressing Windows + R and type services.msc and hit enter, this command will open the Service Management Console.
Look for the Windows Modules Installer service, right-click on it and choose Properties.
Set the Startup type to Manual and Start the service.
Solution 2: Run Windows Update Troubleshooter
Windows update troubleshooter is one of the best tools which is included in Windows 10/11 that may be able to help windows update related issues. And also, it is the easiest method. This troubleshooter is built-in by default in Windows 10/11.
Open Windows Settings by pressing Windows + I and from the left-hand side click on Update & Security and from the right-hand side click on Troubleshoot.
Under Troubleshoot look for Windows Update Troubleshooter and run it.
Restart the system and check if it resolves this error.
Solution 3: Clear Disk Space:
Make sure you have free disk space, if you are system has very low Disk space then you can increase the Disk space using Storage sense. Disk space is one of the main reasons, that cause this Windows update error.
Solution 4: Check Windows Update Service
Windows Update Service that’s used to provide windows updates like service packs and patches for the Windows operating system. Once you received this error check windows update services are running.
Open Run command by pressing Windows + R and type services.msc and hit enter to open service management console.
Look for the below-mentioned services that are running fine.
- Windows Installer
- Windows Update
Set the Startup type to Automatic and make sure its status is Running. If it is Stopped, click Start to enable it.
Click on Apply and OK.
Restart the system once and check if you can update your Windows.
Solution 5: Rename Software Distribution Folder
Restart the system and boot up in Safe Mode with Networking. To boot through safe mode: Lock the system, press CTRL+ALT+DEL key, right side bottom of the screen, “Power” icon is visible, If you click on Power icon, you will get an option “Restart”, hold the shift key on your keyboard and restart the machine. You will get an option to boot the system “Safe Mode with Networking”, login to the system, and open the command prompt as “Run as Administrator”.
Type: net stop wuauserv and Enter.
Type: net stop cryptsvc and Enter.
Open C:\Windows and find the SoftwareDistribution folder and rename the folder to “SoftwareDistribution.old”.
Go back to the command prompt and type: net start wuauserv and Enter Type: net start cryptsvc and Enter.
Restart your system.
Solution 6: Download and install the Update Manually
Download the specific update from the Windows Update Catalog, Microsoft offers a service called Windows update catalog that provides a comprehensive listing of updates for Windows operating systems. It allows users to search and download individual updates for their Windows systems, including security patches and hotfixes, rather than relying on the automatic update feature built into the operating system.
Go to the Windows Update Catalog website and enter the specific KB number, download the update manually, and get it install.
Read Also:
How to fix windows update error 0x800f0831?
How to fix Windows Update Error 80072EFE on Windows 10?
Fix Windows Update failed to install, Error 0xc19001e1
How to Resolve the Windows Update 80072EE2 Error?

