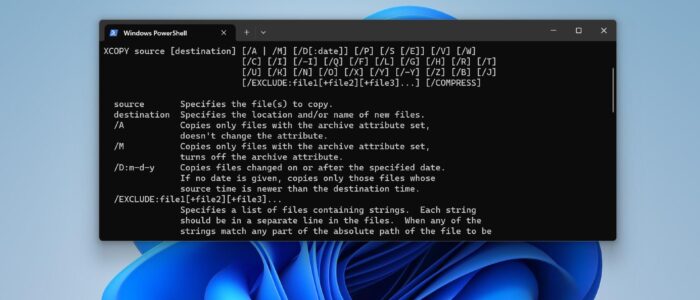
XCOPY is a command-line tool built into the Windows operating system that is used for copying files and directories from one location to another. It is similar to the ‘copy’ command by has more advanced features, such as the ability to copy files selectively based on various criteria, such as date, time, file size, and file attributes. Using Xcopy you can copy multiple files or entire directories, including subdirectories from one place to another in Windows. Also, you can use this command to copy large amounts of data from one computer to another computer over a network. It can preserve file attributes such as timestamps, file permissions, and file ownership during the copy process.
XCOPY supports various options and switches, allowing users to customize the copy operation according to their requirements. For example, you can use the /S switch to copy all subdirectories, or the /E switch to copy all subdirectories and empty directories. The /Y switch can be used to suppress confirmation prompts when overwriting existing files, and the /V switch can be used to verify each file after it is copied.
XCOPY is a powerful and versatile tool for copying files and directories in Windows, and it can be very useful for automating backup and synchronization tasks, this article will guide you to use Xcopy in Windows 11/10.
How to use Xcopy in Windows 11/10?
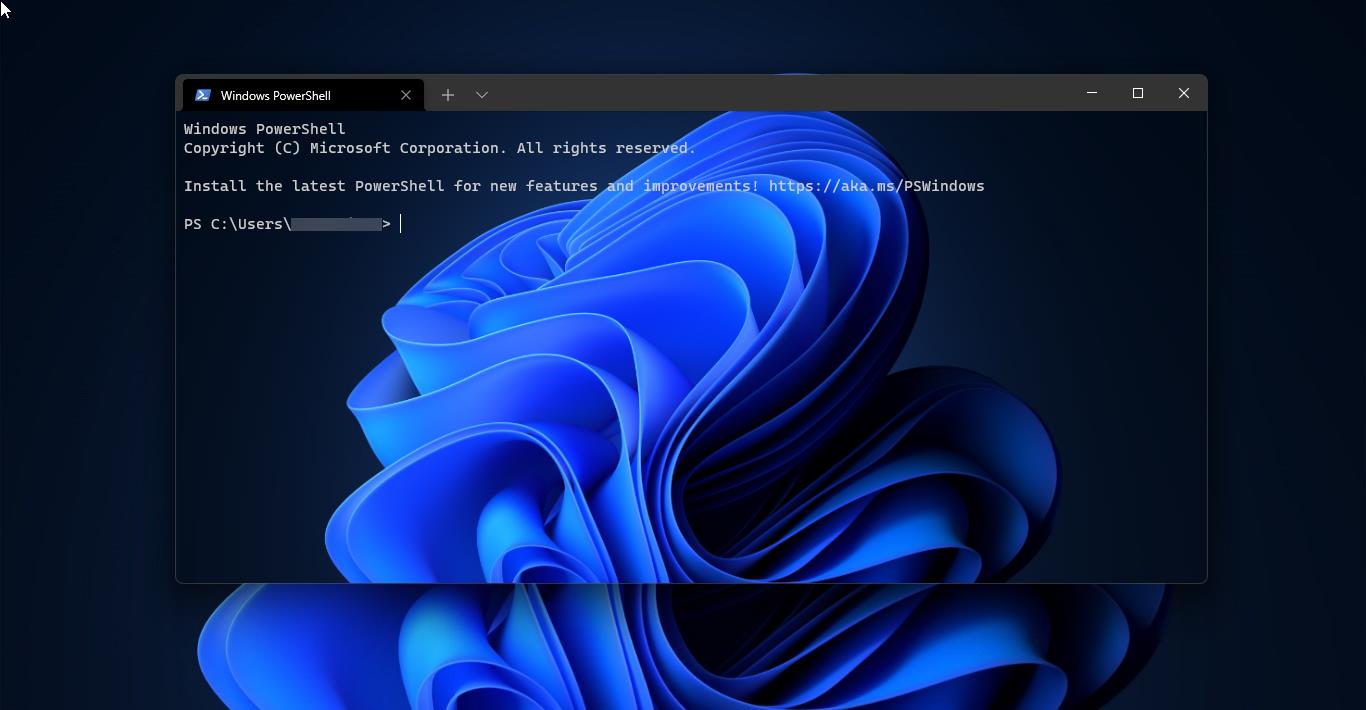
You can use the Xcopy command in Powershell or the command prompt. For convenience, I am using Windows terminal to show some examples.
The Basic Syntax of Xcopy command is:
xcopy source [destination] [/options]This command copies all the files and subdirectories from source to destination. If you are copying a file from one location to another location, just mention the source file path with the file name and the destination path where the file you want to copy.
For example:
xcopy 'C:\OutPut\AZ-400_StudyGuide_ENU_FY23Q1.0.pdf' C:\Books /EThis command copies the pdf file from the OutPut folder to the Books folder.

Copy files and directories, including subdirectories:
xcopy 'C:\OutPut’ C:\Books /EThis command copies all the files and directories from C:\OutPut to C:\Books, including any subdirectories.
Copy hidden files:
xcopy 'C:\OutPut’ C:\Books /HThis command copies all files from C:\OutPut to C:\Books, including hidden files.
Continue copying even if an error occurs:
xcopy 'C:\OutPut’ C:\Books /CThis command copies all files from C:\OutPut to C:\Books, and if an error occurs, it continues copying.
If you want to copy a source folder to a destination directory that doesn’t exist, use the following command.
xcopy 'C:\OutPut’ C:\Books /IThis command copies all files from C:\OutPut to C:\Books, and if the destination directory doesn’t exist, it creates it.
Prompt before overwriting files:
xcopy 'C:\OutPut’ C:\Books /PThis command prompts you before overwriting any files in the destination directory.
Exclude certain files or directories:
xcopy 'C:\OutPut’ C:\Books /EXCLUDE:file_list.txtThis command copies all files from C:\OutPut to C:\Books but excludes any files or directories listed in file_list.txt.
These are just a few important examples of xcopy, there are many xcopy commands available. For more information and a full list of options, you can type xcopy /? in the Command Prompt.
Read Also:
How to Scan for Virus using Command prompt in Windows 11?
How to install FFmpeg using Command Prompt in Windows 11/10?

