In Outlook, If Skype for meeting add-ins has not appeared, then follow the below-mentioned methods to enable this option. The Skype meeting add-in option is located in the calendar field. This article will guide you to Add or Remove Skype meeting add-ins in Outlook.
Method 1: Removing the Skype meeting add-ins option:


Close Outlook 2013 if open, then navigate to C:\Program Files (x86)\Microsoft Office\Office15 and find OUTLOOK Right-click OUTLOOK and select “Run as administrator” from the drop-down menu When Outlook 2013 opens click the FILE tab in the top-left corner.
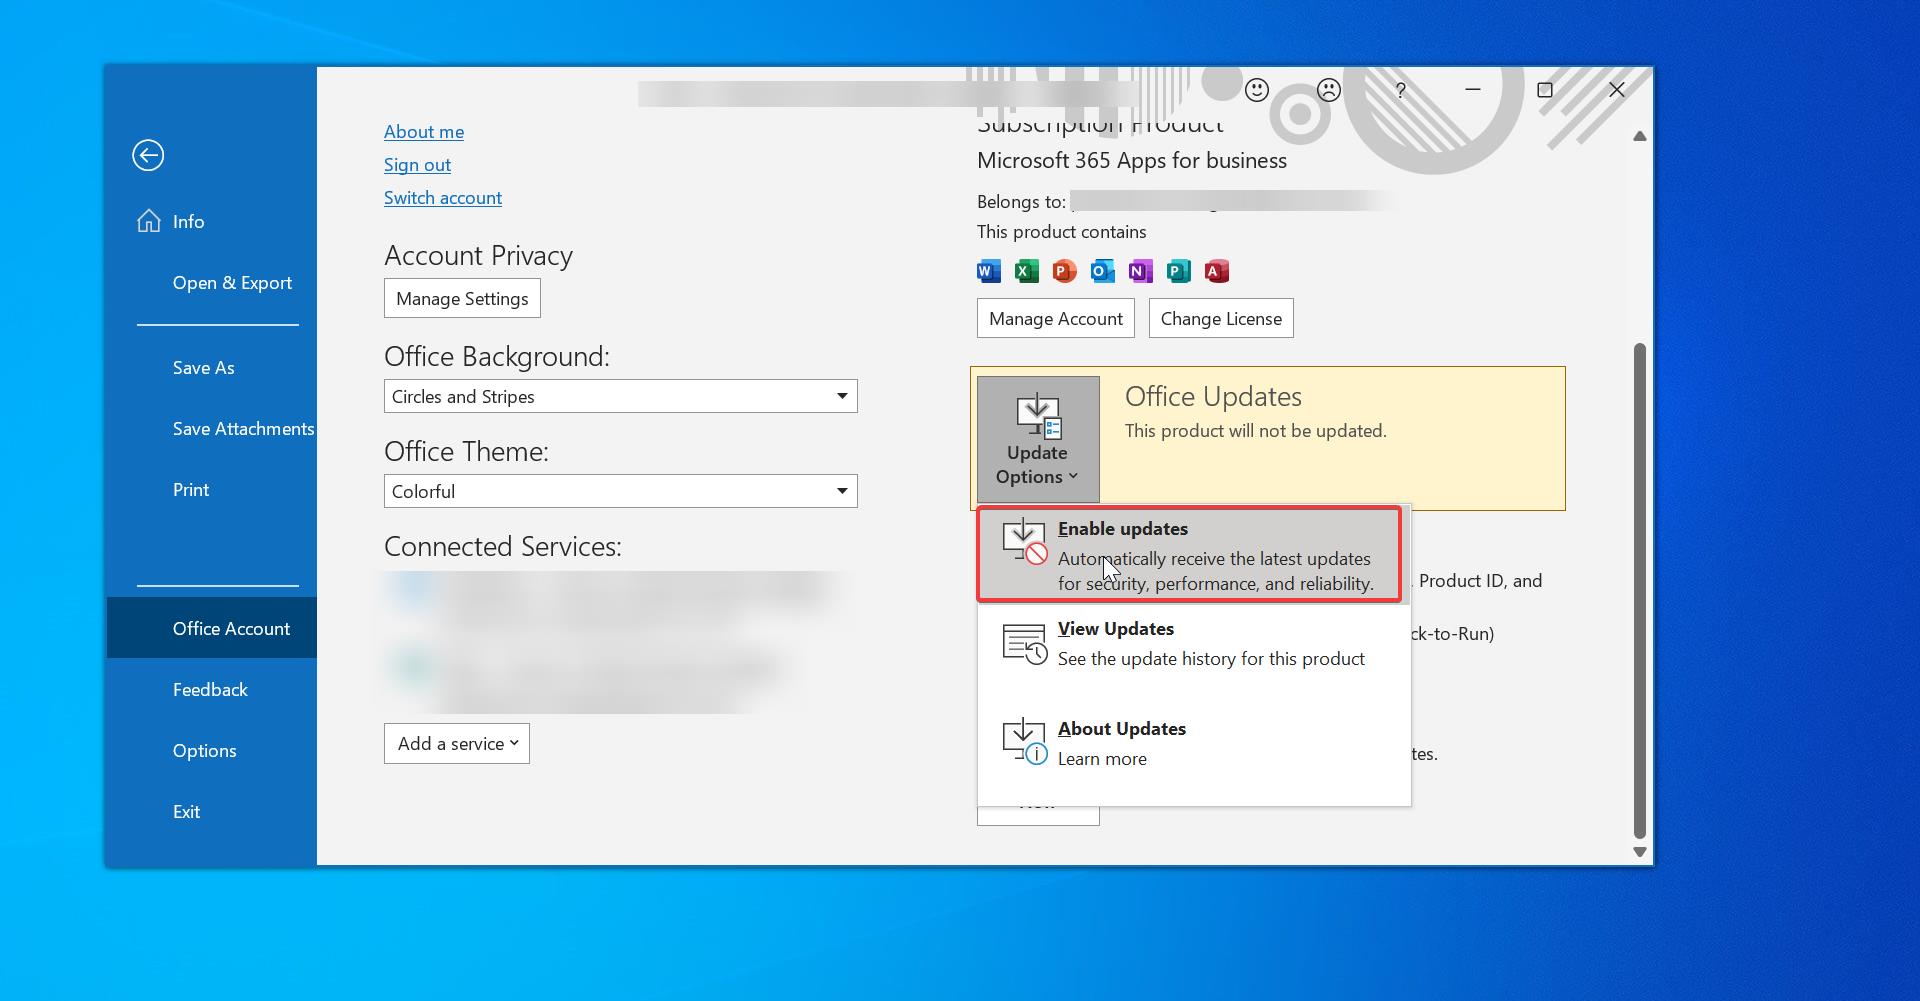
Click on Options menu Click Add-Ins.
Near the bottom of the Add-Ins menu select “COM Add-ins” and click “Go…” Confirm that the “Skype Meeting Add-in” is showing up in Active or Inactive Application Add-ins.
If they are not, follow the directions at the bottom of the page to get it into those lists. Select “Skype Meeting Add-in” and click “Remove”.
Add the skype meeting option:


Click “Add…”. Navigate to C:\Program Files (x86)\Microsoft Office\Office15 and double-clickUCAddin.dll. You will see that “Lync Meeting Scheduling Addin” appears in your list of Add-ins, and the load behavior should say “Load at Start.
Method 2: Registry Key to enable or disable add-ins
Important Follow the steps in this section carefully. Serious problems might occur if you modify the registry incorrectly. Before you modify it, back up the registry for restoration in case of problems occur.
Click Start, type Regedit in the Start Search box, and then click OK.
In Registry Editor, locate one of the following subkeys, as applicable to your installation of Microsoft Office:
For 32-bit Windows client with Office 32-bit (Click-to-Run installation) or 64-bit Windows client with Office 64-bit (Click-to-Run installation):
HKEY_LOCAL_MACHINE\SOFTWARE\Microsoft\Office\ClickToRun\Registry\Machine\Software\Microsoft\Office\Outlook\Addins\UcAddin.LyncAddin.1For 64-bit Windows client with Office 32-bit (Click-to-Run installation):
HKEY_LOCAL_MACHINE\SOFTWARE\Microsoft\Office\ClickToRun\Registry\Machine\Software\Wow6432Node\Microsoft\Office\Outlook\Addins\UcAddin.LyncAddin.1For 32-bit Windows client with Office 32-bit (MSI installation) or 64-bit Windows client with Office 64-bit (MSI installation):
HKEY_LOCAL_MACHINE\SOFTWARE\Microsoft\Office\Outlook\Addins\UcAddin.LyncAddin.1For 64-bit Windows client with Office 32-bit (MSI installation):
HKEY_LOCAL_MACHINE\SOFTWARE\Wow6432Node\Microsoft\Office\Outlook\Addins\UcAddin.LyncAddin.1In the details pane, double-click LoadBehavior. If the value in the Value data box is not 3, change it to 3, and click on OK. Close the registry editor and restart the system once.
Read Also:
How to fix Outlook Add-ins Missing in Outlook?