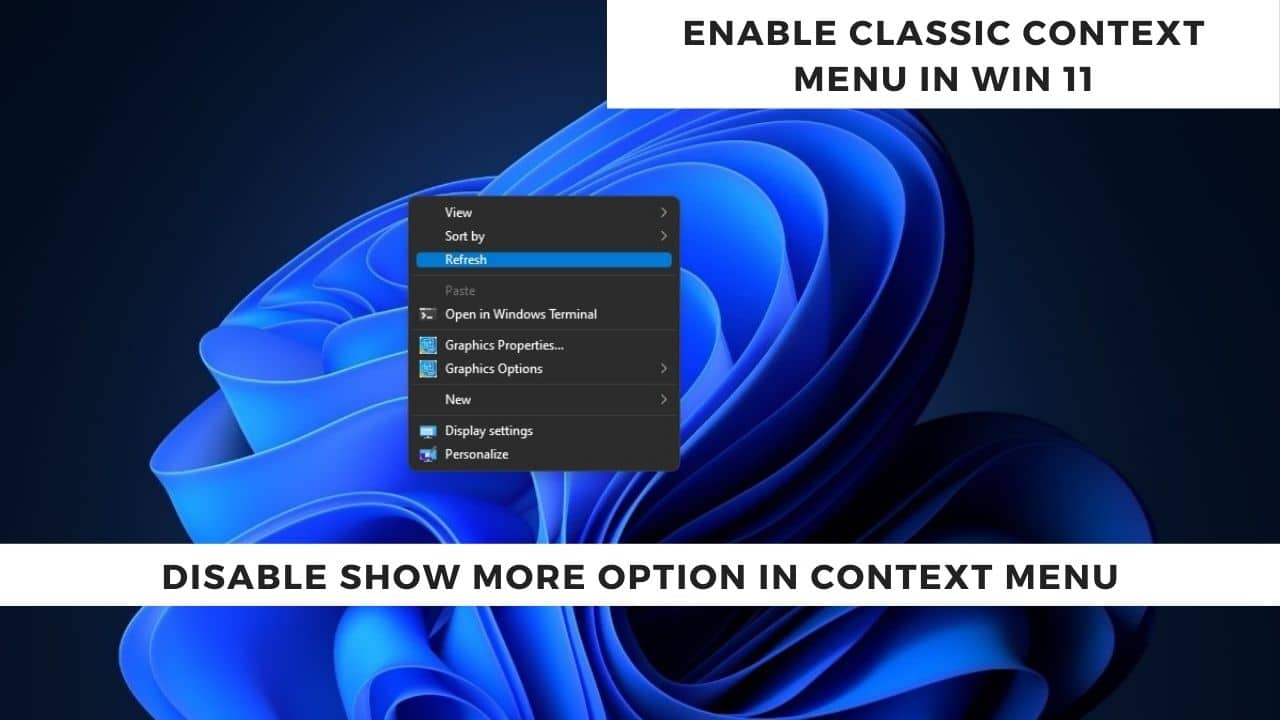
In Windows 11 the most notable feature is the new right-click context menu. This is the menu that appears when you right-click on the Desktop, applications, drivers, and folders. This new menu has a more open look, and it is inspired by Fluent Design. Most of the users are not adapted to this new Windows 11 right-click context menu. In Windows 10 classic right-click context menu shows a lot of options, but in Windows 11, the right-click context menu will show only a limited number of options, if you want to access all the options you need to choose Show more options. This shows more options will show all the options and it will switch to the classic context menu. In this article, we are going to see how to Disable Show More options from the Right-click context menu, this will enable the classic context menu. So, whenever you right-click on any item, you can see the full context menu.
Disable Show more options from Right-click context menu in Windows 11:
Method 1: Using Registry Editor
Open the Run command by pressing Windows + R and type Notepad and hit enter, this command will open the Notepad Text editor.
Next, copy-paste the following code in the Notepad and save it as DisableShowMore.reg, give any name but with the .reg extension. Save the file on the Desktop for convenience.
Windows Registry Editor Version 5.00

[HKEY_CURRENT_USER\Software\Classes\CLSID\{86ca1aa0-34aa-4e8b-a509-50c905bae2a2}\InprocServer32]
@=""

Double click on the file and merge it, if you got any prompts click on Yes and approve the merge.
That’s it now you can restart the system or the file explorer to complete the changes.
To Enable:
To enable the show more options just follow the below-mentioned steps.
Open the Run command by pressing Windows + R and type Notepad and hit enter, this command will open the Notepad Text editor.
Next, copy-paste the following code in the Notepad and save it as EnableShowMore.reg, give any name but with the .reg extension. Save the file on the Desktop for convenience.
Windows Registry Editor Version 5.00

[-HKEY_CURRENT_USER\Software\Classes\CLSID\{86ca1aa0-34aa-4e8b-a509-50c905bae2a2}]
Double-click on the file and merge it, if you get any prompt click on Yes and approve the merge.
Restart the file explorer once.
Method 2: Using Windows PowerShell or Command Prompt
Open Windows PowerShell or Command Prompt in elevated mode.
Copy paste the following command into PowerShell or Command prompt and hit enter.
To Disable:
reg add "HKCU\Software\Classes\CLSID\{86ca1aa0-34aa-4e8b-a509-50c905bae2a2}\InprocServer32" /f /ve
To Enable:
reg delete "HKCU\Software\Classes\CLSID\{86ca1aa0-34aa-4e8b-a509-50c905bae2a2}" /f
This will bring the Classic Windows 10 context menu, you may need to restart the explorer or the system once to make the changes effective.
Read Also:
Remove Open in Windows Terminal from Right-click context menu in Windows 11