In Windows 10 Lock Option is used to Lock your computer to Protect your work. Locking your computer keeps your files safe while you are away from your computer. Locking your computer is always a good habit to follow, A locked computer hides and protects programs and documents, and will allow only the person who locked the computer to unlock it again. To lock a windows computer, you have to press and hold the Windows Logo key on your keyboard and press the L key. This key combination will lock your computer. Windows + L, Another way to Lock your computer is from the start menu you can click on the start menu and click on the Profile Picture; there you can see the Lock option. Clicking on this Lock Option will Lock your computer immediately. Adding the Lock option to the Taskbar will give you quick and easy access to lock your computer. This article will guide you to Add Lock Option to Taskbar in Windows 10.
Add Lock Option to Taskbar:
To Add Lock option to Taskbar, first you need to create shortcut to Lock option. Follow the below mentioned steps.
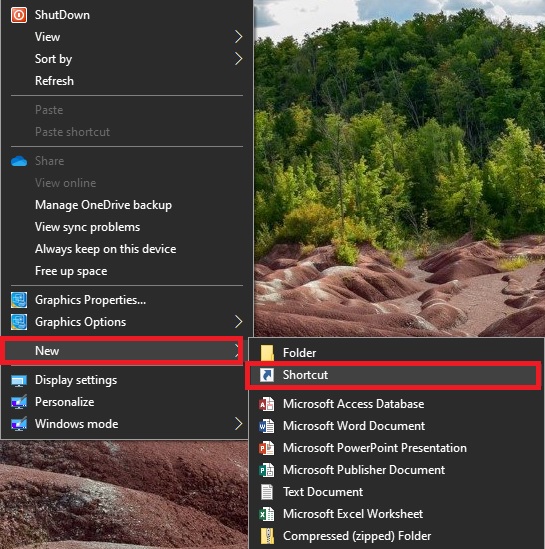
First, right-click on the desktop and choose New > Shortcut. Clicking on the Shortcut option will open the Create Shortcut wizard.
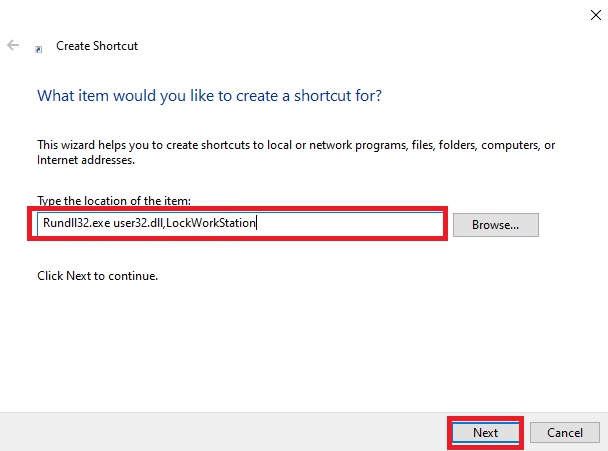
Under Type the location of the item field, copy paste the below mentioned path. And click on Next.
Rundll32.exe user32.dll,LockWorkStation
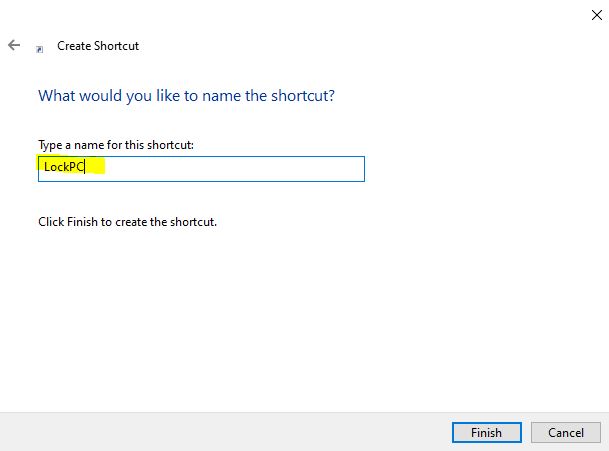
Next you need to name the shortcut, under Type a name for this shortcut, Enter the name you want and click on Finish.
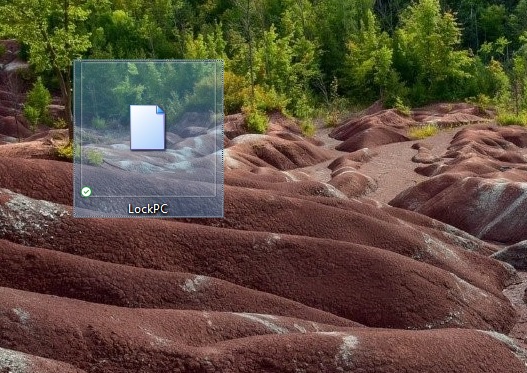
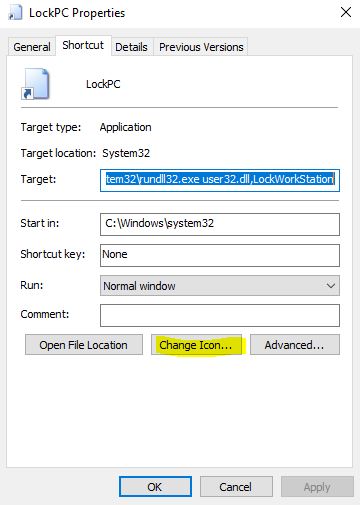
Now you can see the lock shortcut on your Desktop. Change the icon of the shortcut if you want. Right-click on the shortcut and choose Properties.
Under Shortcut tab, click on the Change Icon, Now browse the icon and click on Ok.
Now Drag the Lock Shortcut and Pin it on the Taskbar.

