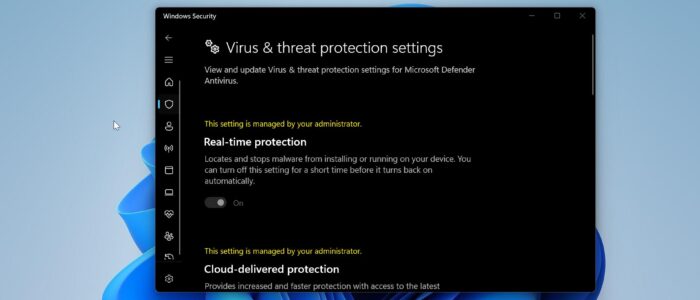
Managing Endpoint security is crucial in any IT environment, for example, we all know Windows comes with built-in antivirus which is more than enough to block all kinds of malware and viruses. Most of organizations are still using Windows Security (Defender) as their default antivirus on their employee’s laptops/Computers. But by default users have access to disable or enable the Virus and threat protection, this is a security threat, and users may disable the antivirus on their own. Here I will show How to Disable or block the Virus and Threat Protection page using Microsoft Intune admin center.
Note: To disable Virus and threat Protection using Microsoft Intune, you need the following permission, make sure you have the necessary access to proceed.
- Global Administrator or Intune Administrator role in Azure Active Directory (AAD).
- Access to the Microsoft Endpoint Manager Admin Center.
Why Disable Virus and Threat Protection?
Before proceeding with the steps to disable Virus and Threat Protection, it’s important to understand why you might need to do so:
- Troubleshooting: Temporary disabling may help in identifying conflicts or issues with other software.
- Testing: Developers and IT teams might need to disable protection to simulate different scenarios.
- Third-Party Security: If using another security solution, you may need to disable Microsoft Defender to avoid conflicts.
Disable Virus and threat Protection using Intune:
To block the “Virus & Threat Protection” option in Windows Security using Intune, you can create a custom configuration profile with the specified OMA-URI. Here’s how you can do it:
Sign in to the Microsoft Intune admin center:
Go to Microsoft Endpoint Manager Admin Center and sign in with your administrator credentials.
Create a new configuration profile:
Navigate to Devices > Configuration profiles > Create > New Policy.

Choose Windows 10 and later as the platform.

Under Profile Type choose Templates and Select Custom for the profile type.

Under Template name choose Custom.

Configure the OMA-URI settings:
- In the Basics tab, provide a name and description for the profile (e.g., “Block Virus & Threat Protection”).
- Under the Configuration settings tab, click on Add to create a new OMA-URI setting.
- Name: Provide a name for this setting (e.g., “Disable Virus & Threat Protection UI”).
- Description: Optionally, add a description for this setting.
- OMA-URI: Enter ./Device/Vendor/MSFT/Policy/Config/WindowsDefenderSecurityCenter/DisableVirusUI.
- Data type: Choose Boolean.
- Value: Set the value to True.

Assign the profile:
In the Assignments tab, specify the groups of users or devices to which this profile should be applied.
Review and create:
Review your settings and click Create to deploy the profile.
Once deployed, this policy will disable the “Virus & Threat Protection” UI in Windows Security for the targeted users or devices.


