This article will guide you to Disable Real-time Protection in Windows Security, using different methods, Windows Security also known as Windows Defender, it is an anti-malware component of Microsoft Windows. It is an official Protection Program provided by Microsoft to Protect computers running Windows from Spyware and malware. Many users think that it’s a new program Which is introduced in Windows 10, but actually, it has a very long story, At first, the concept of Microsoft Defender is based on GIANT AntiSpyWare from the GIANT Company software. Then this company was acquired by Microsoft on December 16, 2004. It was first released to the public as a downloadable free antispyware program for Windows XP, then later shipped with Windows Vista and Windows 7. After it has evolved into a full antivirus program, replacing Microsoft Security Essentials as part of Windows 8. Finally, in Windows 10 it is known as Windows Defender before Windows 10 November 2019 Update or Windows Defender Antivirus in Windows 10 Creators Update and later. And Finally, it is renamed to Windows Security, and it comes with seven protecting areas, Real-time protection is enabled by default in Windows 11/10. Disabling Real-time protection is not recommended, but in case if you want to disable Real Time protection in Windows Security, use the following methods. This article will guide you to disable Real-time protection in Windows Security.
Disable Real-time protection in Windows Security:
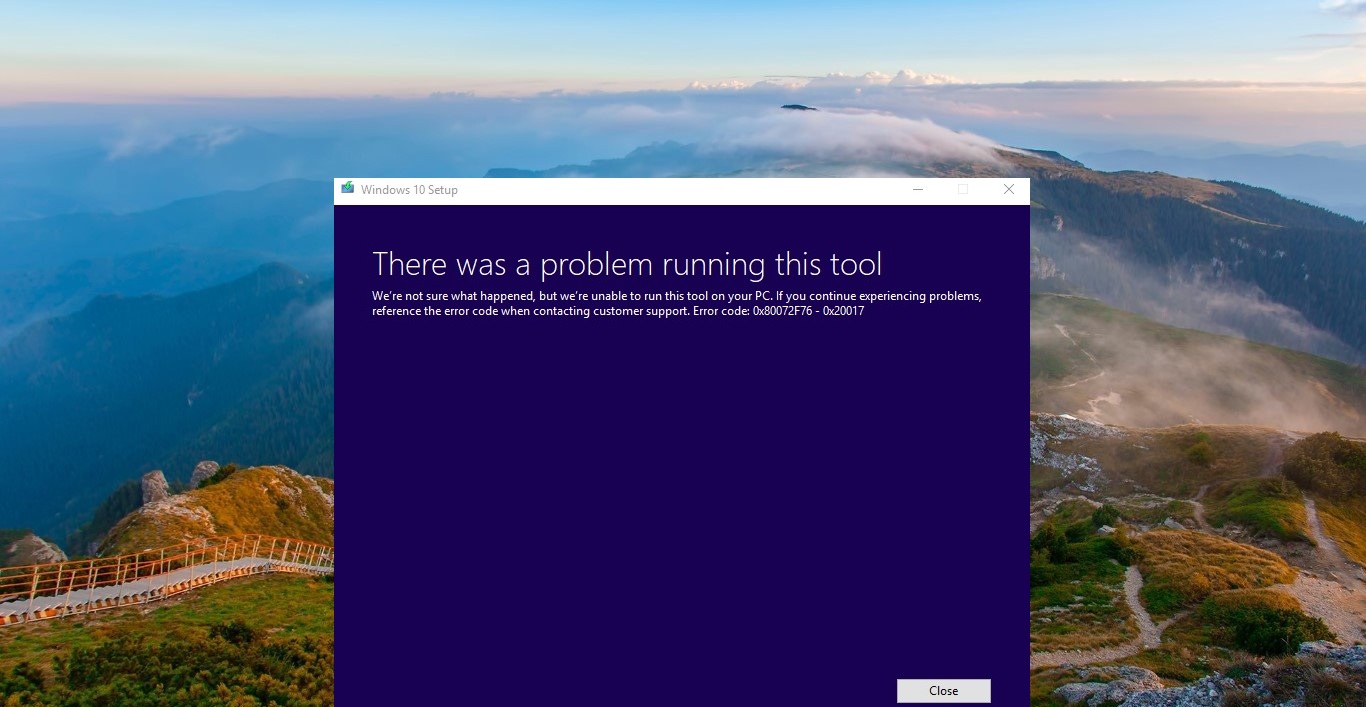
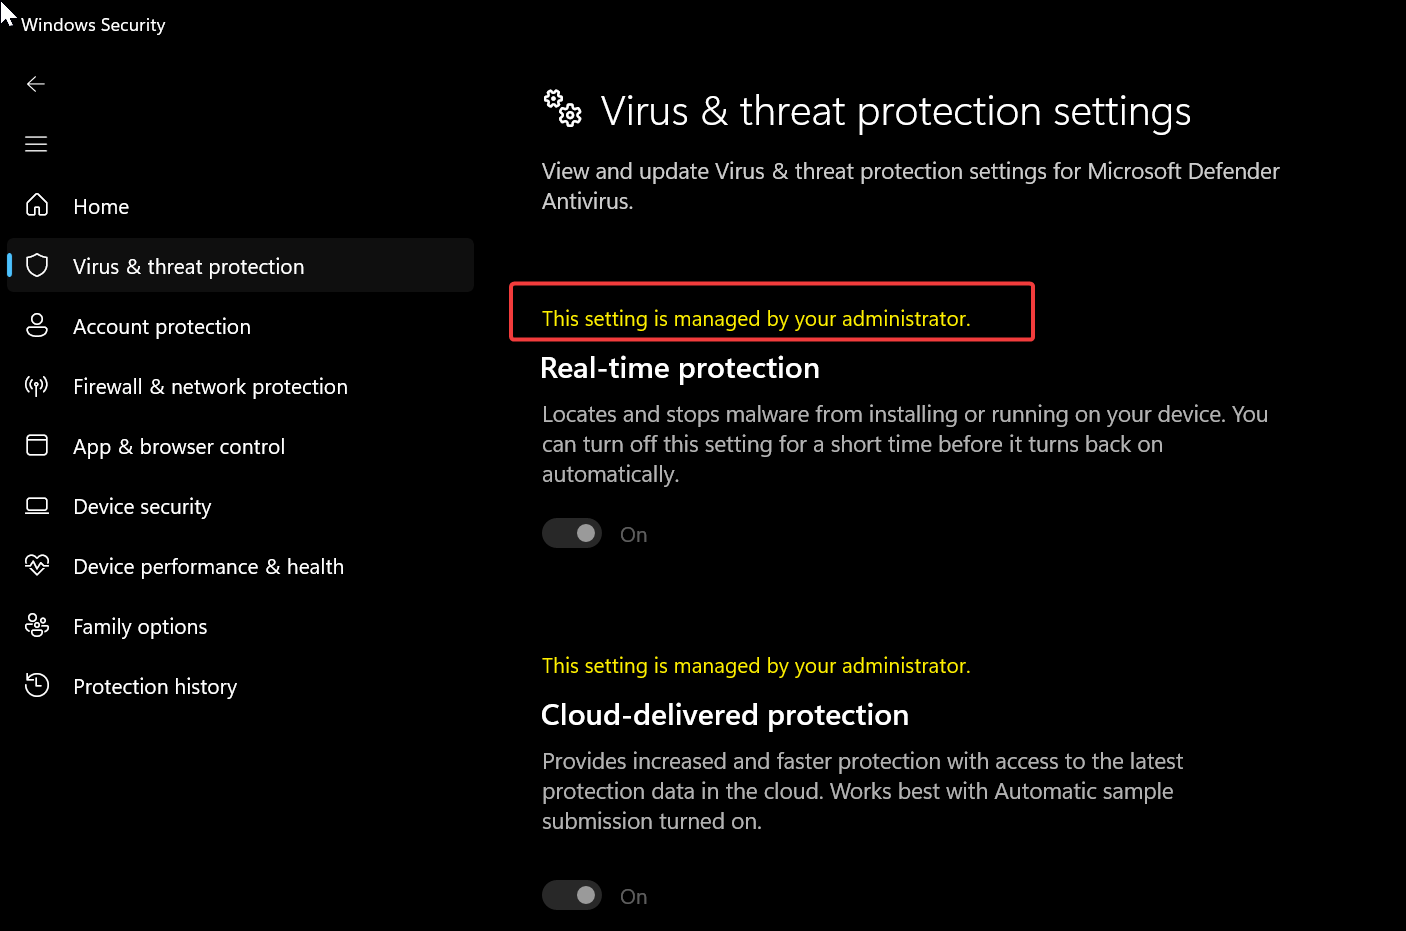
Windows allows you to enable or disable Real Time protection in Windows Security by turning off the Real-time protection, but most organization restricts users to disable Real-time protection in Windows Security, you’ll see the following error if you visit the Windows Security page. You can use the Command line or PowerShell method to disable Real-Time Protection.
Method 1: Disable Real-time protection using Settings
Click on the Start menu and search for Windows Security, click and open.
Click on Virus and thread protection from the left-hand pane.
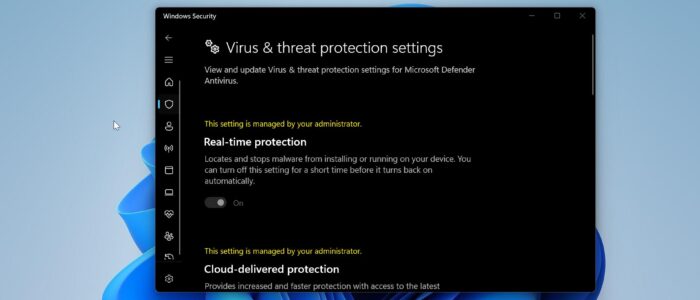
Under Virus and thread protection settings, click on manage settings.
Toggle the switch to off under Real-time protection.

Once you turn off the Real-time Protection it Locates and stops malware from installing or running on your device automatically, But Manual scan will be available at your disposal.
Method 2: Disable Real-Time Protection using Command Prompt
Press Windows + X and Open Command Prompt in administrator mode.
Now type the following command to disable Windows Defender.
sc stop WinDefend
This command will stop the Windows Defender service, if the service is unstoppable you will receive the [SC] OpenService FAILED 5: Access is denied. Error.
To enable it back run the following command.
sc start WinDefend
This command will enable the windows defender back, if the service is already running then you will receive the instance of the service is already running. Error.
To enable it again on startup run the following commands:
sc config WinDefend start= auto sc start WinDefend
To check the Current status of the windows defender service, run the following command:
sc query Windefend

This command will check the STATE variable. If the service is already running it should show Running STATE.
Method 3: Using PowerShell
PowerShell is the most advanced Command prompt, Using Powershell we can turn off windows defender on Multiple Computers over the network. And also using PowerShell we can particularly turn off the real-time monitoring of Windows Security.
Open PowerShell with administrative privileges.
Disable Using PowerShell:
Run the following command to disable windows defender
Set-MpPreference -DisableRealtimeMonitoring $true

This command will turn off the real-time monitoring of windows defender.
Enable Using PowerShell:
Run the following command to disable windows defender
Set-MpPreference -DisableRealtimeMonitoring $false
This command will enable the Real-Time Monitoring back ON.
Method 4: Turn Off Real-Time Protection using Group Policy
This method is for network administrators, If you are a network administrator and if you want to disable Windows Defender for many systems using Group Policy then this method will guide you to Disable windows Defender using group policy editor.
Open run command by pressing Windows + R and type gpedit.msc and hit enter, this command will open Group Policy Editor.
Navigate to the following path
Computer Configuration –> Administrative Templates –> Windows Components –> Windows Defender Antivirus
From the right-hand pane, Search for Turn Off Windows Defender Antivirus and open and Enable the Group Policy editor.

Click Apply and give OK.
Method 5: Disable Windows Security using Registry Editor
In this method, we are going to use Registry Editor to disable Windows Security, follow the below-mentioned steps below.
Open run command by pressing Windows + R and type Regedit and hit enter, this command will open the windows registry editor.
Now navigate to the following location.
HKEY_LOCAL_MACHINE\SOFTWARE\Policies\Microsoft\Windows Defender
From the right-hand pane right-click on any empty area and New> DWORD 32 bit value Name the DWORD as DisableAntiSpyware.
Right-click on the new DWORD and choose modify. Modify the value to 1. And give OK, Restart the machine to make it effective.

From the next restart, the Windows Security will not load, If you want to enable it back, follow the above-mentioned steps and delete the registry key, or Modify the value to 0.
Read Also:
How to Disable Non-critical notifications from Windows Security?
How to scan individual Files and Folders using Microsoft Defender?
How to Enable Microsoft Defender Application Guard for Office?
How to Update Windows Defender Virus signature using Command Prompt?
What is mpcache.exe? How to Delete mpcache files in Windows 11?