Microsoft introduced a new set of features in each update, these are updates are very helpful to keep our system secure and to be more productive in our work. This is not a single day task to make any operation system secure and more compatible, Microsoft still working on that. Gray Scale option is one of the feature windows is introduced in Falls Creator Update (1709), which turns our display to Grayscale like old black and white TV. This post describes about Great scale mode and how to enable or disable this mode.
The grayscale mode is the part of the easy of access system, which converts display to monochromatic gray. It uses the color matrix effect to convert to Gray scale. Mostly this Grayscale mode is developed for the people who is affected by color blindness to see the difference between colors and help those with light sensitivity to work with applications and consume content. In addition, color filters work at the system level, which means that they will not only work with Windows 10 elements but also with apps, including traditional (Win32) desktop programs and apps.
Also, this mode is very useful for people who are affected by ADHD. In this post, we will discuss about how to enable or disable this color Filter. Normally this mode is not very useful for normal people but still, some users reported this color filter is automatically applied and they don’t how to disable it. We will also discuss about how to disable Gray scale mode in windows 10. There are four methods to enable or disable Gray scale mode in windows 10.
Method 1: Enable/Disable Gray scale mode using Group Policy Editor.
- Open Run command by pressing Windows + R and type gpedit.msc and hit enter.
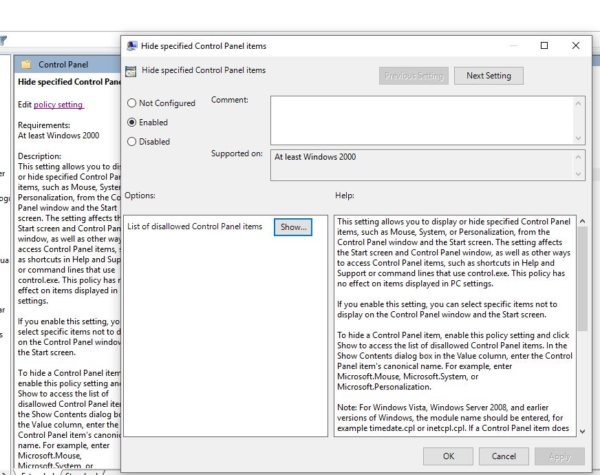
Navigate to below mentioned path User configuration–>Administrative Templates–>Control Panel
- Click on Control panel in right side panel find Hide specific control Panel Items
- From edit click on Policy setting and edit the policy. This will open a separate tab.
- Click on enable and in options List of disallowed Control Panel items
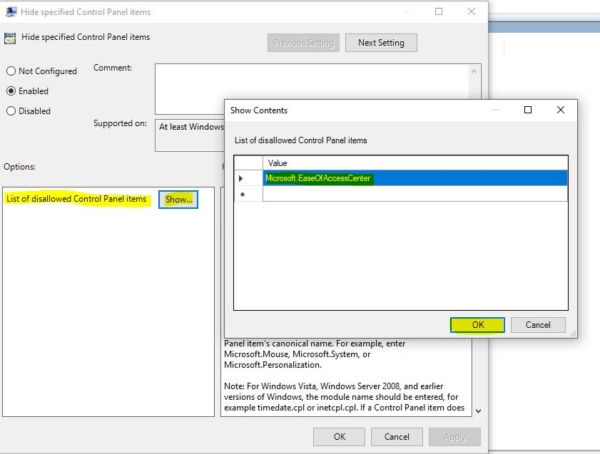
- Click on show, now you can see the separate tab, there add the value as shown in the image.
- Then restart the PC to make it effective, adding this value will completely disable the Ease of access center. To enable it back follow the same steps and remove the value from the policy.
Method 2: Using the Keyboard Shortcut.
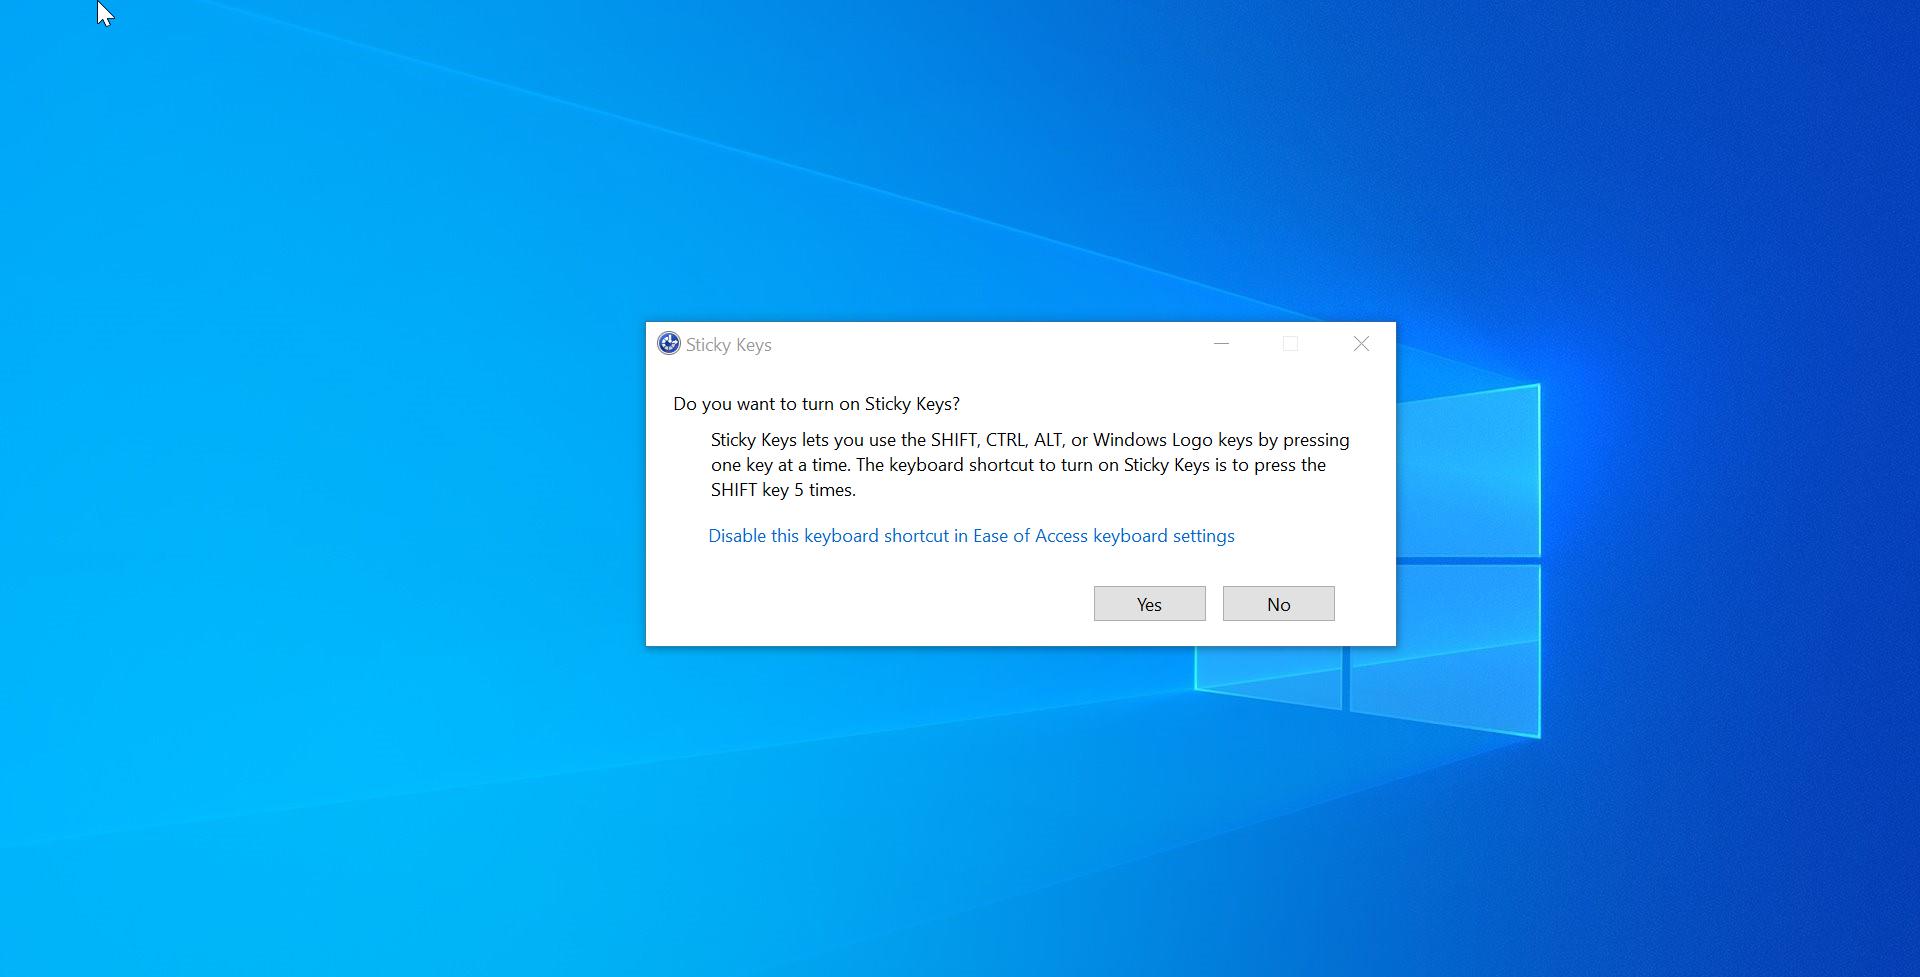
This is the very easy and fastest method, but this is not the permanent way to disable Gray mode. Most of the users reported that they accidentally enabled this mode and they don’t know to revert it. So here we will see the fastest way to disable and enable this mode, you can use the Windows key + Ctrl + C keyboard shortcut to enable or disable color filters on Windows 10 on demand without having to open the Settings app.
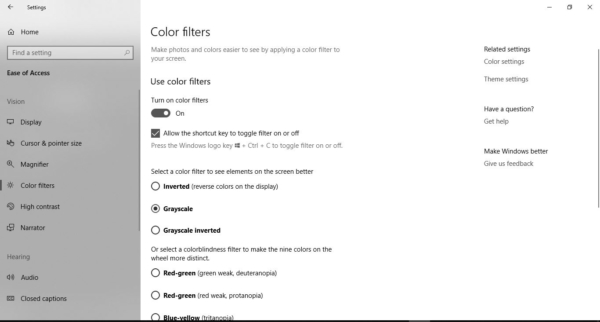
Method 3: Using Windows setting color Filter.
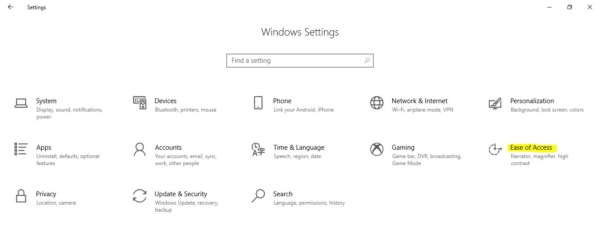
- Open Settings.
- Click on Ease of Access.
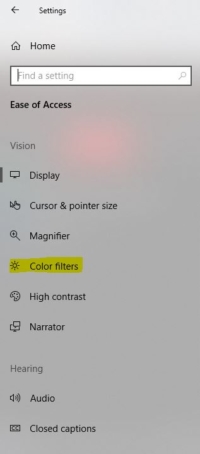
- Click on Color & high contrast.
- Under “Color filters,” turn on the Apply color filter toggle switch.
- Use the drop-down menu to select the color filter you need to use. Available filters include:
- Inverted
- Grayscale
- Grayscale inverted.
- Deuteranopia
- Protanopia
- Tritanopia
- Once you’ve completed these steps, the filter will apply to your device automatically to help you see elements on the screen more clearly.
Method 4: Using Windows registry setting.
- The method is quite similar to group policy editor method, both the method will disable the Color filtering permanently.
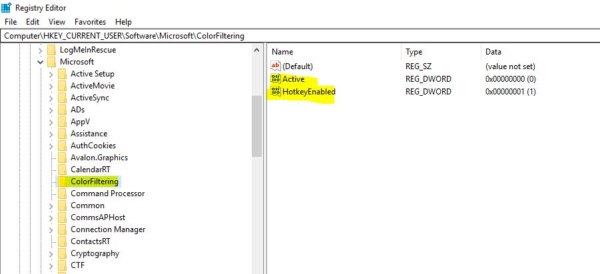
- Open the run command type regedit hit enter.
Now navigate to the following path. Computer\HKEY_CURRENT_USER\Software\Microsoft\ColorFiltering
- Now on your left-hand side you can find two different registry keys
- Active
- FilterType
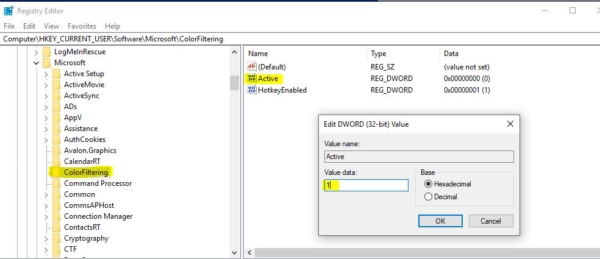
- Double click on the active key and give value as 1. This will enable the color filtering.
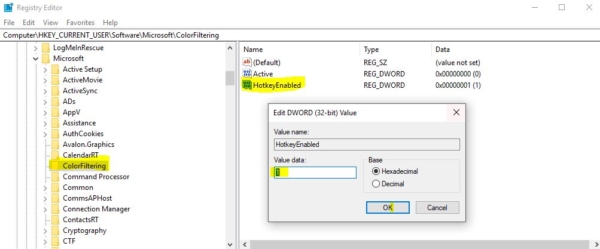
- Next to select the mode double click on the FilterType key and set the value anything between 0-5 as required.
- 0 = Grayscale
- 1 = Invert
- 2 = Greyscale Inverted
- 3 = Deuteranopia
- 4 = Protanopia
- 5 = Tritanopia


