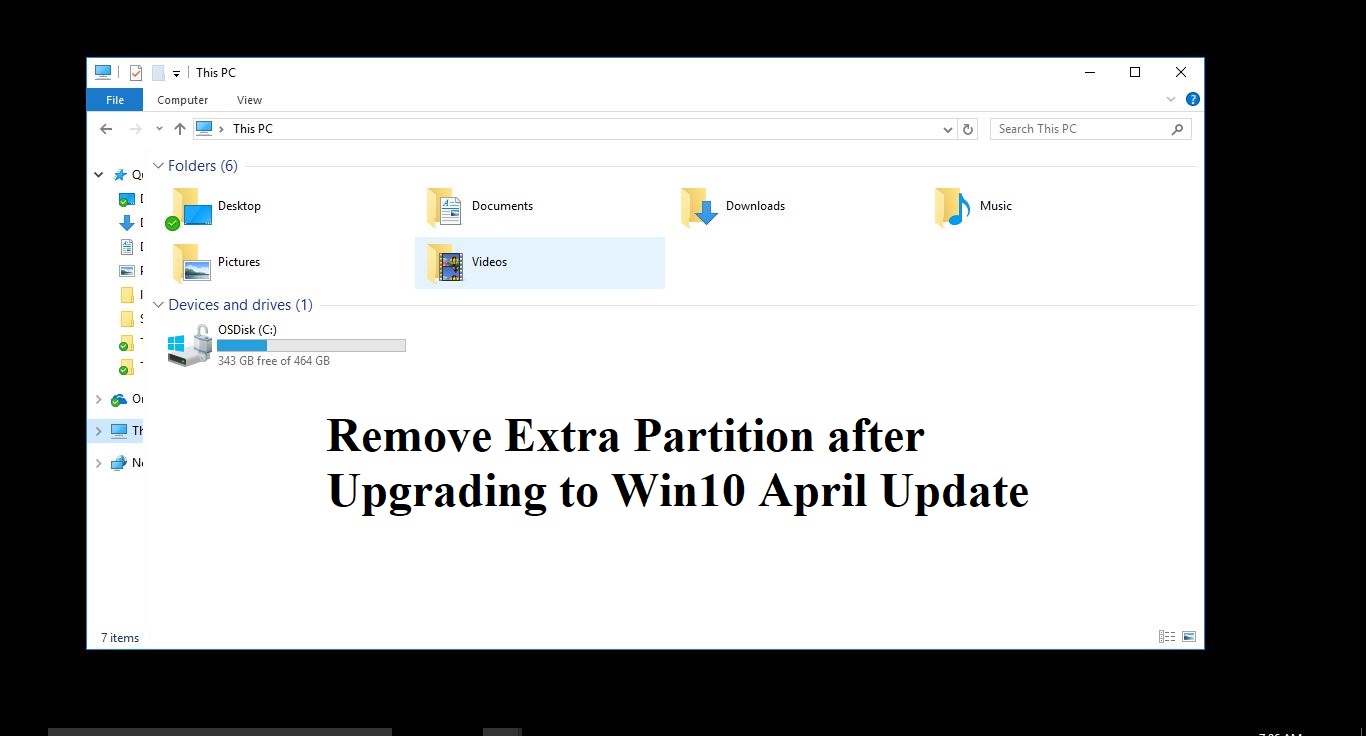
Many Users may have reported after installing or Upgrading windows 10 from Old version to the new April Update (Version 1803) they are getting Low disk Space warning from the new partition drive which is created in File explorer. And there are no Options to delete this Partition. This post explains How to Fix Windows 10 v1803 creates an extra Disk Partition in File Explorer after installing the windows 10 April Update (Version 1803). While Upgrading from windows one version to another usually windows will create a recovery partition, This partition will stores Windows Recovery Environment. The recovery partition is a small partition on your hard drive that can help you restore your Windows or troubleshoot system issues.
Microsoft is aware that previously-hidden partitions are improperly being assigned drive letters after installing the April 2018 Update. As a result, they now appear in Disk Management and File Explorer. These partitions are typically recovery partitions used by the Windows Recovery Environment or by the Original Equipment Manufacturer. It is not recommended that you attempt to delete or reformat these partitions as this may have adverse effects on your ability to recover Windows. Microsoft is currently working to address the issue in a future Windows Update, and we’ll update this thread when a solution becomes available. In the meantime, you can safely ignore these partitions. If you prefer, you can do away with the low disk space warnings and hide the partitions so they don’t appear in File Explorer by manually removing the partition’s assigned drive letter. To do this:
Fix Windows 10 v1803 creates an extra Disk Partition.
- In Cortana, type cmd and press Enter. Then right-click Command Prompt in the search results and select Run as administrator.
- In the Administrator: Command Prompt window, type diskpart, and press Enter.
- Type list volume and press Enter.
- Make note of the volume number for the drive letter you want to remove. For example, if the drive letter you want to remove is Drive “G”, note the volume number for Drive G.
- Type the following command, and press Enter.
select volume When typing this command, in place of , substitute the volume number you made note of in Step 4. In the example above, if the volume number for drive G is 5, you would type: select volume 5
- Type the following command and press Enter.
remove letter=  When typing this command, in place of, substitute the drive letter you want to remove. In this example, you would type: remove letter=G
- Close the Command Prompt window.