If you are Upgraded your Windows 10 PC from Older version 1709 to Newer version 1803 (Spring Update), Then you might Know about Storage Sense In this guide we show you how to Free Up Disk Space Using Storage Sense on Windows 10. And how effectively you can manage and delete junk files. The first thing you must know about storage sense? And How it works?
What is Storage Sense?
Storage sense is the Advance version of the Disk Utility Tool to monitor Disk space and Free up disk space on your device either manually or automatically. Storage sense is an optional feature, which is disabled by default, but when enabled, it’ll proactively delete temporary files, like those created by apps. It’ll delete files that have been in the recycle bin for more than 30 days, as well as files in the Downloads folder that haven’t changed in 30 days. If you’re running low on space, Storage Sense even includes an option to delete the previous version of Windows 10. If you are upgraded from Windows 10 Older version to a newer version you may notice windows.old folder on C Drive. You can delete that folder manually but using storage Sense it is very easy to remove. And it makes a lot of space on your drive.
How Storage Sense Works?
Storage Sense is not a new Software or Tool. We all Know the Disk Utility Tool which is available in all versions of windows and we used that tool when Slowness occur. The same process involves in Storage Sense. Once You start the scanning Option in Storage sense, The utility first searches and analyzes the hard drive for files that are no longer of any use, and then removes the unnecessary files. There are a number of different file categories that Disk Cleanup targets when performing the initial disk analysis:
- Compression of old files
- Windows Upgrade Log Files
- Temporary Internet files
- Temporary Windows files
- Downloaded program files
- Recycle Bin
- Removal of unused applications or optional Windows components
- Setup log files
- Windows Error Reporting Files
- Offline web pages (cached)
- WinSxS(Windows component store)
The above List is the sample and mandatory category, Depending on the usage this will vary, For example, some users may use RDP Remote Desktop and some users may use Hibernation. These Data also listed out when this Tool starts to scan. Once the scanning complete Storage sense will list out all the categories with how much size that those data occupied. Then You can Easily remove those Data by selecting the category.
Free Up Disk Space Using Storage Sense
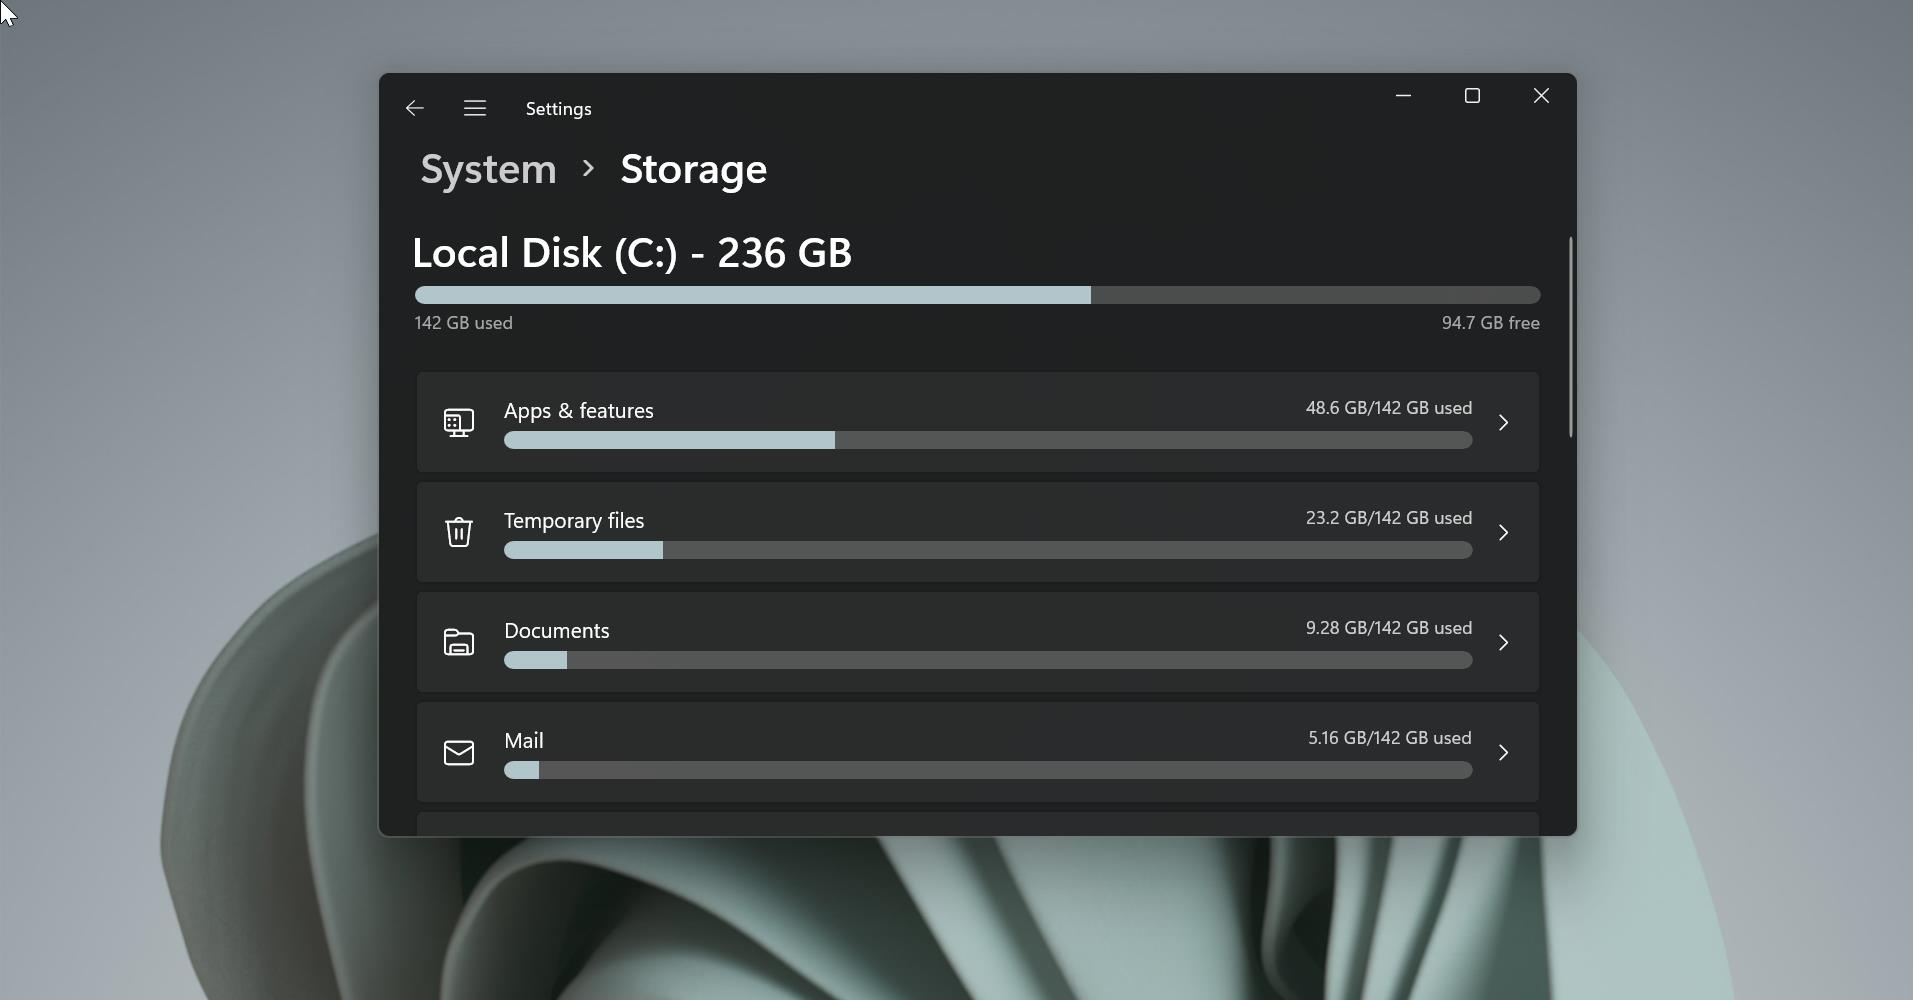
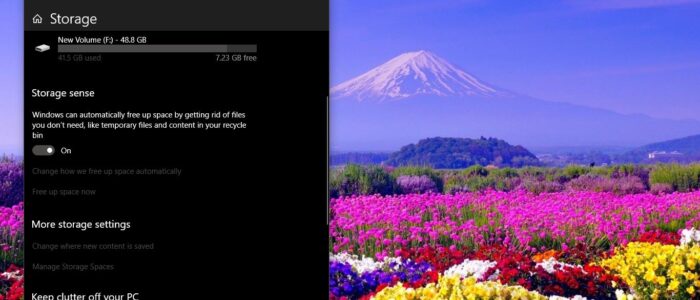
- Once You Enabled the Storage Sense Option. You may see the Number of partitions available and the amount of size.

- You can click on each partition to check the details of the file. It will show the amount of size taken by each category.

- There is an Option called Free Up Space Now, This Option can allow users to delete the temp files manually.

- And one more Option named Change How we free up space automatically. This Option can allow users to Set the storage sense on and clean the Temp files automatically.

How to configure Storage sense settings on Windows 10 to do the automatic cleanup?
The main idea of Storage Sense was to make this Disk cleanup Automatic, This Storage sense was already introduced in Windows 10 Falls Creators Update and now it is modified Little option and introduced new Option to delete previous versions of windows. You can also pick the specific files you want Storage sense to delete automatically from your device, using these steps:
- Open Settings.
- Click on System.
- Click on Storage.
- Enable Storage Sense
- Click the Change how we free up space
- Under “Temporary Files,” check the items you want to delete, including:
- Delete temporary files that my apps aren’t using.
- Delete files that have been in the recycle bin for over 30 days.
- Delete files in the Downloads folder that haven’t changed in 30 days.
- Under “Free up space now,” you can also select the option to delete the previous installation of Windows 10. However, this option is only available after installing a new version of the OS.
After completing these steps, you can click the Clean now button to free up space immediately. If you do not, simply make sure to select the items you want Storage sense to delete, and close the Settings app.
Read Also:
How to Extend OS partition drive on Windows 11?
Fix Full Disk Space issue in Dell Laptops