Recently while updating Windows 11 I received a Windows Update Install Error 0x80240008. This error typically occurs when there is a problem with the Windows Update service or when certain files required for updating are missing or corrupted. In this article, we will guide you to resolve Windows Update Error 0x80240008 in Windows 11.
What is Windows Update Error 0x80240008?
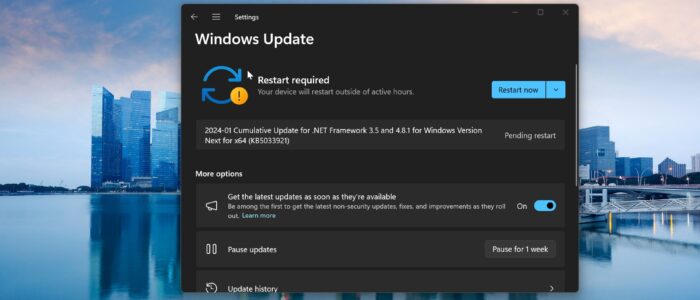
Windows Update Error 0x80240008 is an error code that appears when you try to install updates using the Windows Update service. You can see the following error on the Windows Updates page while installing the update. It indicates that the update process was interrupted or that some files required for updating are damaged or missing.
Possible Causes of Error 0x80240008
There can be several reasons why you may encounter this error on your Windows system. Some of the common causes include:
- Corrupted Windows Update files
- Issues with the Windows Update service
- Problems with the system files
- Conflicts with third-party software
Fix Windows Update Error 0x80240008:
Here are some Resolution methods that you can try to resolve the Windows Update Error 0x80240008:
Solution 1: Restart the Windows Update Service
The first step is to restart the Windows Update service. This can help in resolving any temporary issues with the service. Follow the steps below:
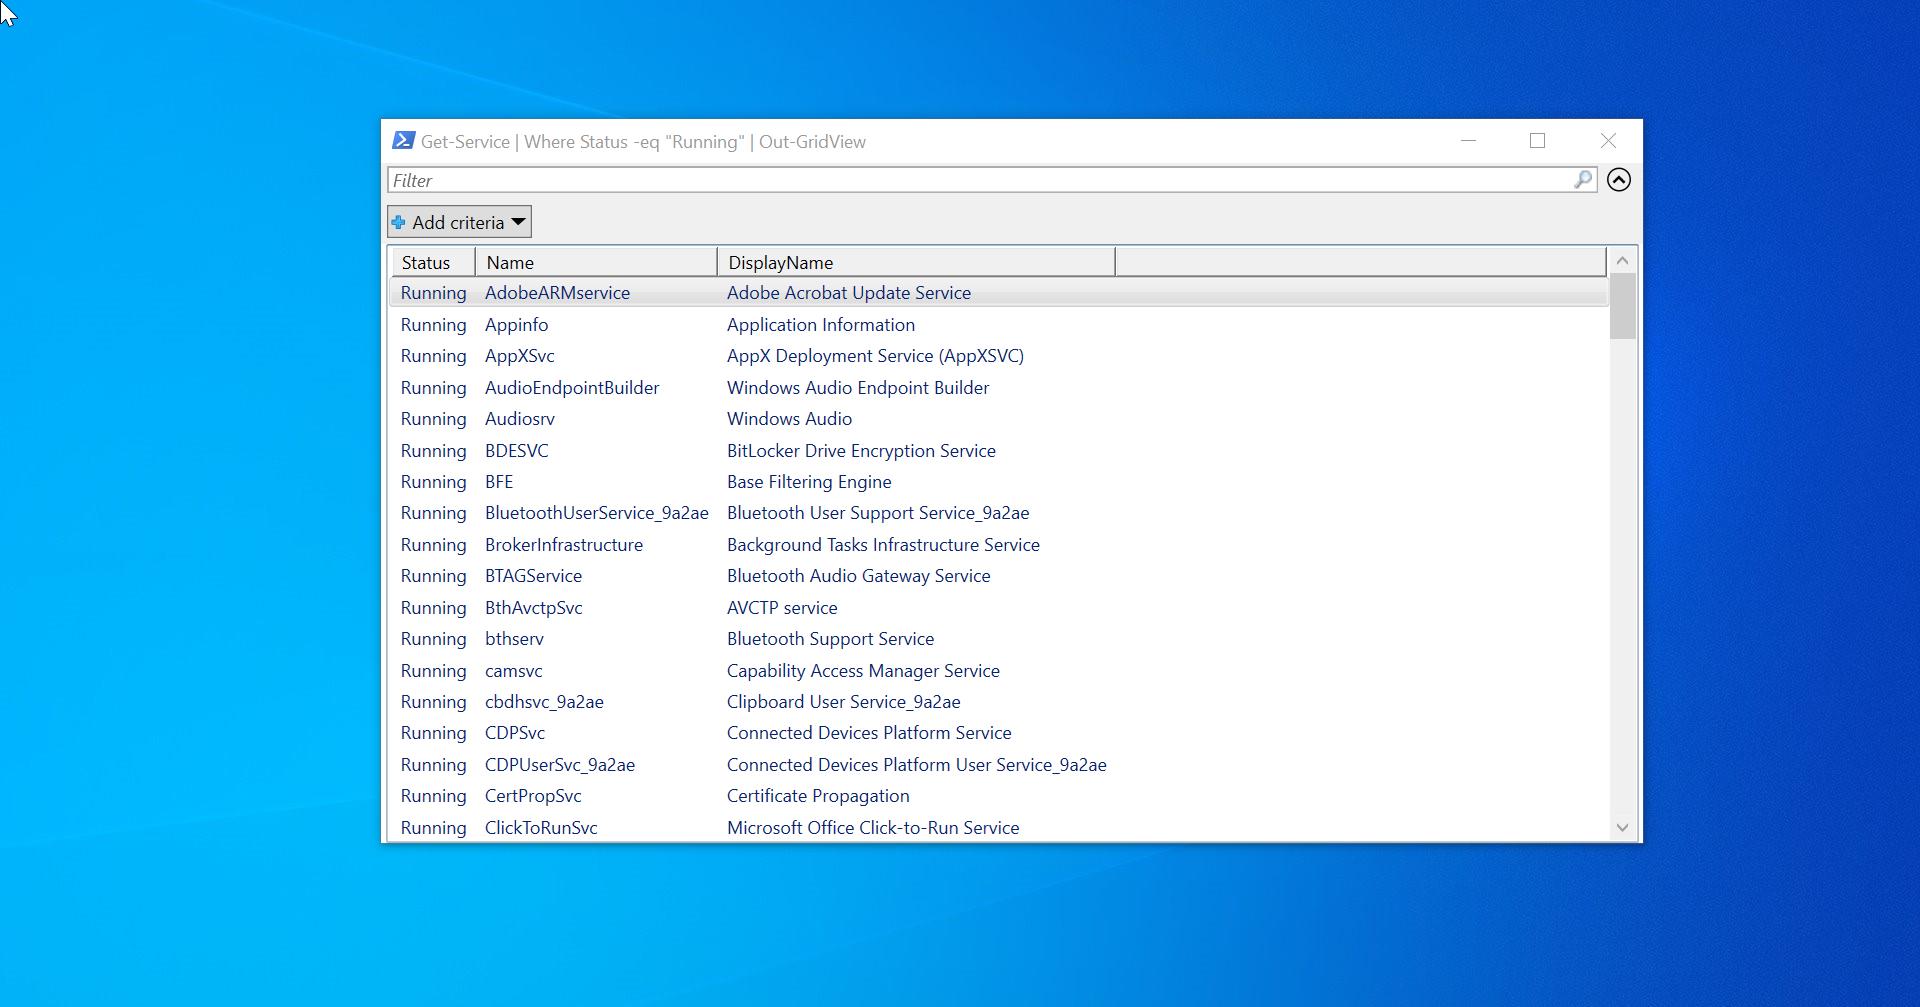
Open Run command by pressing Windows + R and type services.msc and hit enter, this command will open the Services Management Console.
In the Services window, scroll down and locate the Windows Update service.
Right-click on the service and select Restart. If the service is already running, click on Stop and then click on Start to restart it.

Try to Install the Update again on the Windows Updates page to check if the error is resolved.
Solution 2: Run the Windows Update Troubleshooter
Windows has a built-in troubleshooter that can help in resolving common Windows update-related issues. Follow the steps below to run the Windows Update Troubleshooter:
Open Windows Settings by pressing Windows + I and from the left-hand side pane click on System and from the right-hand side pane click on Troubleshoot.
Under the Troubleshoot page, click on Other troubleshooters.

Select Windows Update and click on Run.

Follow the on-screen instructions to complete the troubleshooter.
Restart your computer and check if the error is resolved.
Solution 3: Clear the SoftwareDistribution Folder
Clearing the SoftwareDistribution folder can help in resolving corrupted files that may be causing the error. Here’s how to do it, Before deleting or renaming the SoftwareDistribution folder, you need to stop Windows Services. Use the following commands to Stop the necessary Windows Services.
Open Command prompt in elevated mode and type the following commands one by one.
Net stop wuauserv
Net stop cryptsvc
Net stop bits
Net stop msiserver
Open File Explorer by pressing Windows + E.
Navigate to the following directory: C:\Windows\SoftwareDistribution.
Delete all the files and folders inside the SoftwareDistribution folder.

Again Open the Command Prompt in elevated mode and type start the following services one by one.
Net start wuauserv
Net start cryptsvc
Net start bits
Net start msiserver
Try running Windows Update again to check if the error is resolved.
Read Also: How to Re-register Windows Update Components in Windows 11/10?
Solution 4: Check for System File Corruption
System file corruption can also cause issues with Windows Update. You can use the System File Checker tool to scan for and repair any corrupted files. Follow these steps:
Open the Command Prompt as an administrator.
Type the command sfc /scannow and press Enter.
Wait for the scan to complete.
If any issues are found, the tool will attempt to repair them automatically.
Restart your computer and check if the error is resolved.
Windows Update Error 0x80240008 can be frustrating, but with these methods outlined in this article, you should be able to resolve the issue and get your Windows updates back on track.

