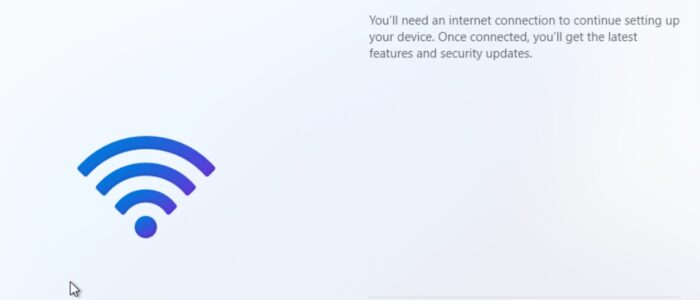
You need an internet connection when installing Windows 11. The installation wizard prompts for internet access to complete the setup. Microsoft now encourages users to link their computers to a Microsoft account, altering the initial Windows 11 setup. This adjustment makes it challenging to proceed with configuring a new device without an internet connection. Another drawback is that, once connected to the internet during the initial setup, creating a local account becomes impossible. To establish a local account, you must skip or bypass internet connectivity during the initial setup. This article will guide you to Skip Let’s connect you to the Network Page in Windows 11.
Skip Let’s connect you to the Network Page in Windows 11:
During the initial setup of Windows 11 OS installation, once you connect to the internet during the installation wizard, there is no way to disconnect it, and this will skip the Local account creation. So if you want to create a Local account during the initial setup, you have to bypass the internet connection. Follow the below-mentioned steps to skip Let’s connect you to the Network page.
Press Shift + F10 on the “Let’s connect you to a network” page, this will open the command prompt on that page.
Type OOBE\BYPASSNRO and hit Enter, this will restart the computer.

Follow the Onscreen instructions after the restart to complete the Windows Setup.
The Installation Wizard will start from the beginning, once you reach the “Let’s connect you to a network” screen again, you’ll see the “I don’t have internet” option. Click on it and skip that screen.
On the next screen, click on Continue with Limited Setup.
Accept the license agreement and create a local account to finish the installation process.
Read Also:
Fix Stuck on “Let’s Connect You to a Network” in Windows 11

