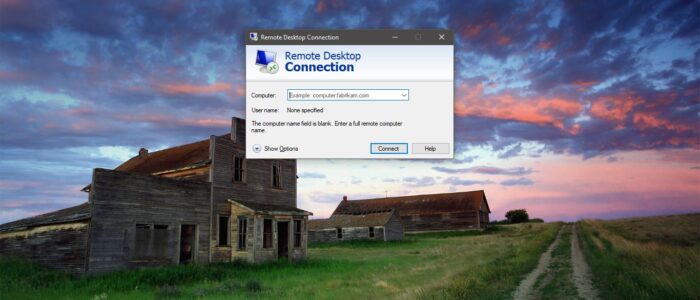
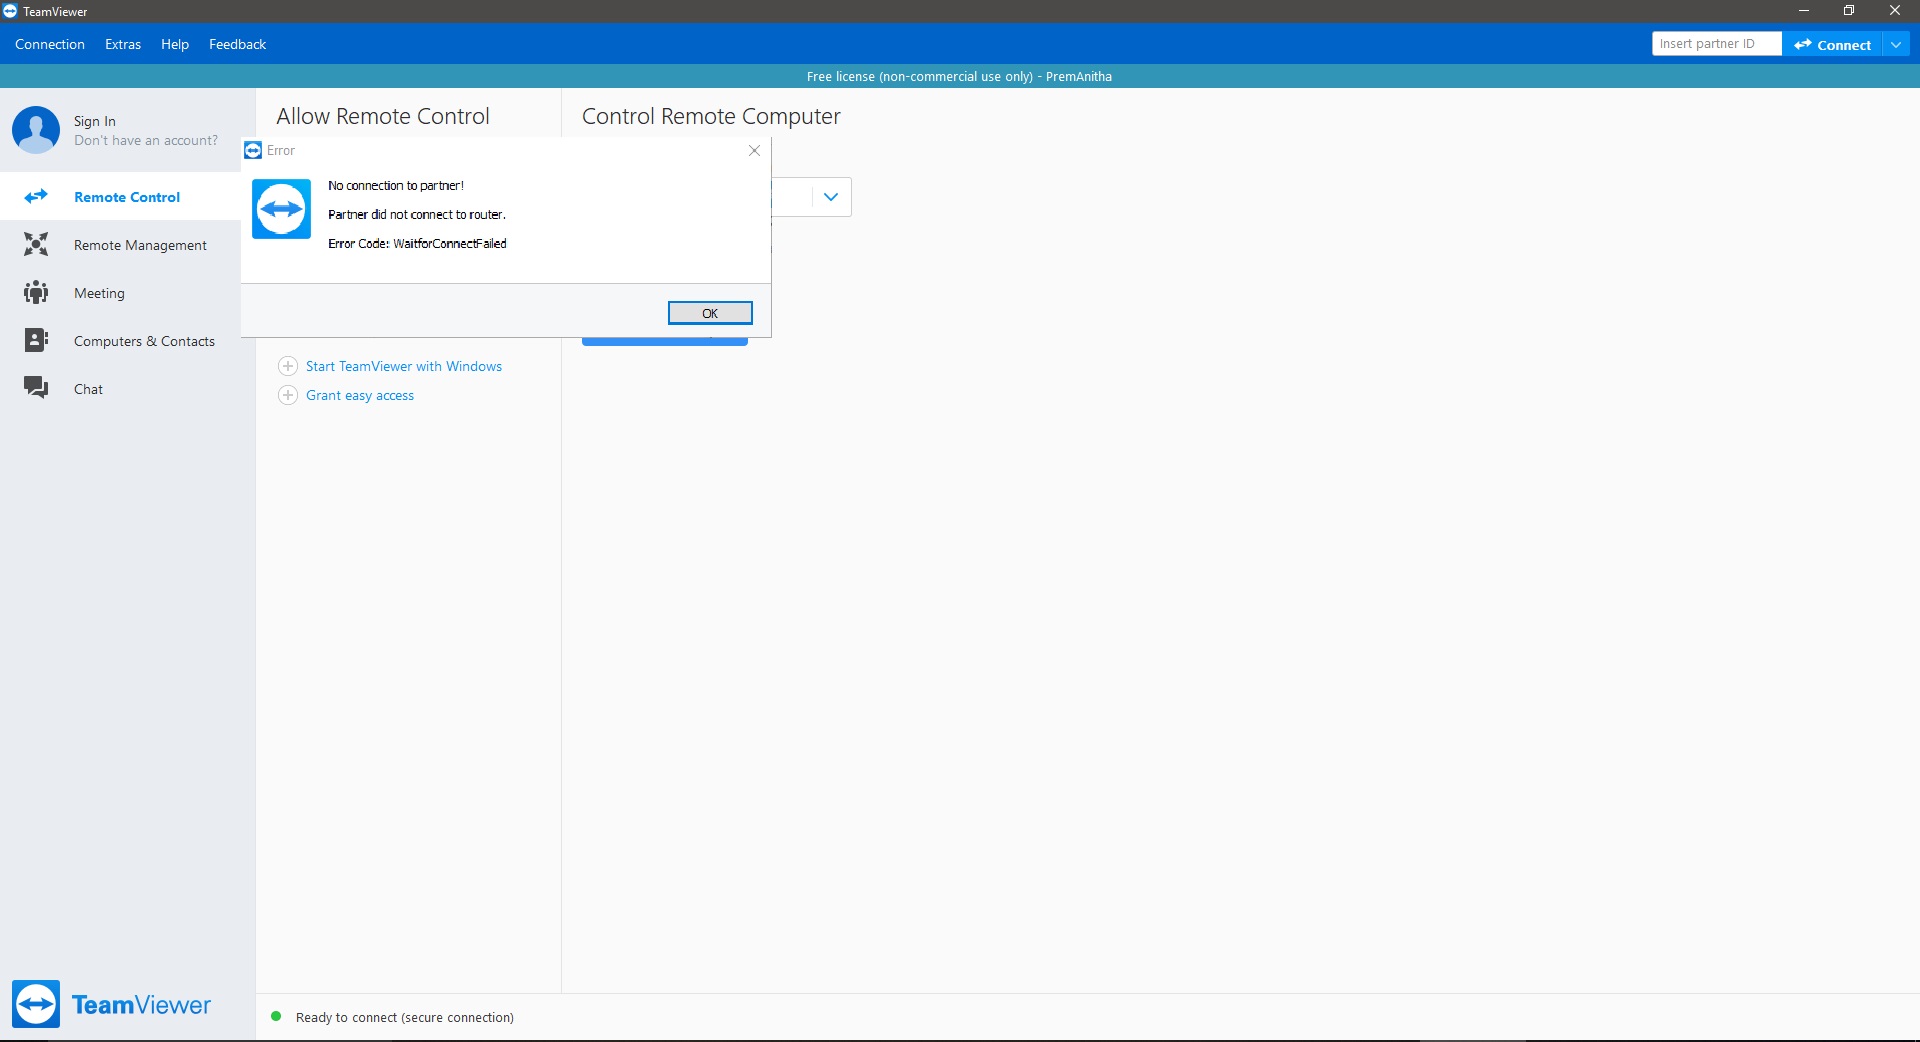
Remote Desktop Connection is also Known by several names formerly Microsoft Terminal Services Client, mstsc, Remote Desktop, or tsclient. In IT terms we used to call Remote Desktop or RDP. It is one of the components of Microsoft windows that allow a user to take control of a remote computer or virtual machine over a network connection. To access Remote connection both the devices should be connected to the same network or to the internet. Once the connection is established the users can now access and take control of the other system. You can have unrestricted control over the Mouse, Keyboard, or basically the entire computer. Mostly Remote Desktop is used by IT professionals, Customer support representatives, Managed service providers, or MSPs. In most of the Corporate companies, Users use RDP to access the client machines to work remotely. Sometimes while RDP you may get an error like unable to connect with the Error code 0x104. In this article, we are going to see how to fix the RDP Error Code 0x104 in Windows 10.
Fix RDP Error Code 0x104:
Once you encountered Remote Desktop Error Code 0x104 in Windows 10, then follow the below mentioned recommended solution one by one.
Turn on Network Discovery:
Open Run command by pressing Windows + R and type the following command and hit enter.
control /name Microsoft.NetworkAndSharingCenter
This command will open the Network and Sharing Center. Under Network and Sharing Center from the Left-hand side click on the Change advanced sharing settings.
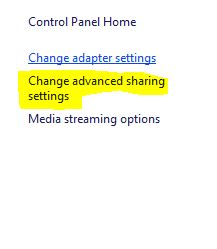
Now you can see the change sharing options for different network profiles. Choose the Profile in which you want to Turn the Network Discovery.
Expand the Profile and under Network, discovery check the box Turn on network discovery.
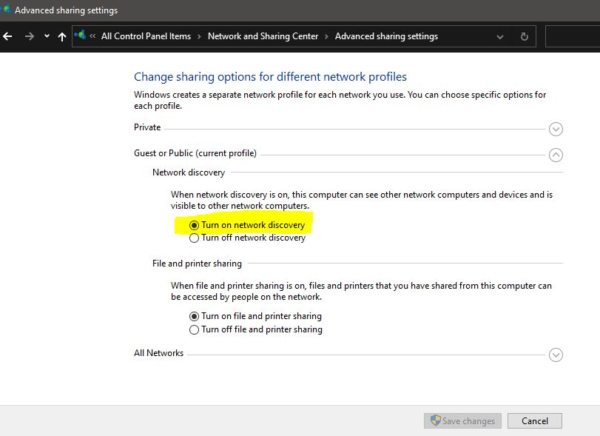
Click on Save Changes and close the sharing center.
Restart the system once and check you are able to access the Remote Desktop or not.
Enable Remote Desktop Protocol:
Once you got this error the first thing you need to do is to check the RDP is enabled on your machine or not.
Open run command by pressing Windows + R and type SystemPropertiesRemote.exe and hit enter.
Click on the Remote Tab, Under Remote Desktop Choose an option, and then specify who can connect.
Choose Allow Remote connections to this computer and check Allow Connections only from computers running Remote Desktop with Network Level Authentication.
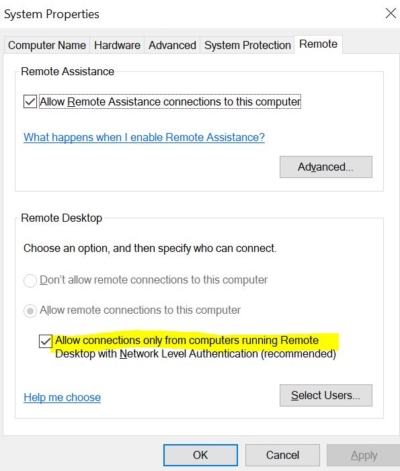
Click on Apply and Ok.
Allow RDP through your Software Firewall:
If RDP is not allowed through your Firewall then you may get this error, check your RDP is allowed in your software firewall.
Open Control Panel and go to System and Security.
Go to Allow an app through Windows Firewall, Located under Windows Defender Firewall.
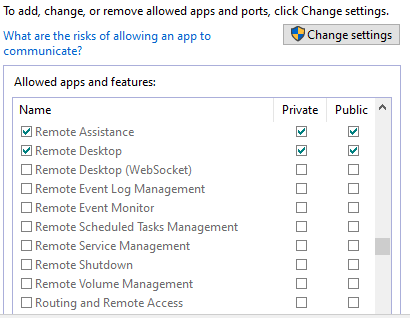
Now look for Remote Desktop and tick to allow it for both public and private networks.
Change the DNS server settings:
If you are still getting the same error after following the above-mentioned resolution steps then it might be the network issue. So, changing the DNS server settings will help you to fix this issue.
Read Also:
How to fix Remote Desktop Connection audio not Working?
How to change the RDP port number in Windows 11?

