Many users reported that the Copilot option is missing in Windows 11 settings after the installation of Windows Update, according to users’ reports, the Copilot option missing after the KB5030310 update. If you are encountering the same issue, then this article will guide you to fix Copilot Not Showing in Windows 11 issue. First, you have to understand Microsoft has not released the Copilot for everyone, not all cities are allowed to use the Copilot feature. As of now, part of the countries and cites are still out of the list in using the copilot function, such as China, Cuba, Russia, Syria, etc. If you are in that particular area, then you have to use an alternate option, you can modify the network settings to use the copilot feature. Change the system region to the United States and use VPN to access the Copilot feature. If you are not in the mentioned area and still you are not able to see the copilot feature, then in this article I have clearly explained How to enable Windows copilot in Windows 11. If you still not see the Copilot option, then this article will guide you to Copilot Not showing in Windows 11.
Copilot Not showing in Windows 11:
The following reasons are the main reasons that cause Copilot not showing in Windows settings page, if you are unable to find the Copilot option follow the below-mentioned resolution methods to fix this issue.
- The Copilot function is currently unavailable in your region.
- Certain system glitches may impact performance; consider restarting your computer to check if the Copilot icon reappears.
- It’s possible that you haven’t logged into your Microsoft account; please verify this to ensure proper functionality.
- The Windows version may not be optimal for Copilot’s performance.
Check Windows Version:
If you are using Windows 22H2 (OS Build 22621.2361) build or later, then your Windows machine is compatible with the Copilot, you can enable the Copilot feature from the Taskbar. If you are not using the mentioned version or later, then you need to upgrade your Windows Version.
Open Windows Settings by pressing Windows + I and from the left-hand side click on Windows Updates.
From the right-hand side click on “Check for updates”. Now Windows will automatically download and install the Updates.
Once your Windows is updated, restart your system once and check, and check the above link How to Enable Windows Copilot feature link.
Use ViveTool to enable Windows Copilot:
You can Enable Microsoft Copilot in Windows 11 22H2 using ViveTool,
You can download this tool from the GitHub page, click here and download. Download the Zip file.

Next, you need to extract it, right-click on the Zip file, and choose Extract all. Extract all the files to the Windows > System32 folder.
You’ll get an admin prompt, click on yes and extract all the files to the System32 folder.

Next, open the command prompt in elevated mode, right-click on the Command prompt and choose Run as administrator.
Type the following command and hit enter.
vivetool /enable /id:44774629,44776738,44850061,42105254,41655236once you have seen the successful message, Close the command prompt and restart your system once to make the changes effective. After the restart, you can see the Copilot preview icon on the Taskbar.
If you do not see the Copilot icon, go to the settings > Personalization > Taskbar items and enable the Copilot feature.

Once you enable Copilot, click on the Copilot icon and launch the Copilot, ask your questions, this can directly interact with the Windows settings, so you can change the Dark/White mode. other examples like “Turn on do not disturb,” “Take a screenshot,” “Summarize this website” (Only active tab from Microsoft Edge).
Use Command Prompt to Launch the Copilot:
Sometimes Copilot won’t launch from the taskbar, or it may hidden from the taskbar, in that case you can use the Command Prompt to launch the Copilot option, use the following command to launch the Copilot using Command Prompt. One disadvantage, you need to use this command every time you want to open the tool.
Open Run command by pressing Windows + R and type cmd and hit enter, this command will open the Command Prompt.
Now type the following command to launch the Copilot.
microsoft-edge://?ux=copilot&tcp=1&source=taskbar
Use Microsoft account:
If you are using a Windows Local account, you need to sign in with a Microsoft account. As mentioned earlier, Microsoft allows the use of the Copilot feature only with a Microsoft account; it cannot be used with a Local account
Follow the below-mentioned steps to sign in to your Microsoft account in Windows 11.
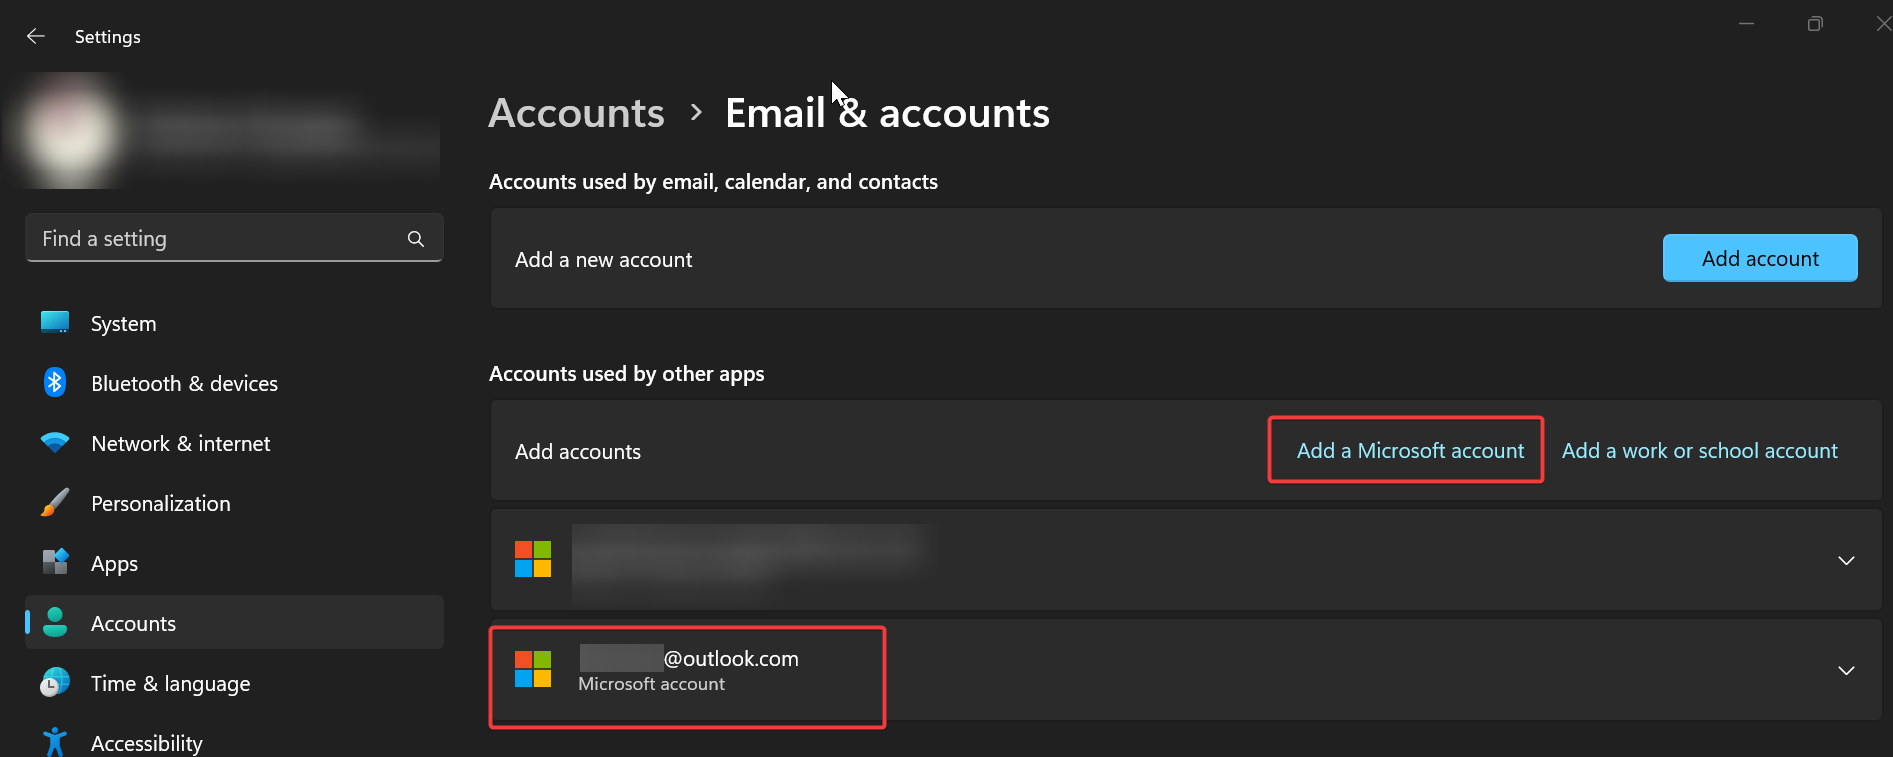
Open Windows Settings and from the left-hand side click on Accounts, and under Accounts click on Email & accounts.
Under Add Accounts, click on Add a Microsoft account. Enter your Microsoft account credentials and log in.
Once you log in to your Microsoft account, check the Taskbar settings and enable the Copilot.
Read Also:
How to Disable the Microsoft Edge Sidebar using Microsoft Intune?
List of Windows Copilot Prompts to Change Windows Settings
Remove Bing Chat Copilot Button in Microsoft Edge