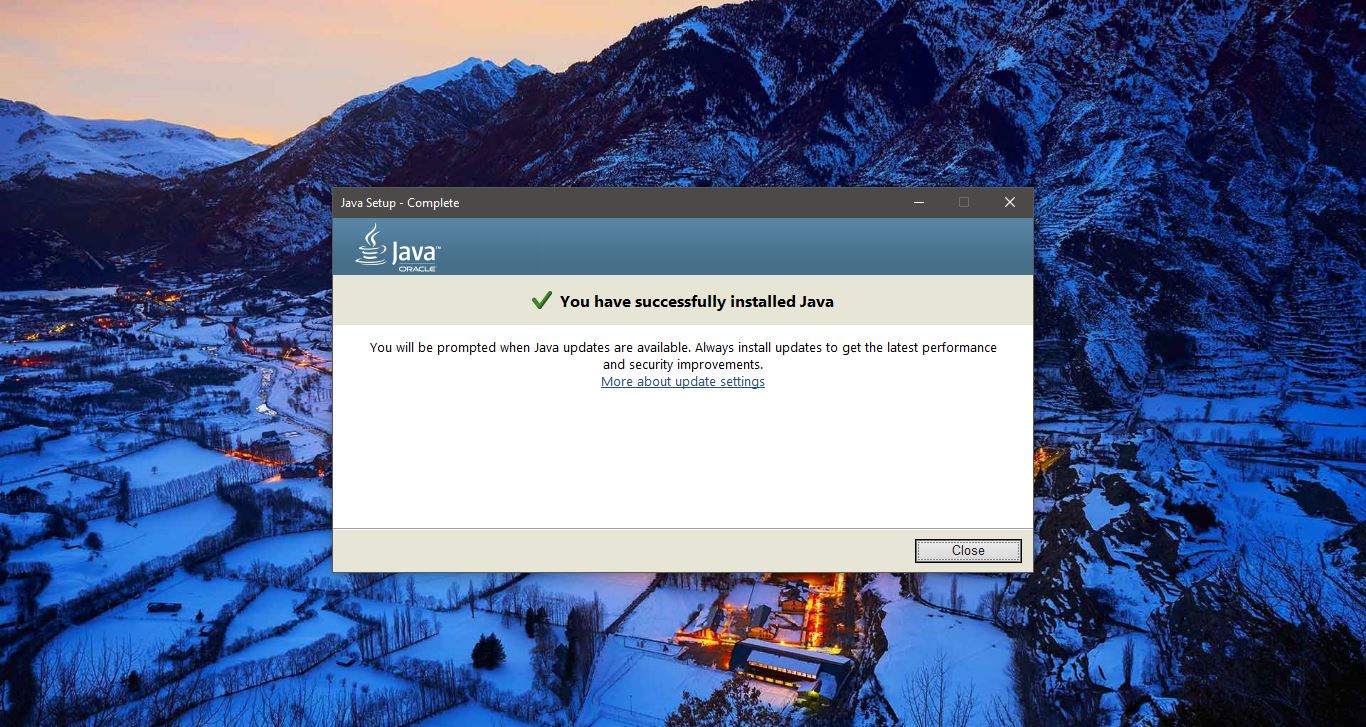
In windows 10, Java Error Code 1618 is a common issue, and most of the users faced this error while installing Java or any MSI packaged Program. Mostly you will face this error if the Windows Installer is already installing another application or Updating any existing application. Microsoft Windows Installed can run only one Process at a time, running two instances simultaneously can create conflict and it cause some service errors. Many users reported that they are facing this error while installing the Java application. And they confirmed there are no instances of java running in the background. Sometimes it could be any of the Microsoft installations running background. In this article, we will see what could cause the Java Error Code 1618 and how to fix it.
Error Message: Once you receive this error you will get the following message. “Java Update did not complete Error Code: 1618 Please refer to the Java Help Center for troubleshooting information or contact your system administrator.”
There are several other reasons that could cause this error, here we listed a few important and main reasons.
Another Program Installation in Progress: If the Windows installer service is in an error state or if the service isn’t running properly then you will face this error. If Another Program installation is in Progress then you will face this error.
Antivirus: sometimes antivirus may block the Installation due to some security Purpose.
Existing Java Application Corruption: sometimes the existing java installation might be corrupted due to some windows update or any other software installation.
Windows Update: Sometimes Windows Updates can break the installer. The expert confirmed that the Specific KB2918614 patch update broke the installation module which forces java to withdraw its Process. This article will guide you to fix Java Error Code 1618 in Windows 10.
Fix Java Error Code 1618:
If you encounter this error then you no need to worry about, follow the below mentioned recommended resolution methods to fix this issue.
Check any other Installation is in Progress:
Open Task Manager by Pressing Ctrl+Shift+Esc and choose Task Manager.
Now click on the Process tab and look any Windows Installer service is running or not. If the Windows Installer Service is running then Right-click on it and choose End Task.

After Ending the Particular Task, then run the Java Setup again, check you are getting that Java Error code.
Restart Windows Installer Service:
If the Ending the Installation Process doesn’t fix the issue, then we can try to restart the Windows Installer Service.
Open Run command by pressing Windows + R and type Services.msc and hit enter. This will open the Service Management Console.
Now Locate the Windows Installer Service, Right-click on the Windows Installer Service, and choose Properties.
Under Windows Installer Properties window, click on the General Tab and Under Service, status click on Stop.
And then start the service again.

After Restarting the service then try to install the java again, and check you are prompting for any error.
Remove Java Completely:
Sometimes systems may have more than two Java versions installed, keeping more than two java versions may corrupt the current Java Version. So, it’s better to keep the Updated Java and uninstall all older versions. If you are not able to uninstall all the Java Versions, then you can use the Java Uninstall tool. Uninstall tool will check for all Java versions on your computer. If out-of-date versions are found, then this tool will help you to remove them.
Frist Download the Java Uninstall tool from the official Link.
Close applications and other browser windows, and make sure there are no other installations pending, before continuing.
Right-click on the application and choose Run as administrator. Click on Agree.

Then the tool will analyze the system and detect all the old versions of Java. Click and remove all the Other versions. Then try to install the New Version. Check you are Prompting for any error.
Change the Installation Path:
If you are not able to install the Java, then try to install Java by changing the Installation Path.
First Download the Java Offline Installer from Oracle Website. Then click on the “Java Download” and download it.
Right-click on the exe file and choose Run as administrator. Under the Welcome page, click on the Change destination folder.
Then click on Install.

On the next page choose click on “Change”, Then choose the Different Installation folder. If you want to install in a new folder, then click on “Make New Folder” Next, click on OK.
Add a New Environmental Variable:
After the Installation of Java in a New Folder, then you need to add this location in New Environmental Variable.
Open File Explorer by Pressing Windows + E together. Now, Right-click on “This PC” and choose “Properties”.

Then click on Advanced system settings. Under System Properties, click on the Advanced Tab.

Then Under Startup and Recovery option click on Environment Variables. Under User Variables, click on New.

Set Variable name as Java. Then, Click on the “Browse files”. Navigate to the location you have just installed the Java.

Navigate to the Bin Folder of the installation directory, choose the Java.exe file, select it, and click on Open. Click on “OK” and add it to the Variable.
Click on Apply and Ok. Restart the system once. Mostly this will fix the issue.
Uninstall Particular Windows Update:
As I mentioned above, due to some windows patch updates, it will cause this type error.
Open Run command by Pressing Windows + R and type appwiz.cpl. This command will open the Programs and Features.
From the Left-hand side click on “View installed updates”.

Then choose the Update (KB2918614) then click on Uninstall. After the Uninstallation, Restart the System once.
Disable Antivirus:
If you are using any antivirus, disable it once and check, follow the instructions as per your antivirus guidelines. If you are using windows 10 default built-in Windows Defender Antivirus. Then follow the below-mentioned steps to disable the Real-time protection.
Open Start and search for Windows Security and Click on Windows Security.
From the Left-hand side click on Virus & threat protection.
Under Virus & threat protection settings from the right-hand side click on the Manage settings. Turn Off the Real-time Protection toggle switch to disable Windows Defender temporarily.

If you are using any third-party antivirus then you can stop the antivirus service. This will disable the antivirus.
Open Run command by pressing Windows + R and type services.msc and hit enter.
In Services Management Console find the list of services that is associate with your Antivirus. Stop all the services that are related to Antivirus. Right-click on that Particular service and choose Properties. And under the General tab, set the startup type to Disable.
 Click on OK and Restart the system once. Once the system boots run the chkdsk scan and check. Follow the next method.
Clean Boot:
If you are still facing the same issue then boot the system in clean boot mode. A clean boot is performed to start Windows 10 by using a minimal set of drivers and start-up programs. This helps eliminate software conflicts that occur when you install a program or an update or when you run a program in Windows 10, Windows 8.1, Windows 8, Windows 7, or Windows Vista. You may also troubleshoot or determine what conflict is causing the problem by performing a clean boot.