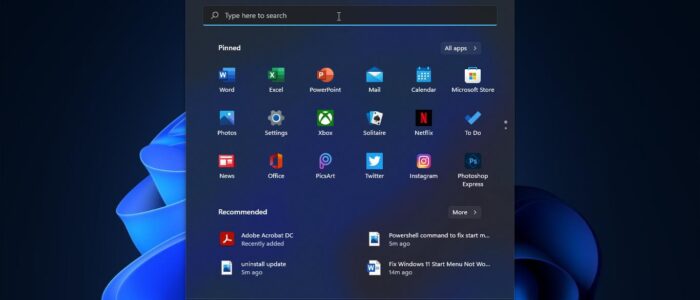
Start Menu in Windows is like the master control panel of your PC. In Windows 11, Microsoft made some big changes to the start menu. The layout has changed and the features that are included have been streamlined for a cleaner, hopefully, more intuitive, user experience. And moreover, the start menu is moved to the central location, instead of having a static position in the lower-left corner of the screen, Microsoft moved the Start button and the other icons to the middle portion of the taskbar. Windows 11 offers a lot of customization options to add or remove app and programs to the Start Menu. Start Menu is the key element in the Windows Operating system, Without Start Menu it is very difficult to operate your system. Recently few users reported that they are facing issues with the start menu in Windows 11. This article will guide you to fix Windows 11 Start Menu not working issue.
Fix Windows 11 Start Menu Not Working:
If you are facing similar issues with the start menu in Windows 11, then follow the below-mentioned resolution methods to fix this issue.
Solution 1: Re-Register Start Menu:
Open PowerShell in elevated mode, Search for PowerShell and right-click on it, and choose Run as Administrator.
Copy-Paste the following code into PowerShell Window and hit enter.
Get-appxpackage -all *shellexperience* -packagetype bundle |% {add-appxpackage -register -disabledevelopmentmode ($_.installlocation + "\appxmetadata\appxbundlemanifest.xml")}
This code execution will take a minute to complete, Once the command has been executed successfully, close the PowerShell window and restart the system once.
After the System restart, check the Start menu is working fine or not. Mostly this will fix this issue.
Solution 2: Uninstall Recent Update:
Most of the users reported that this issue occurred after the Windows Update, the following workaround resolves this problem. Reinstalling the particular KB (KB5004300) update will fix this issue.
Open Windows Settings by pressing Windows + I and go to Windows Update > Update History.
Under Update History, Make sure the KB update KB5004300 is Installed. If the update is Installed follow the below-mentioned steps to uninstall it.

Open Command Prompt in elevated mode and type the following command.
wmic qfe list brief /format:table
This command will list out all the installed updates on your Windows system, This list will provide you the KB ID.
To Uninstall the KB update, type the following command replacing <HotFixID> with KB update ID and hit enter.
wusa /uninstall /kb:<HotFixID>
So the actual command will look like this wusa /uninstall /kb:5004300
This command will uninstall the KB update, after the restart just check the issue is resolved or not.
Related: How to Lock Windows 11 Start Menu Layout?