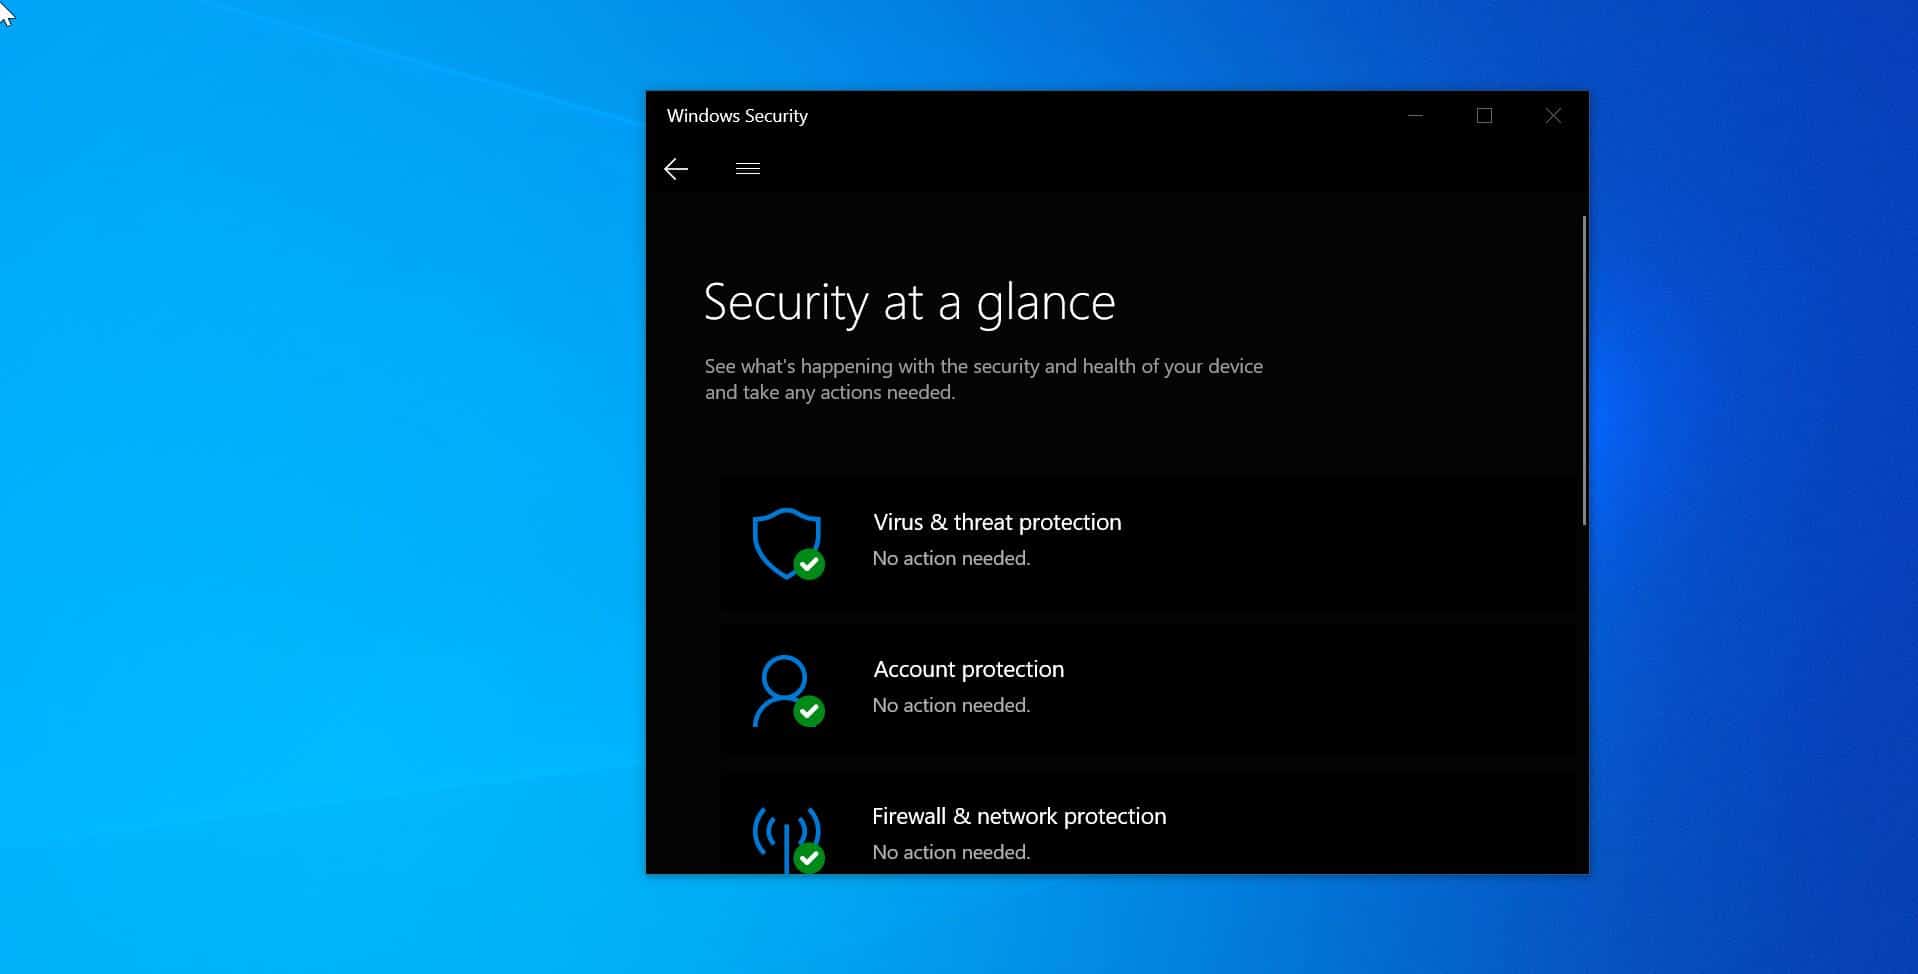
Windows Defender is the Antivirus which is inbuild in windows 10, Windows Defender is the next generation protection component of Microsoft Defender Advanced Threat Protection (Microsoft Defender ATP), Windows Defender comes with the most advance feature, which starts from the design a panel displaying its various modules and their status. You can find the seven protecting areas of the windows defender below.
- Virus & threat protection
- Account
- Firewall & network protection
- App & browser control
- Device Security
- Device performance & health
- Family options
From these seven protecting areas, Scanning the computer is the part of the virus and Protection feature, which is very important for any antivirus, Once the defender is enabled the system scan will happen automatically when the defender detects a suspicious file on your system. Then it immediately moves that suspicious file to Quarantine Folder. This stops the spread of the virus. But the file will remain the same in the Quarantine folder. If you want to remove the file automatically then this article will guide you to Configure automatic Removal of files from Quarantine in Defender.
Configure automatic Removal of files from Quarantine Folder:
You can Configure automatic Removal of the files from the quarantine folder after specific days by using the following methods.
Using Group Policy:
Open the Run command by pressing Windows + R and type gpedit.msc and hit enter, This will open the Group Policy Editor.
Now Navigate to the following path
Computer Configuration > Administrative Templates > Windows Components > Microsoft Defender Antivirus > Quarantine
From the Left-hand side click on the Quarantine, and from the right-hand side Look for the Policy name Configure removal of items from Quarantine folder.
Double click on the Policy to open Policy Settings. Click on Enabled. Then set the value for the number of days items should be kept in the Quarantine Folder.
Click on Apply and OK.
Open Command Prompt and type gpupdate /force.
Once the policy is updated restart the system once.
Using Registry Editor:
Note: Modifying the Registry is risky, and it causes irreversible damage to your OS Installation Follow the steps correctly. Friendly advice Before Modifying Registry Creating Restore Point is recommended.
Open the Run command by pressing Windows + R and type Regedit and hit enter. This will open the Registry Editor console.
Now Navigate to the following Path.
Computer\HKEY_LOCAL_MACHINE\SOFTWARE\Policies\Microsoft\Windows Defender\Quarantine
If you are not able to find the Quarantine Registry Key, then you need to create it, Right-click on the Defender and choose New > Key, and name it as Quarantine.

Now click on the Quarantine, and from the right-hand side create a new word by right-click on an empty area and choose New > DWORD (32-Bit ) Value.
And name the Value as PurgeItemsAfterDelay, Double click on the value and set the value in days. If you want to empty the quarantine folder after 7 days, then you need to type 7.

Close the Registry Editor and Restart the system once.