Windows 11 Comes with a Lot of new features and a complete change of new UI design, and it includes a lot of free inbuild apps and along with new ones. The most exciting new app that comes with windows 11 is Power Automate Desktop. Power Automate Desktop is an automation tool that is included in Windows 11 as a native app. Power Automate Desktop or PAD uses robotic process automation capabilities in power automate and enables you to automate all repetitive desktop processes. PAD is free and included in Windows 11 as a native app, Microsoft calls its “attended Robotic Process Automation” solution, it’s like Excel macro recorder, but it’s more advanced than that. Excel macro recorder only records actions inside the excel, but PAD records the entire desktop actions and helps you to automate any repetitive tasks. It comes with 370 prebuilt actions that help you to build flows across different applications, also you can create your own scripts and use the recorder to record the steps and actions across the different applications. In this article, we’ll see how to Configure Power Automate Desktop in Windows 11.
Configure Power Automate Desktop in Windows 11:
You can download the Power Automate Desktop from https://flow.microsoft.com/, if you are using an insider build of Windows 11 then you can find it as an inbuilt app.
If you are using Windows 10 then download the tool from the above link and get it installed. In Windows 11 you can search for Power Automate. Click on it and open the app.
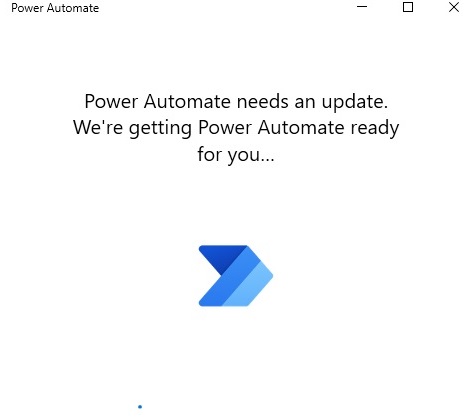
If you are opening the Power Automate for the first time, then it will check for the update and download the latest version of the app. So, wait for the downloading process to complete.
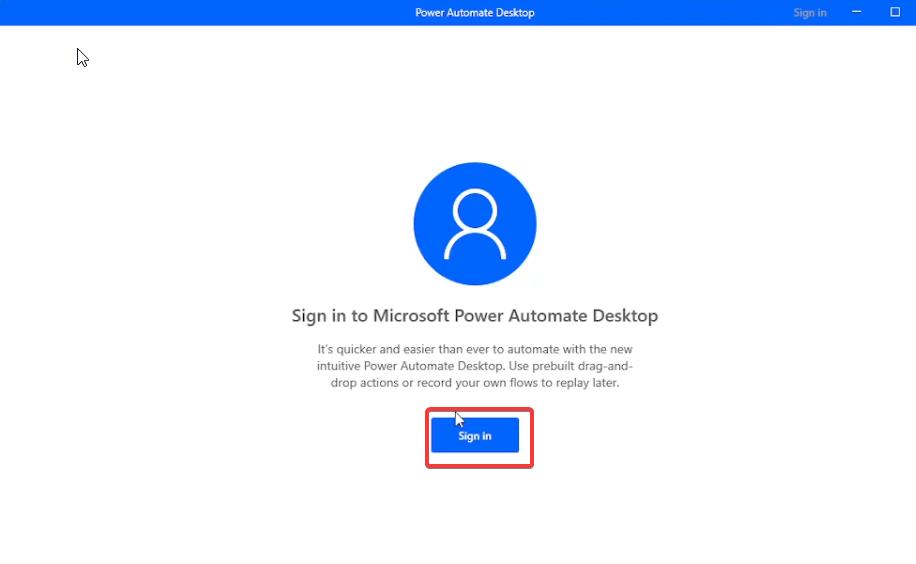
After the Update process, you will be getting the sign-in page, click on the Sign-in button. And enter your Microsoft account credentials.
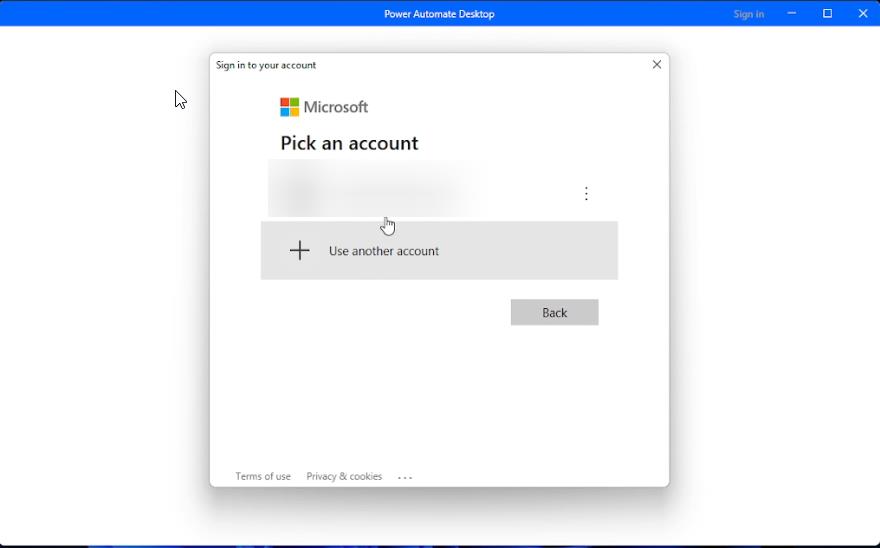
Click on your Microsoft account and complete the sign-in process.
After the Sign-in process, you’ll get the Flows page, this page will list out the number of workflows that you have created.
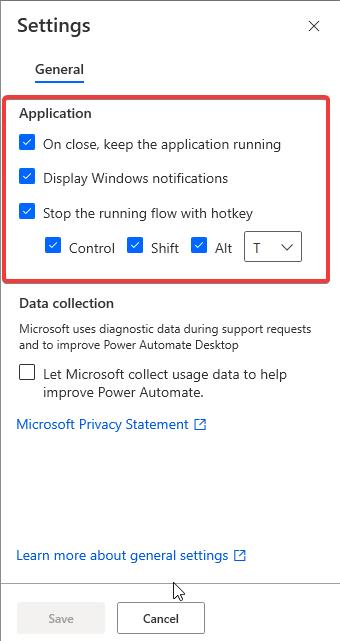
At the top of the window you can see the New flow option, this option helps you to create a New Workflow, at the top right corner, you can see the settings, help, and Search Flows option.
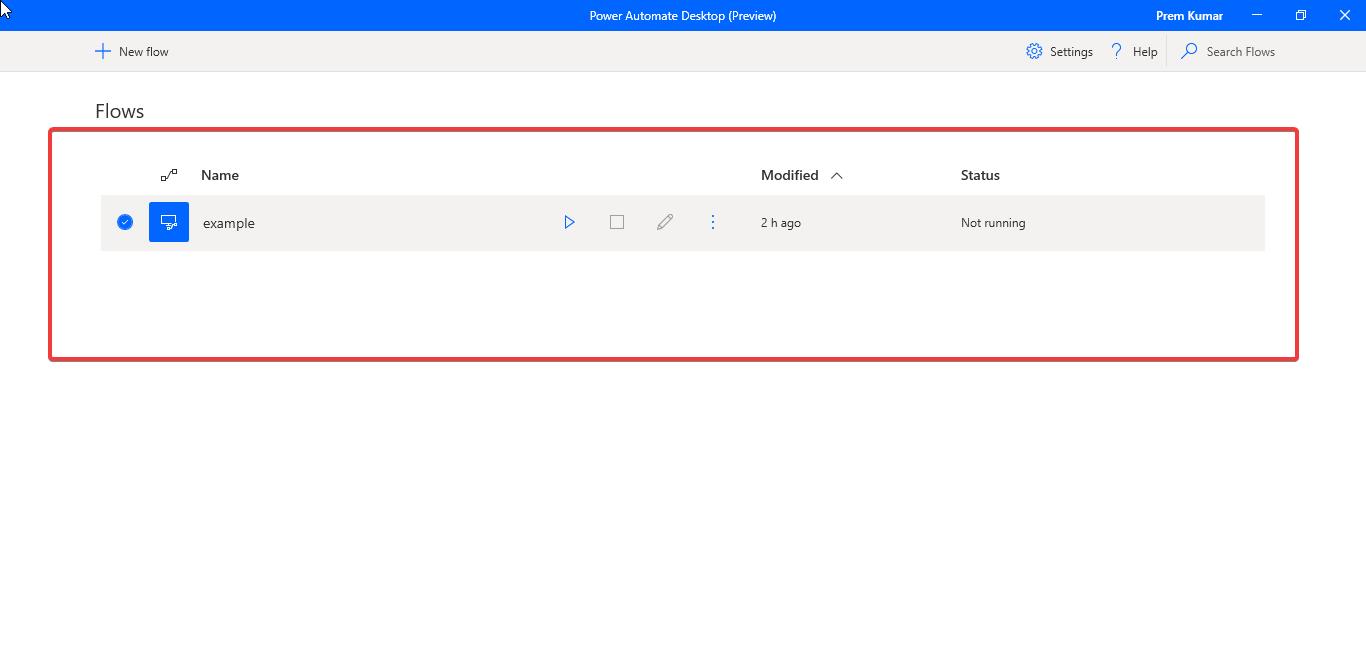
The Settings option contains all the general settings of the app and using the Search Flows option you can search for any Workflow which you have created.
Create a New Flow:
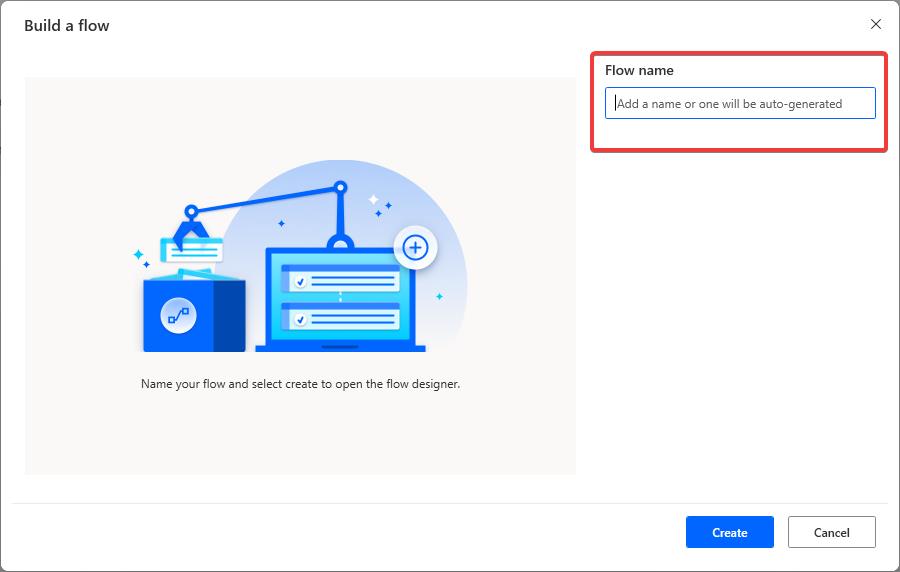
To Create a New Workflow just click on the New Flow option from the top left corner. Next, type any name you want and then click on Create.
Now you’ll get a workflow page where you can create or edit the flow, this page has been divided into three sections, the left-hand side section is called as Actions section, where you can find all the pre templated actions, totally there are 370 actions you can find from this section. Also, this section contains the search option, using this search you can search for any action.
The Middle section is called as Main Section where you can see the edit or see the actions. The last right-hand side section is called as Variables section. This section holds all the variables that you create while creating a workflow task.
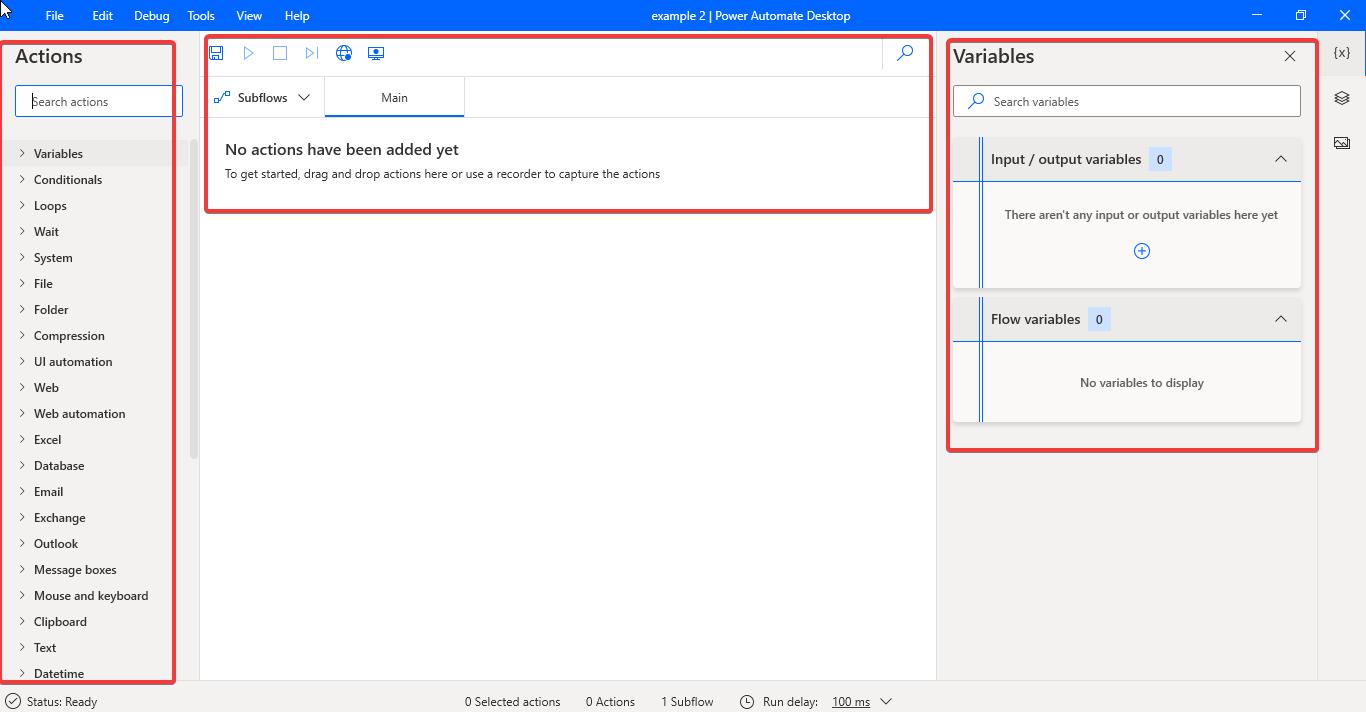
Also, you can find the Save, run, stop, next, Web recorder, and Desktop recorder at the top of the main page.

Using PAD you can easily create a Workflow to automate any of your routine tasks.


