Windows subsystem for Linux is a way to run the Linux operating system in windows without installing any Third-Party virtual machine. WSL allows users to run the Linux Operating system alongside Windows. Using WSL, you can install the Linux distributions as an app from the Windows Store. Windows has a driver that sits between the NT kernel and Linux kernel mode that does the translation and exposes the virtual files. Its compatibility layer for running Linux binary executable natively on windows 10/11. This kernel interface is developed by Microsoft which can then run a link on top of it moreover it can support all kinds of Linux distributions like Ubuntu, open-source, and fedora. This feature was introduced with the windows anniversary update the fall creates update. Microsoft recently updated the WSL1 version to WSL 2 and WSL 2 is only available in Windows 11 or Windows 10 version 1903. WSL 2 is the improved version of WSL1 and the primary goals of this update is to increase file system performance and full system call compatibility.
Benefits of WSL2:
WSL 2 comes with all WSL 1 features and benefits, and it includes seamless integration between Windows and Linux, faster boot times, small resource footprint, Runs with the current version of VMware and VirtualBox, and Full Linux Kernel, Full System call compatibility, Performance across OS file systems. Click here to know more about WSL 2 benefits.
This article will guide you how to install WSL2 (Windows Subsystem for Linux) in Windows 11.
Install WSL2 in Windows 11:
In Windows 11 you can install the WSL2 in an extremely simplified way, before installing WSL 2 make sure the following requirements are met.
To update to WSL 2, you must be running Windows 10…
- For x64 systems: Version 1903 or later, with Build 18362 or later.
- For ARM64 systems: Version 2004 or later, with Build 19041 or later.
- Windows 11.
If you are running Windows 11, then go ahead and run the following command.
Open PowerShell in elevated mode, search for Windows PowerShell and right-click on it, and choose Run as administrator. Enter the following command and hit enter.

Wsl –installOnce you entered the command, Windows will automatically enable Virtual Machine Platform and Windows Subsystem for Linux. It will install the ubuntu finally, util that you can sit back and relax.

Restart your system once if the process is completed.
Install WSL Specific Linux Distro:
Open PowerShell in elevated mode and run the following command to view list of available Linux Distros.
wsl --list --online 
Then type the following command to install WSL with a specific Linux distro.
wsl --install -d <Distribution Name>Here replace the <Distribution Name> with the actual Linux distro name and hit enter. Eg: wsl –install -d Ubuntu
Restart the system once after the Linux distro installation.
Update WSL using PowerShell/Command Prompt:
Updating WSL is simplified, you can update WSL 1 to WSL 2 using Windows PowerShell or Command Prompt.
Open PowerShell or Command prompt in elevated mode. Type the following command and hit enter.
wsl --update
The above-mentioned command will update the WSL Kernal. If the update is available then windows will automatically download and update the WSL Kernal.
If you received any error while updating the WSL, then follow the below-mentioned steps to receive updates from other Microsoft products.
Open Windows Settings by pressing Windows + I and click on Windows Updates > Advanced options.
Under Advanced Options look for the option “Receive updates for other Microsoft products”, Turn on the toggle button to get the updates for other Microsoft Products.

Legacy Method to Update WSL:
If you are using Windows 10 version 1909 or older version then you can use the Legacy process to update the WSL. In this process we need to enable the WSL 1 and Virtual Machine Platform. Then we need to convert the existing distros (if applicable), and Install WSL2 kernel update manually.
Make sure the following pre-requisites are met before installing WSL2.
- For x64 systems: Version 1903 or higher, with Build 18362 or higher.
- For ARM64 systems: Version 2004 or higher, with Build 19041 or higher.
Enable WSL for Linux:
Follow the steps from the link to enable the WSL feature.
Once you Enabled the Windows Subsystem for Linux, then you need to enable the Virtualization Platform feature.
Enable Virtualization Platform:
Virtualization Platform is a Windows Inbuilt feature, it is disabled by default, to enable this feature, your motherboard and processor must support virtualization, and Virtualization has to be enabled in BIOS or UEFI. Follow the steps from the link to enable the Virtualization from BIOS or UEFI.
Open PowerShell in elevated mode, Click on Windows Start and search for PowerShell and right-click on it and choose Run as Administrator.
Type the following command and hit enter.
Enable-WindowsOptionalFeature -Online -FeatureName VirtualMachinePlatformRestart the system once. After the restart, we need to install the WSL kernel update.
Install and Enable WSL 2:
In this process, we are going to install WSL2 manually, and we going to set WSL 2 as the default to convert WSL distros.
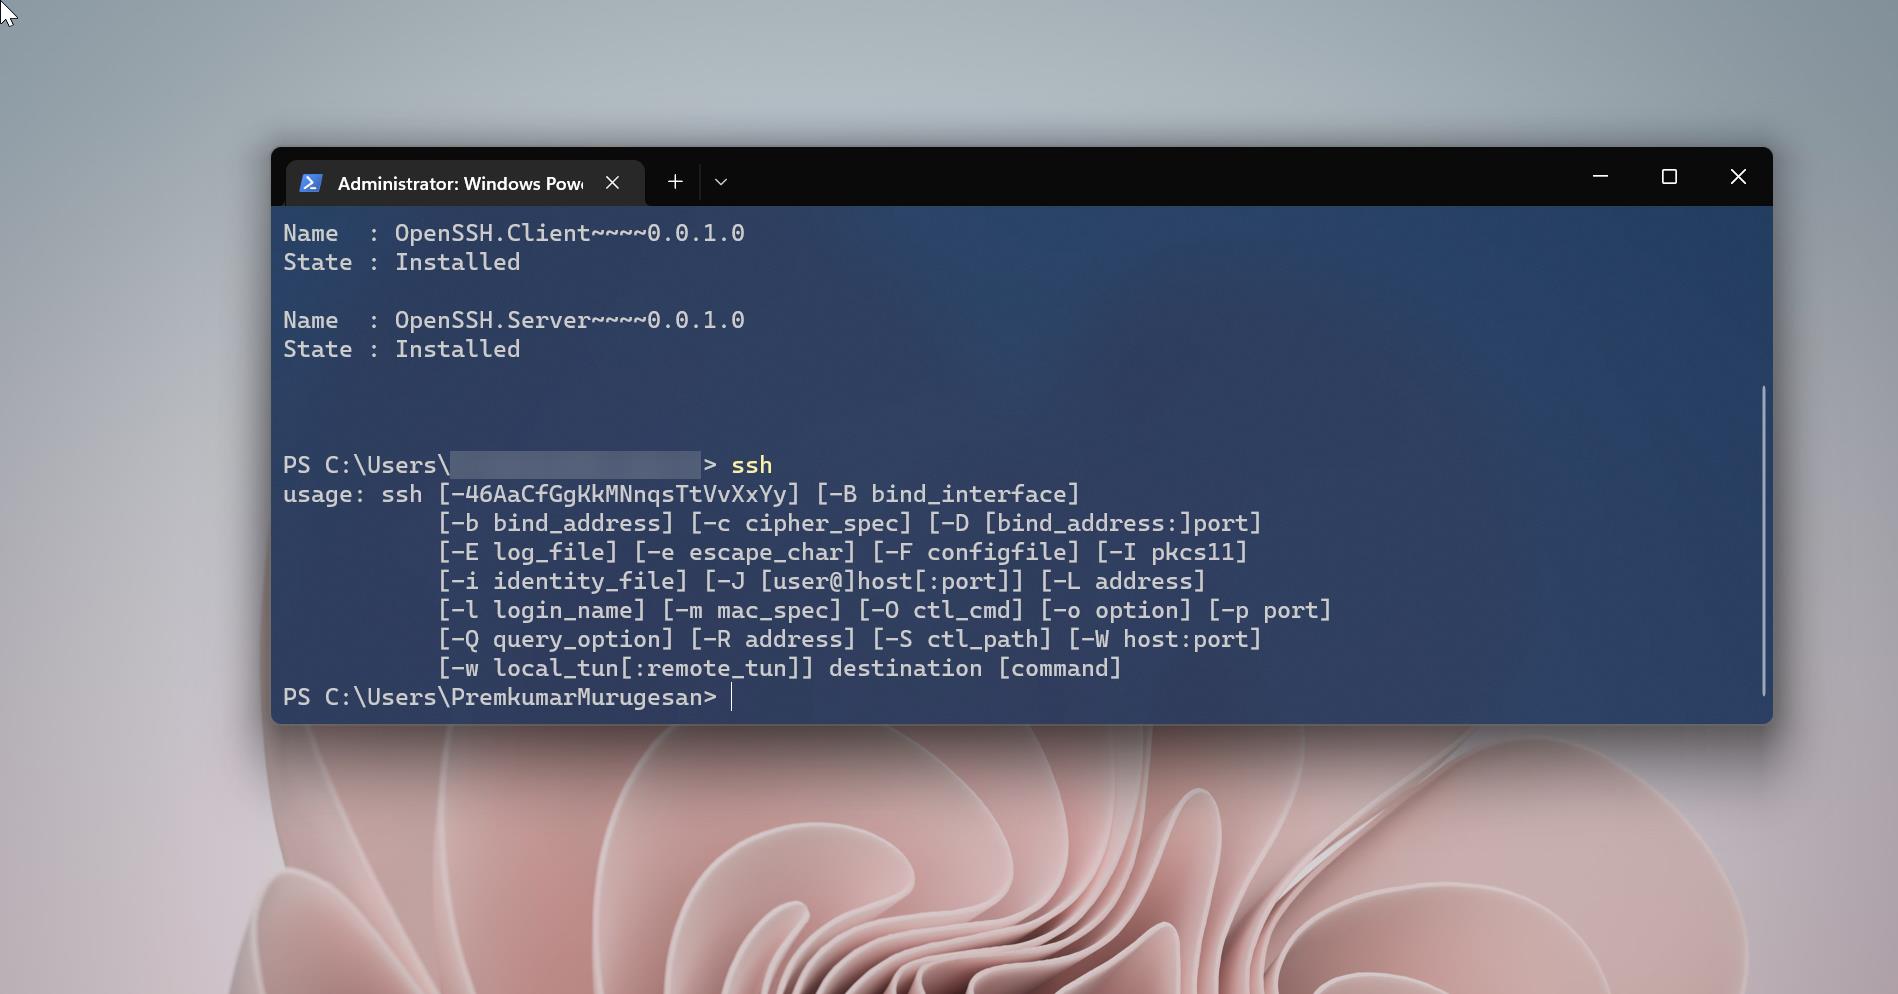
First, Download WSL 2 Kernal Update.
You’ll get a .msi file, double click on the msi file to install WSL2.
Click on Next and then finish. That’s it you have successfully installed WSL2.

Next, we need to set the WSL2 as the default version, Open PowerShell in elevated mode and type the following command.
wsl --set-default-version 2This command will set the WSL2 as the default version for all the Linux distros, if you want to set WSL2 version for specific Linux distros then type the following command.
wsl --set-version Ubuntu 2
Just change the Linux distro name from the command if you want to change the WSL version for other Linux distro. That’s it.
Check WSL Version:
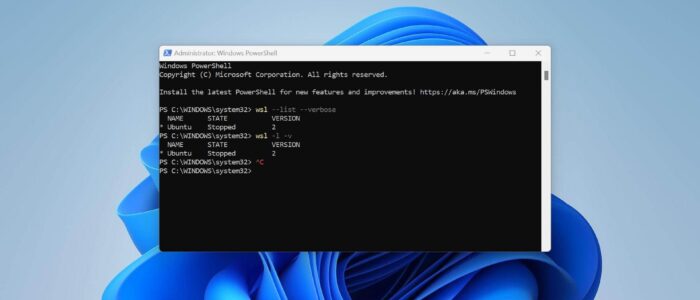
You can check the Installed WSL version using the following commands.
Open PowerShell in elevated mode and type the following command.
wsl --list --verbose
or
wsl -l -v
These commands will display the version and status of WSL.
Read Also:
How to remove WSL Linux distro using PowerShell in Windows 11?
Fix No Internet connection in WSL on Windows 11/10
Fix WslRegisterDistribution failed with error 0x80004005 in Windows 11
Fix Process Exited with Code 4294967295 in WSL on Windows 11