Google Chrome is one of the best browsers and used by millions, chrome has 69.91 % worldwide usage of web browsers as a desktop browser. Google chrome is a freeware web browser and it is very easy to download and install, you can download the Chrome Installer from Chrome’s official site and install it with few mouse clicks, Chrome is available for Windows, Linux, MAC OS, iOS, and android. So, to use Google Chrome, first, it needs to be installed on your machine, the installation process is very simple and you can download the online or offline installers to install google chrome. Once you installed Google chrome then you can sign in to your Google account and sync the browsing data to resume your workflow. So, whatever you are browsing all the history will be saved in that computer itself, for example, if you are using choogle chrome on a public computer, then all your browsing history will be saved in that computer. The Portable Google chrome app work in a different way, without installation you can use this app, by just copying the chrome to the USB drive or any other removable drive you can use this on the go. You can connect the USB drive to any public or untrusted computer and you can start using your personal Chrome browser. If you want to use Portable Google Chrome then this article will guide you to Create Portable Google Chrome in Windows 10/11.
Create Portable Google Chrome in Windows 10/11:
To Create Portable Google Chrome, first, you need to get one USB Pen Drive. Connect the USB Drive to your system.
Next Download the Portable Google Chrome, from the Portableapps.com.
Once you download the Google Chrome portable, right-click on it and choose Run as administrator.
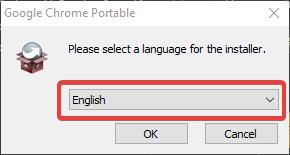
Select the Language English.
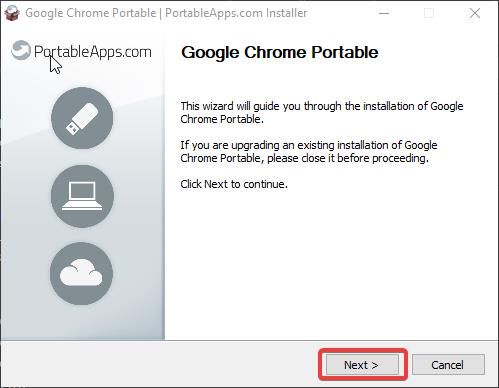
On the next screen click on Next.
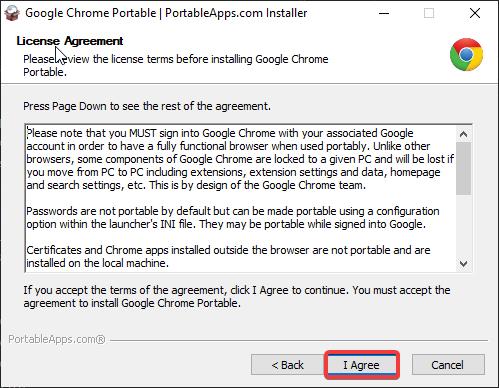
And click on I Agree to accept the license agreement.
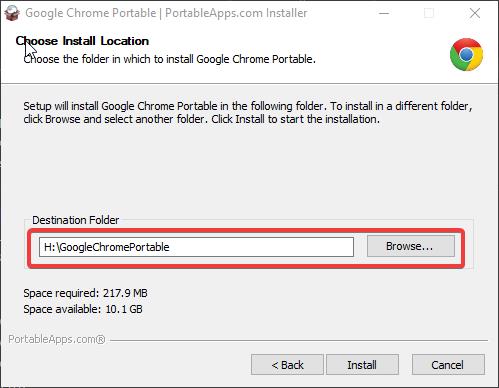
Then on the next screen, and click on the browse button to change the destination location and click on Next.
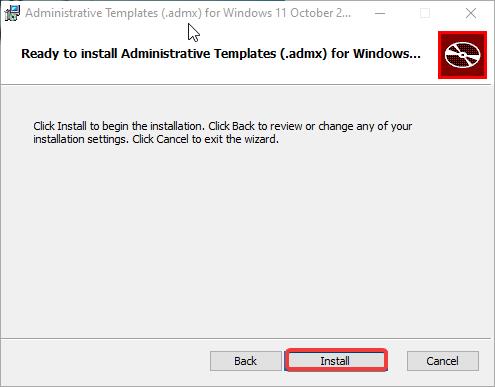
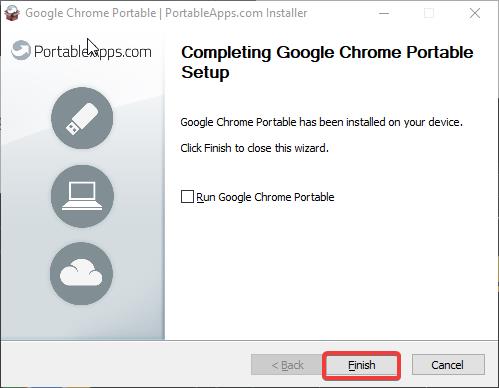
Once you click on Next, the installation process will start. After the installation click on Finish.
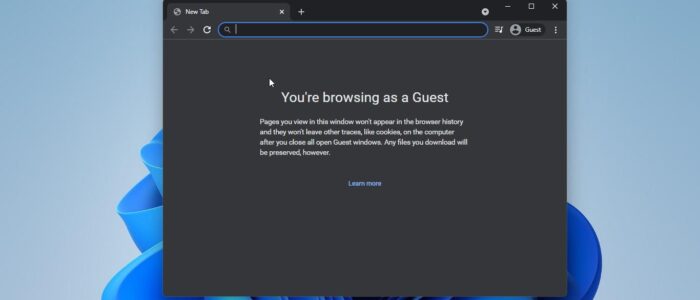
Now you can connect the USB drive to any computer to use the Portable Google Chrome, Open the file explorer and go to the pen drive folder. Here you can see the GoogleChromePortable folder and double click on the Chrome exe file to open the browser.
So, the Chrome browser is installed on the USB drive, all the installation files are saved in the USB Pen Drive. So, you no need to worry about chrome storing sensitive data on the computer. When you are done with your work, just close the browser and disconnect the USB Drive.
Read Also: How to Auto-refresh webpage in Google Chrome?

Maybe my English is not good enough. What I understand should be “Download” and “Use” instead of “Create”. Also as per that website, it doesn’t work in XP or before only.
Hence the title should be “How to download and use portable google chrome in Windows 7/8/10/11”.