Dots per inch (DPI, or dpi) is a measure of spatial printing or video dot density, in particular the number of individual dots that can be placed in a line within the span of 1 inch. The lower DPI will make the Icons and letters smaller the Higher the DPI the bigger the DPI and icons. DPI is a function of display resolution and size; higher the resolution will lead to higher DPI, and Lower resolution will lead to Lower DPI. The default DPI setting of windows 10 is 96 DPI. If you set the Higher DPI, pixels will be closer together, so that the user interface (UI) and other displayed content appear smaller than intended. Most of the laptops or computer displays have a default scaling DPI range of 95-110 DPI, for these devices, no scaling is required, and windows will automatically set the scale factor of 100%. If you change the DPI scaling level for your displays, then it will change the size of text, apps, and other items to appear larger or smaller. This article will guide you to Modify the DPI Scaling in Windows 11.
Modify the DPI Scaling in Windows 11:
In Windows 11 you can change or modify the DPI scaling in different methods.
Modify DPI Scaling using Settings:
Open Windows Settings by pressing Windows + I and from the left-hand side click on System and from the right-hand side click on Display.

Under Display, look for Scale & layout and click on Scale, and from the drop-down menu choose any value.

Once you choose the option, Windows 11 will automatically apply the new DPI scaling value.
Note: The number of available scaling values will depend on your monitor size and resolution. Windows will automatically set the recommended percentage value as the default scale size.
How to Set custom scaling in Windows 11?
You can also set the custom scaling value in Windows 11, if the default custom value doesn’t fit for your display, then you can set the custom scaling level. Follow the below-mentioned methods to set the custom scaling in Windows 11.
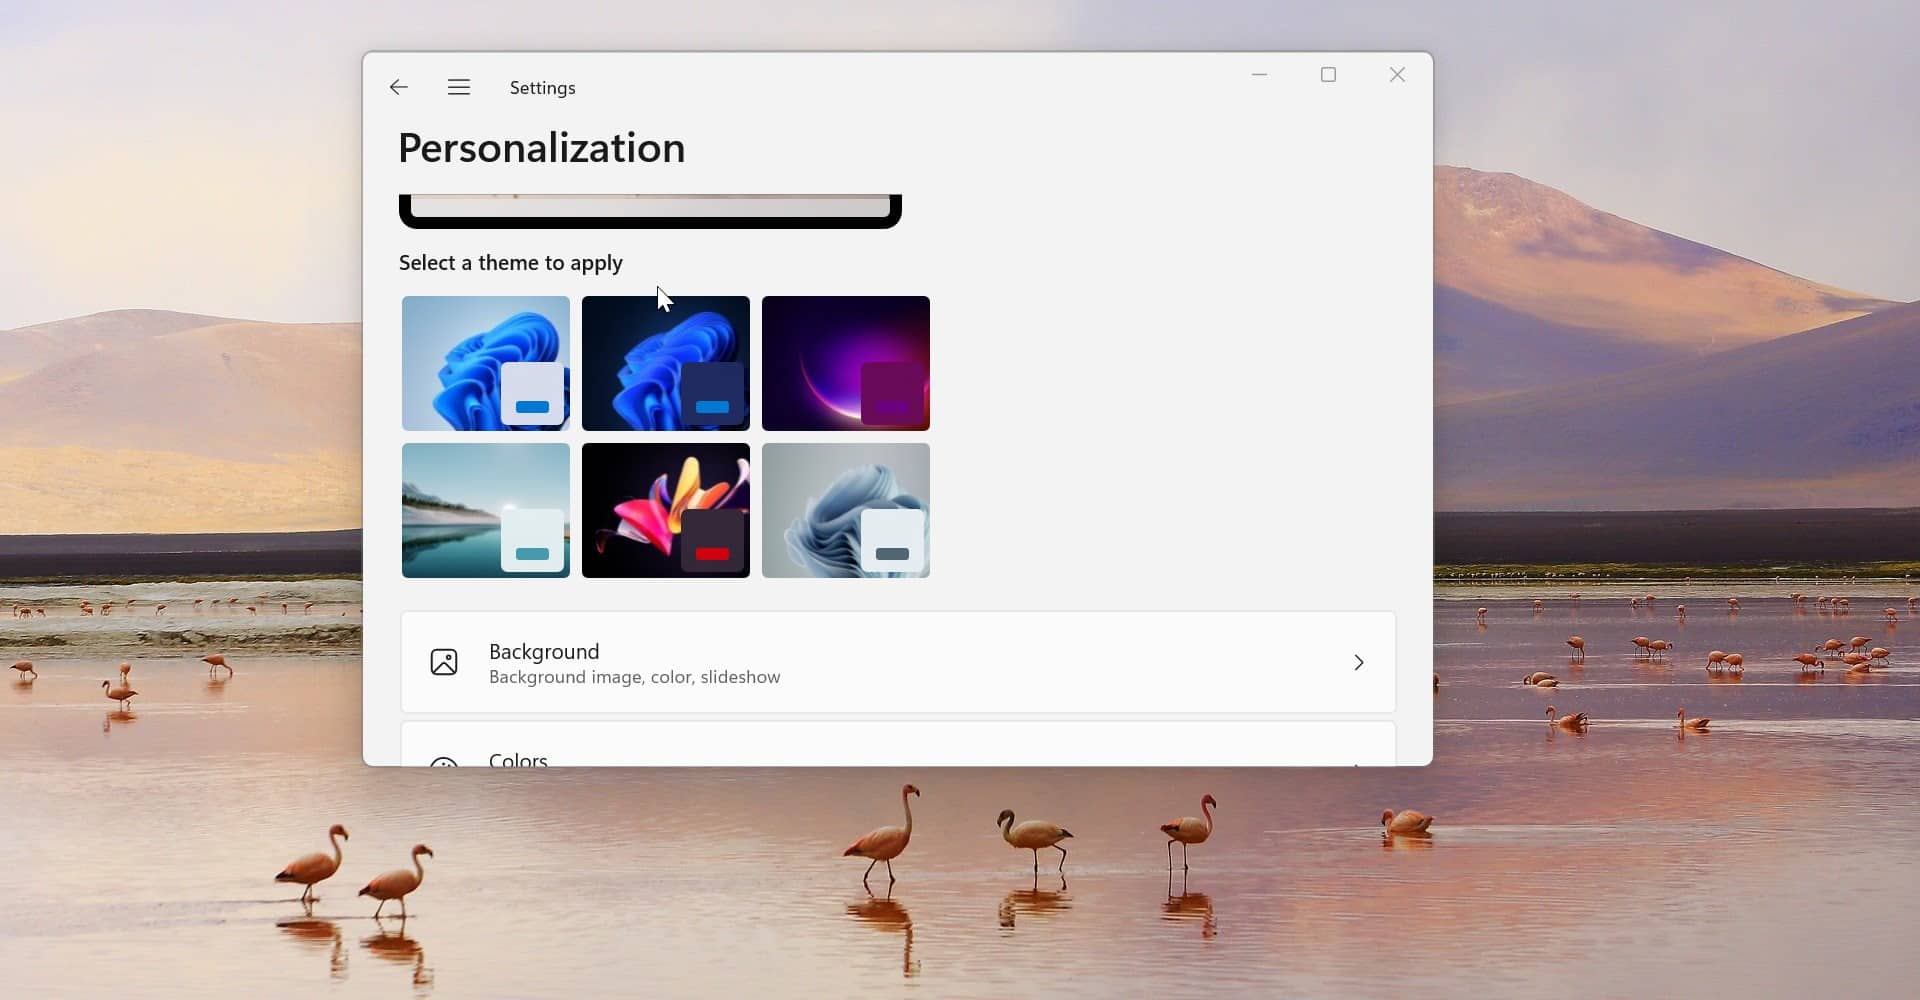
Right-click on your Desktop and choose Display settings.

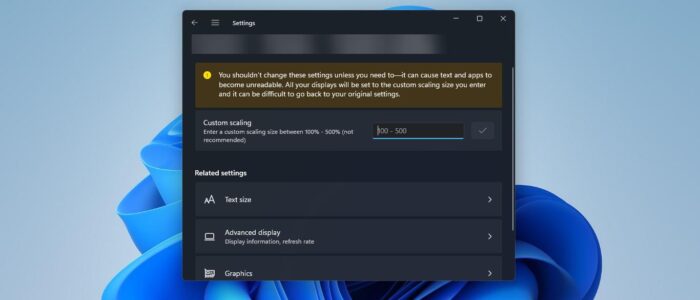
Under Display Settings, click on the Scale option, under Custom scaling you can choose between the values from 100% -500%.

Once you set the value click on the checkmark button and apply the changes.
Note: Choose the custom scaling level values correctly, or you might get poor image rendering in some apps, and some of the apps won’t support this feature properly. If you set the scaling level to high, then some controls and buttons may disappear from the screen or overlap with the other elements. To set the value properly use the first method, just choose the available scaling values from the drop-down menu.
Modify the DPI Scaling using Registry Settings:
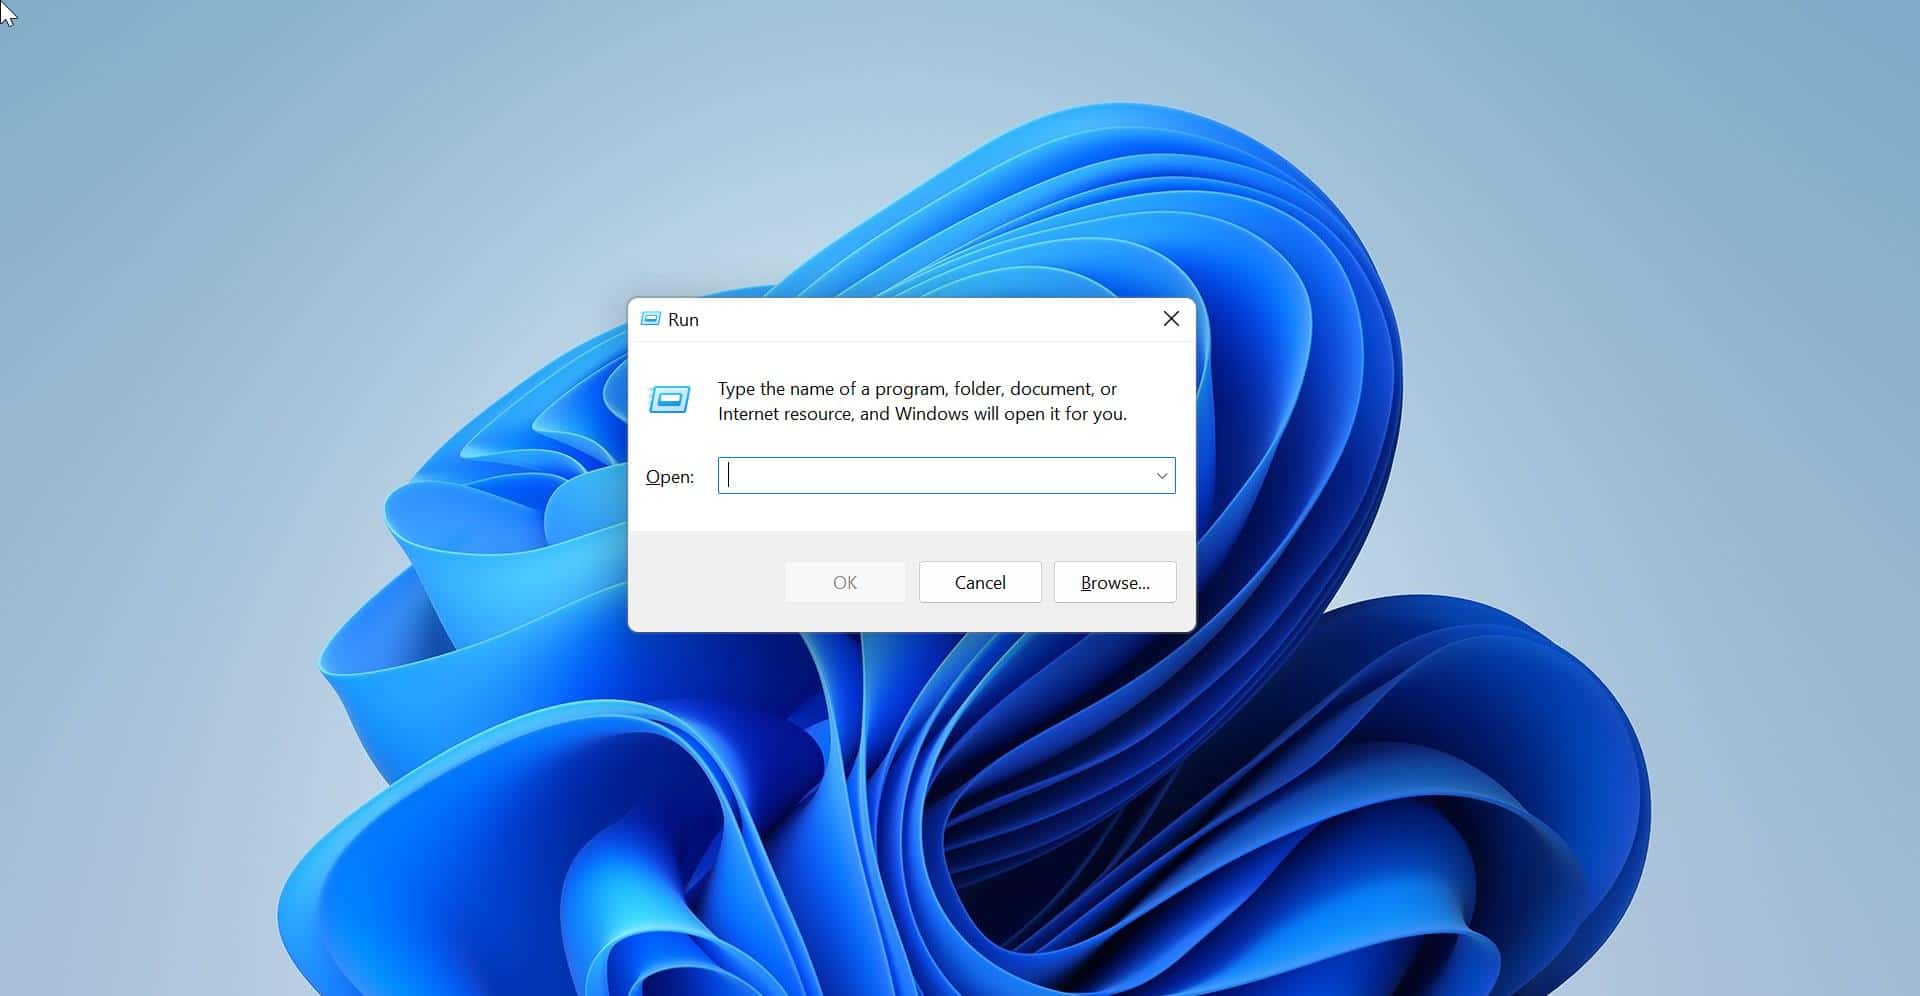
Open the Run command by pressing Windows + R and type Regedit and hit enter, this command will open the Registry Editor console.
Now navigate to the following registry path.
HKEY_CURRENT_USER\Control Panel\Desktop
From the left-hand side, right-click on the Desktop Registry key and choose New > DWORD (32-bit) value. And name the DWORD as “LogPixels” and set the value from the following table based on requirements.
| 96 | default 100% |
| 120 | medium 125% |
| 144 | larger 150% |
| 192 | extra-large 200% |
| 240 | custom 250% |
| 288 | custom 300% |
| 384 | custom 400% |
| 480 | custom 500% |
To modify the LogPixels value, double click on the LogPixels DWORD and click on Decimal value, and set the value from the above table.
Next look for the Win8DpiScaling DWORD and double click on it and modify the value to 1 and click on OK.

Then close the registry editor and restart the system once.
Related: How to Display Taskbar on Multiple Monitors in Windows 11?