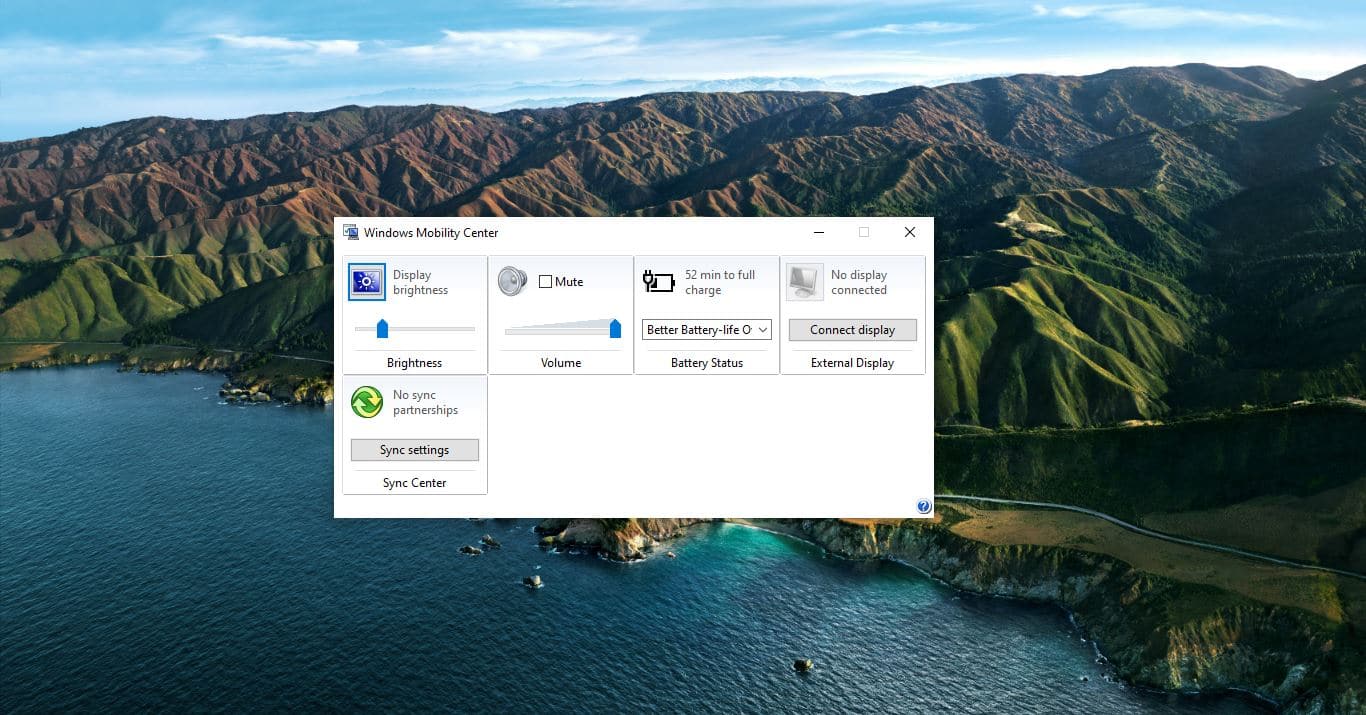
Windows Mobility Center (mblctr.exe) is a tool that allows laptop users to access to the most commonly used settings for mobile devices, such as brightness, volume, battery status, screen orientation, external display, sync center settings, and Presentation settings. By default, Windows Mobility Center is only available on a Windows PC, Laptop, or Tablet with a battery. This tool is not available on a desktop PC, but you can enable Windows Mobility Center for desktop. This article will guide you to Enable Windows Mobility Center in Windows 10.
Enable Windows Mobility Center:
You can disable or Enable Windows Mobility Center using two different methods. Let’s see the Methods in detail.
Using Group Policy Editor:
Open Run command by pressing Windows + R and type gpedit.msc and hit enter. This command will open the Group Policy Editor.
Now Navigate to the following path.
Computer Configuration\Administrative Templates\Windows Components\Windows Mobility Center
From the Left-hand side click on the Windows Mobility Center, and from the Right-hand side, Double click on the policy named Turn off Windows Mobility Center and open the Policy Setting.

Choose Enabled, to enable Windows Mobility Center on Desktop. For Laptop By default Windows Mobility Center is enabled.

Then click on Ok and Restart the system once. After the system restart, search for Windows Mobility Center and open it.
Using Registry Editor:
Note: Modifying the Registry is risky, and it causes irreversible damage to your OS Installation Follow the steps correctly. Friendly advice Before Modifying Registry Creating Restore Point is recommended.
Open the Run command by pressing Windows + R and type Regedit and hit enter. This command will open the Registry Editor.
Now Navigate to the following path.
Computer\HKEY_CURRENT_USER\SOFTWARE\Microsoft
From the Left-hand side, Right-click on the Microsoft Registry key and Choose New > Key and name it as MobilityCenter.

Next Right Click on the MobilityCenter and choose New > DWORD (32-bit) Value, and name it as RunOnDesktop.
Now Double click on the RunOnDesktop Registry key and set the value as mentioned below.
To enable – 1
To Disable – 0

Click on Ok and Restart the system once. Now you can use Mobility center on Desktop.