CAB files is called as Cabinet file and they used to be called as Diamond files. Generally, CAB files are compressed files, which use the lossless compression method to store data, usually, in Windows, these files are used to store data related to various Windows Installations files, device drivers, or system files. CAB files ends with the .cab extension, but Microsoft Publisher Program’s Pack and Go feature can make the CAB files that ends with the PUZ file Extension. Mostly Cab files contain compressed data and are used for Windows Software Installations, such as system files, network components, and device drivers. Most of the device manufacturers use cab files to store the device driver updates. The cab file format is easy to install, and Windows will often automatically download and install the updates. You can open the CAB files using the Windows explorer itself, and the CAB format supports the ZIP, Quantum, and LZX data compression algorithms. If you want to push updates are install drivers in CAB file format, then this article will help you.
In Windows you can install the device drivers in CAB file format in two different methods, the first method is by using the DISM command, and the second method is by Extracting the CAB file and updating the device drivers from the Device Manager. We have already seen how to install the Windows device drivers using the DISM command. This article will show how to Update Drivers using CAB file without using the DISM command.
Update Drivers using CAB file in Windows 11/10:
Sometimes Installing the CAB file using the DISM command would get fail, In such scenarios, you can use the following method to install or update the Windows device drivers.
Open Windows File Explorer by pressing Windows + E and navigate to the CAB file location.
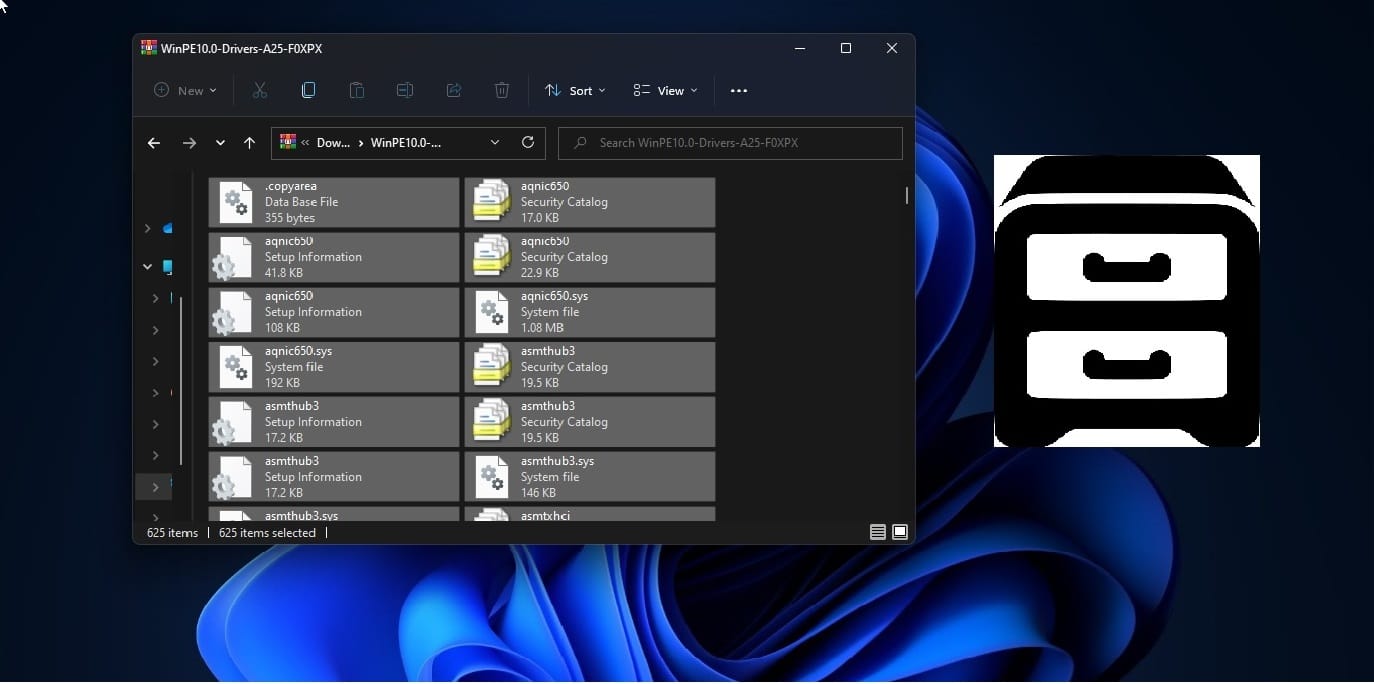
Double click on the CAB file, this will open the CAB file in Windows File Explorer.
Press Ctrl + A to Select All, next right-click on the selection, and choose Extract.

Next, Choose the Destination folder and Extract it.
Once the extraction is done, then open the Device Manager, Open run command by pressing Windows + R and type devmgmt.msc, and hit enter. This command will open the Device Manager.
Now Expand the device drivers which you want to update, right-click on the driver and choose Update Driver.

Next click on the Browse My computer for drivers option.

Click on the Browser button and choose the extracted CAB file location. Check the Include subfolders option and click on Next.

Click on OK and Next, Now the device manager will look for the driver files and install it automatically.