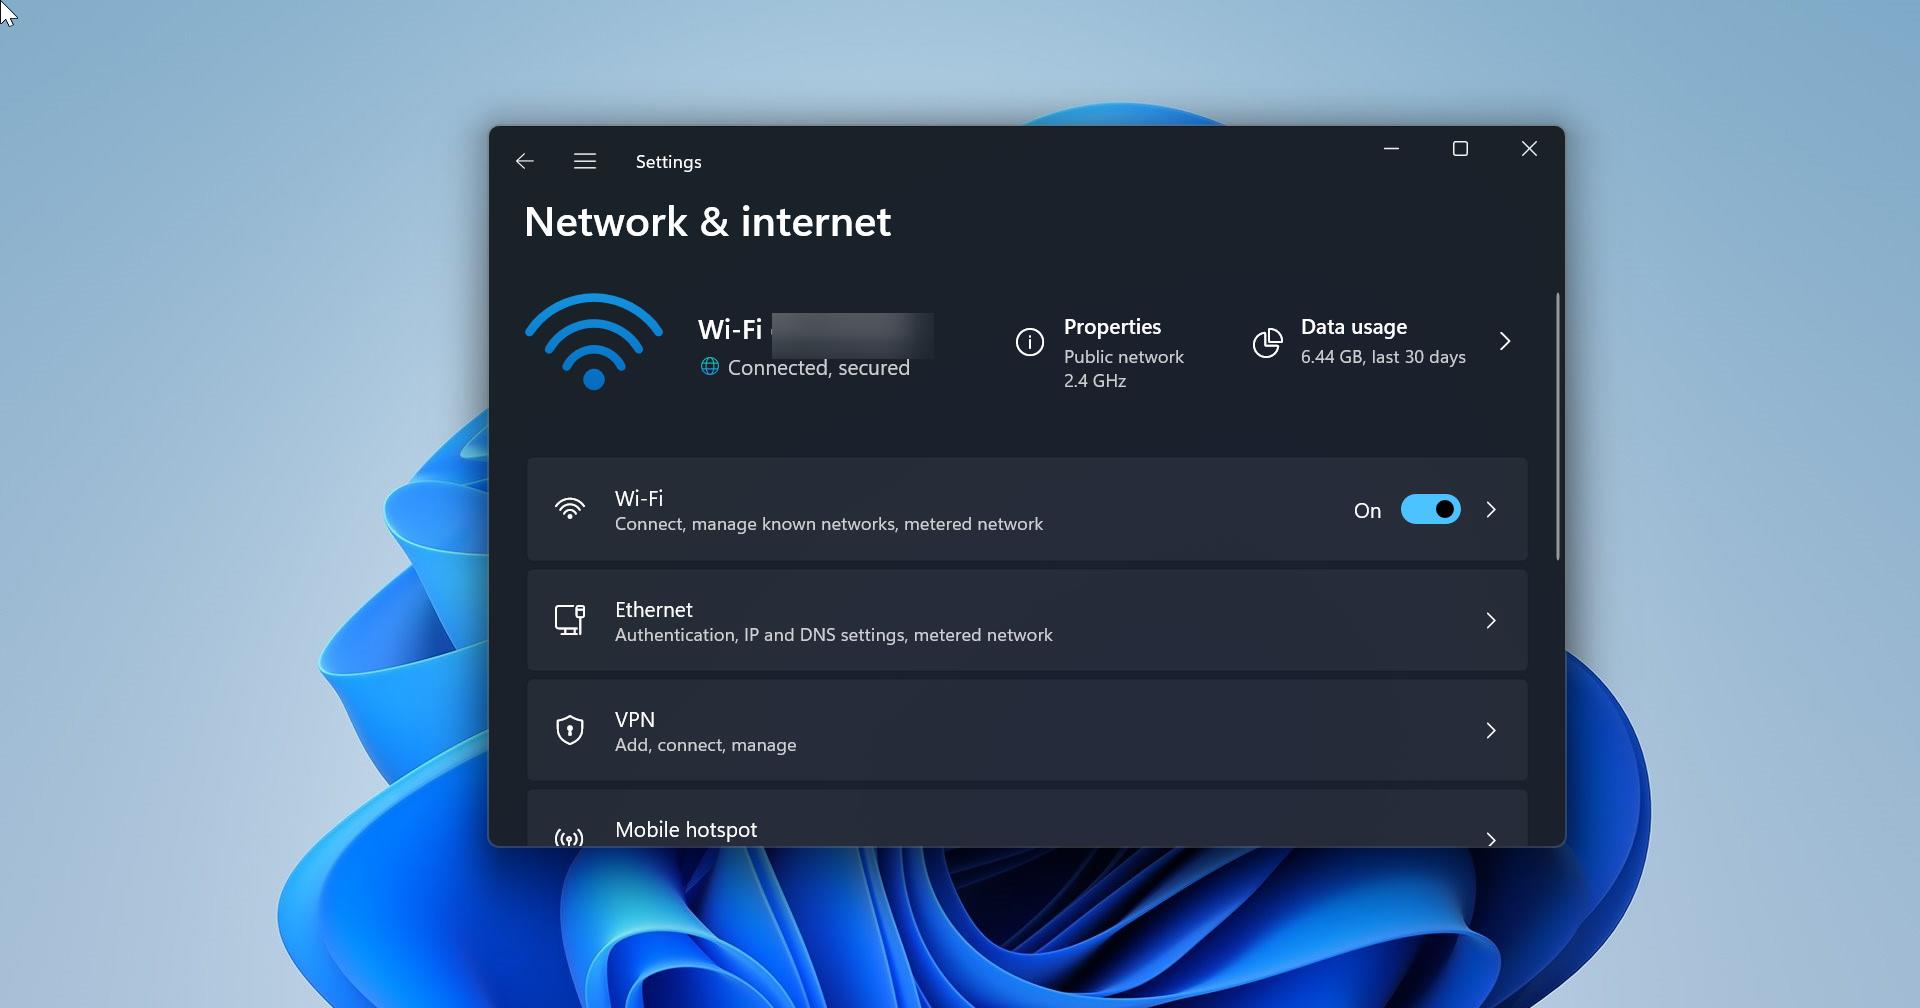
In Windows, you might have noticed when you connect Ethernet connection automatically Wireless connection will automatically disconnect, This means Windows will use an Ethernet connection as a preferred connection, when available. By default, Windows will use Ethernet> WLAN > Cellular network in this priority order. If your system is connected to two networks, then Windows allows you to select the network as per your choice, If you want to use both wired and wireless connections at the same time then this article will guide you to use Multiple Internet connections at same time in Windows 11/10.
Use Multiple Internet connections at same time in Windows 11/10:
You can achieve this using three different methods, According to Microsoft, using fMinimizeConnection Group policy settings you can configure multiple internet connections at the same time in Windows 11/10. This policy setting determines if a computer can have multiple connections to the internet or to a Windows domain. If multiple connections are allowed, it then determines how network traffic will be routed. If you want to use the Wired and Wireless connection at the same time follow the below-mentioned methods.
Method 1: Using Group Policy Editor
Open Run command by pressing Windows + R and type gpedit.msc and hit enter, this command will open Group Policy Editor.
Now navigate to the following path.
Computer Configuration > Administrative Templates > Network > Windows Connection Manager
From the left-hand side click on Windows Connection Manager, and from the right-hand side look for the policy named Minimize the number of simultaneous connections to the internet or a Windows Domain.
Double-click on the policy and choose Enabled and set the Policy Options to 0 = Allow simultaneous connections.

Click on Apply and OK and restart your system once.
Method 2: Using Registry Editor
Open Run command by pressing Windows + R and type regedit and hit enter, This command will open the registry editor console.
Now navigate to the following Registry path.
HKEY_LOCAL_MACHINE\Software\Policies\Microsoft\Windows\WcmSvc\Local
From the left-hand side, right-click on the Local registry key and choose New > DWORD (32-bit) Value, and name it as fMinimizeConnections.
Double click on fMinimizeConnections DWORD and set the value data to 0 and click on OK.

Close the Registry Editor and restart the system once. Now you can see both Wired and Wireless connections are in active.
Method 3: For HP Laptops
You have disabled the LAN/WLAN switching setting in the BIOS…
Go to the Windows control panel>system & security>administrative tools> services.
Stop the “HP LAN/WLAN/WWAN Switching UWP Service” and change the startup to manual.
Now both the WIFI and ETHERNET should work at the same time.
Read Also:
How to Change the Network Profile type using PowerShell in Windows 11?