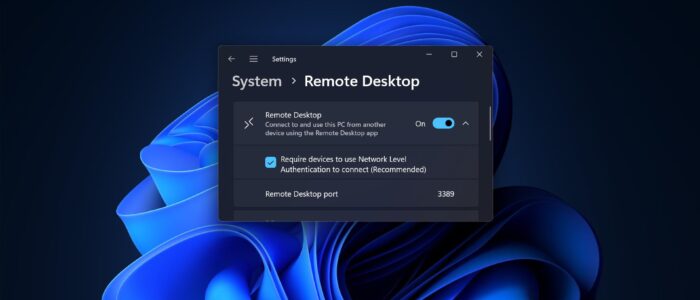
Remote Desktop Connection is also Known by several names formerly Microsoft Terminal Services Client, mstsc, Remote Desktop, or tsclient. In IT terms we used to call Remote Desktop or RDP. It is one of the components of Microsoft Windows that allows a user to take control of a remote computer or virtual machine over a network connection. To access Remote connection both devices should be connected to the same network or to the internet. Once the connection is established the users can now access and take control of the other system. You can have unrestricted control over the Mouse, Keyboard, or basically the entire computer. Mostly Remote Desktop is used by IT professionals, Customer support representatives, Managed service providers, or MSPs. In most of the corporate companies Users use RDP to access the client machines to work remotely. As I mentioned above Remote Desktop comes as an Inbuilt app in Windows operating system. By default, RDP uses port 3389, but altering this port provides an extra layer of protection against potential cyber threats. This article will guide you to Change the RDP port number in Windows 11.
Why Change the RDP Port Number?
The default port number for RDP is well-known among cyber attackers and is often targeted in attempts to gain unauthorized access to a system. By changing the RDP port number, you make it more difficult for hackers to exploit this vulnerability and improve the security of your Windows 11 computer.
Change the RDP port number in Windows 11:
In Windows 11 there is no direct option to change the RDP port number, so here we are going to use a Registry Editor method to Change the RDP port number.
Step 1: Open the Registry Editor
The first step in changing the RDP port number is to open the Registry Editor. Follow these steps:
Open Run command by pressing Windows + R and type regedit and hit enter, this command will open the Registry Editor.
Step 2: Navigate to the RDP Port Number Key
Now that you have the Registry Editor open, you need to navigate to the key that controls the RDP port number. Follow these steps:
In the left-hand pane of the Registry Editor, navigate to the following path:
HKEY_LOCAL_MACHINE\System\CurrentControlSet\Control\Terminal Server\WinStations\RDP-TcpStep 3: Modify the Port Number
From the right-hand side pane click on RDP-Tcp and from the left hand side pane look for PortNumber DWORD.
Double-click on the PortNumber value in the right-hand pane. Select the Decimal option. Next, Enter the desired port number (make sure it’s not already in use by another service). Click OK.

Step 4: Restart the Computer
After changing the RDP port number, it’s important to restart your computer to apply the new settings.
Once your computer has restarted, the RDP port number will be updated. From now on, you’ll need to use the new port number when connecting to your computer through RDP.
Read Also:
How to increase the RDP session time limit in Windows 11?
Fix RDP Authentication Error has Occurred in Windows 11/10

