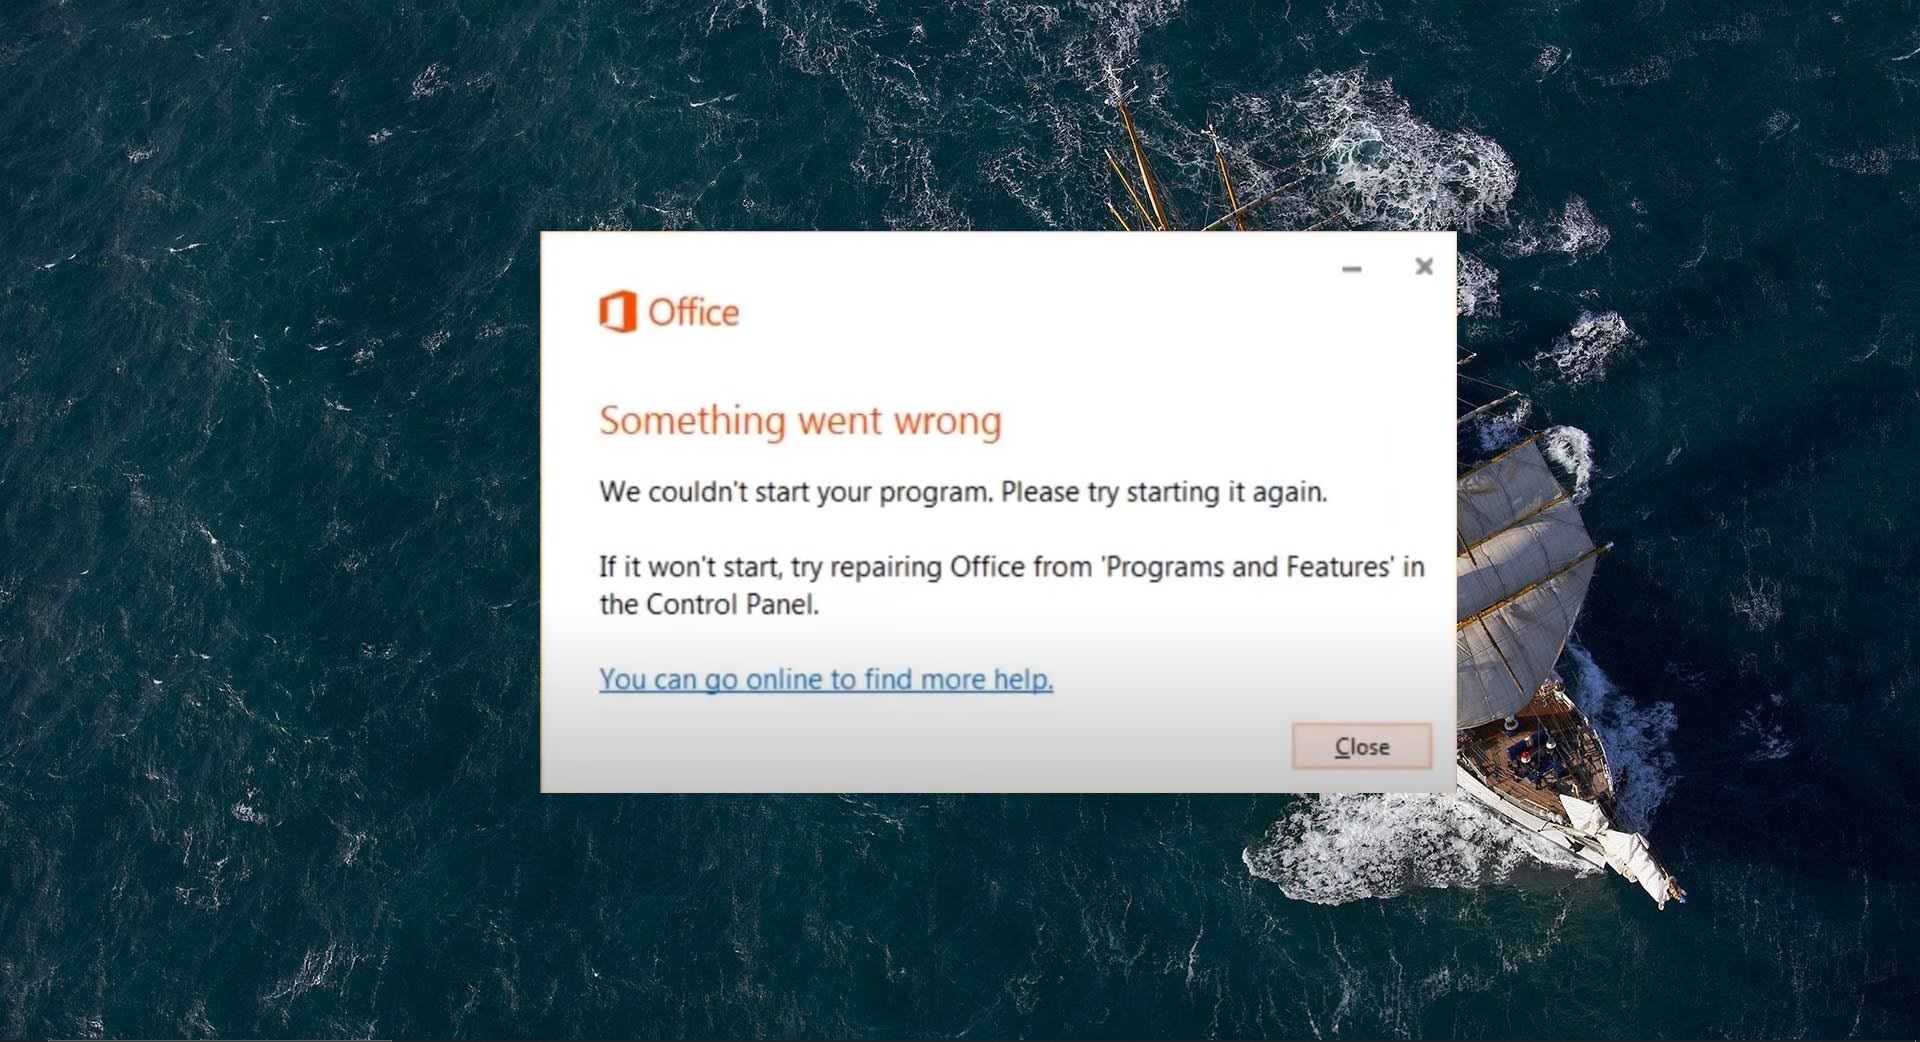
In the Windows Operating system, Windows services plays a vital role for any Working windows feature to run without user intervention. These services are known as background services and many windows features, software and applications depends on these background services. Disabling this service will result in breaking their respective feature or software. Sometimes these windows background services will stop automatically, mostly Windows update service will stop automatically after the windows update and won’t start during the next update. This will cause the Windows update failure. To fix the windows update failure you need to start this service. And sometimes you’ll receive The service cannot be started Error 1508 while starting a service. This article will guide you to fix The service cannot be started Error 1508 in Windows 10.
Fix The service cannot be started Error 1508:
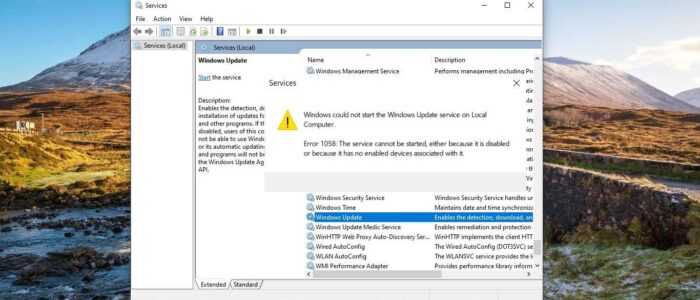
You’ll receive the following full error message while starting the Windows service. If you encounter this error, follow the below-mentioned resolution methods.
Windows could not start the Windows Update service on Local Computer.
Error 1058: The service cannot be started, either because it is disabled or because it has no enabled devices associated with it.
Change the Service Startup Type:
Open Run command by pressing Windows + R and type services.msc and hit enter. This command will open Service Management Console.
Right-click on the service which you are getting this issue and choose Properties.
In Properties Window click on the General tab and under the Startup type drop-down menu choose Automatic.

Next click on Start, this will start the service. Now the service will start without any error.
Click on Apply and OK. If you are still facing the same issue while starting the service follow the next method.
Using Registry Editor:
Note: Modifying the Registry is risky, and it causes irreversible damage to your OS Installation Follow the steps correctly. Friendly advice Before Modifying Registry Creating Restore Point is recommended.
Open Run command by pressing Windows + R and type Regedit and hit enter. This command will open the registry editor console.
Now navigate to the following path.
HKEY_LOCAL_MACHINE\SYSTEM\CurrentControlSet\Services\
Expand the Services registry key and from the left-hand side, you can see the list of service names, you need to choose the service name which you are actually facing issue.
If you don’t know the service name, then you can open service management console and right click on any service and choose properties. From there you can get the service name.
Once you click on the service name, from the right-hand side look for the DWORD named Start.
Double click on the Start DWORD and set 2 Value, and click on Ok.

2 – Automatic
3 – Manual
Close the Registry editor and restart the system once. After the restart check the Problematic service is starting or not. Mostly this will fix the issue.
Read: How to Enable Developer Mode in Discord?