Windows Terminal is a modern terminal multi-tabbed command-line application, that is developed by Microsoft for Windows 10. Windows Terminal is a modern, fast, efficient, Powerful, and productive terminal application. The terminal app combines many command-line tools and shells such as Command Prompt, PowerShell, and WSL (Windows Subsystem for Linux). So, in one application users can use many command-line tools. The key features of the Windows Terminal include multiple tabs, panes, Unicode and UTF-8 Character support, GPU accelerated text rendering engine, and customize the app with your own themes, colors, backgrounds, and shortcuts. Windows Terminal offers lot of customization options like you can change Windows Terminal theme, color, font, Tab size, etc. This article will guide you to set the Background image in Windows Terminal.
Set Background image in Windows Terminal:
In Windows Terminal, you can change the Background image in two different methods. Follow the below-mentioned methods to change the Terminal Background.
Using Terminal Settings:
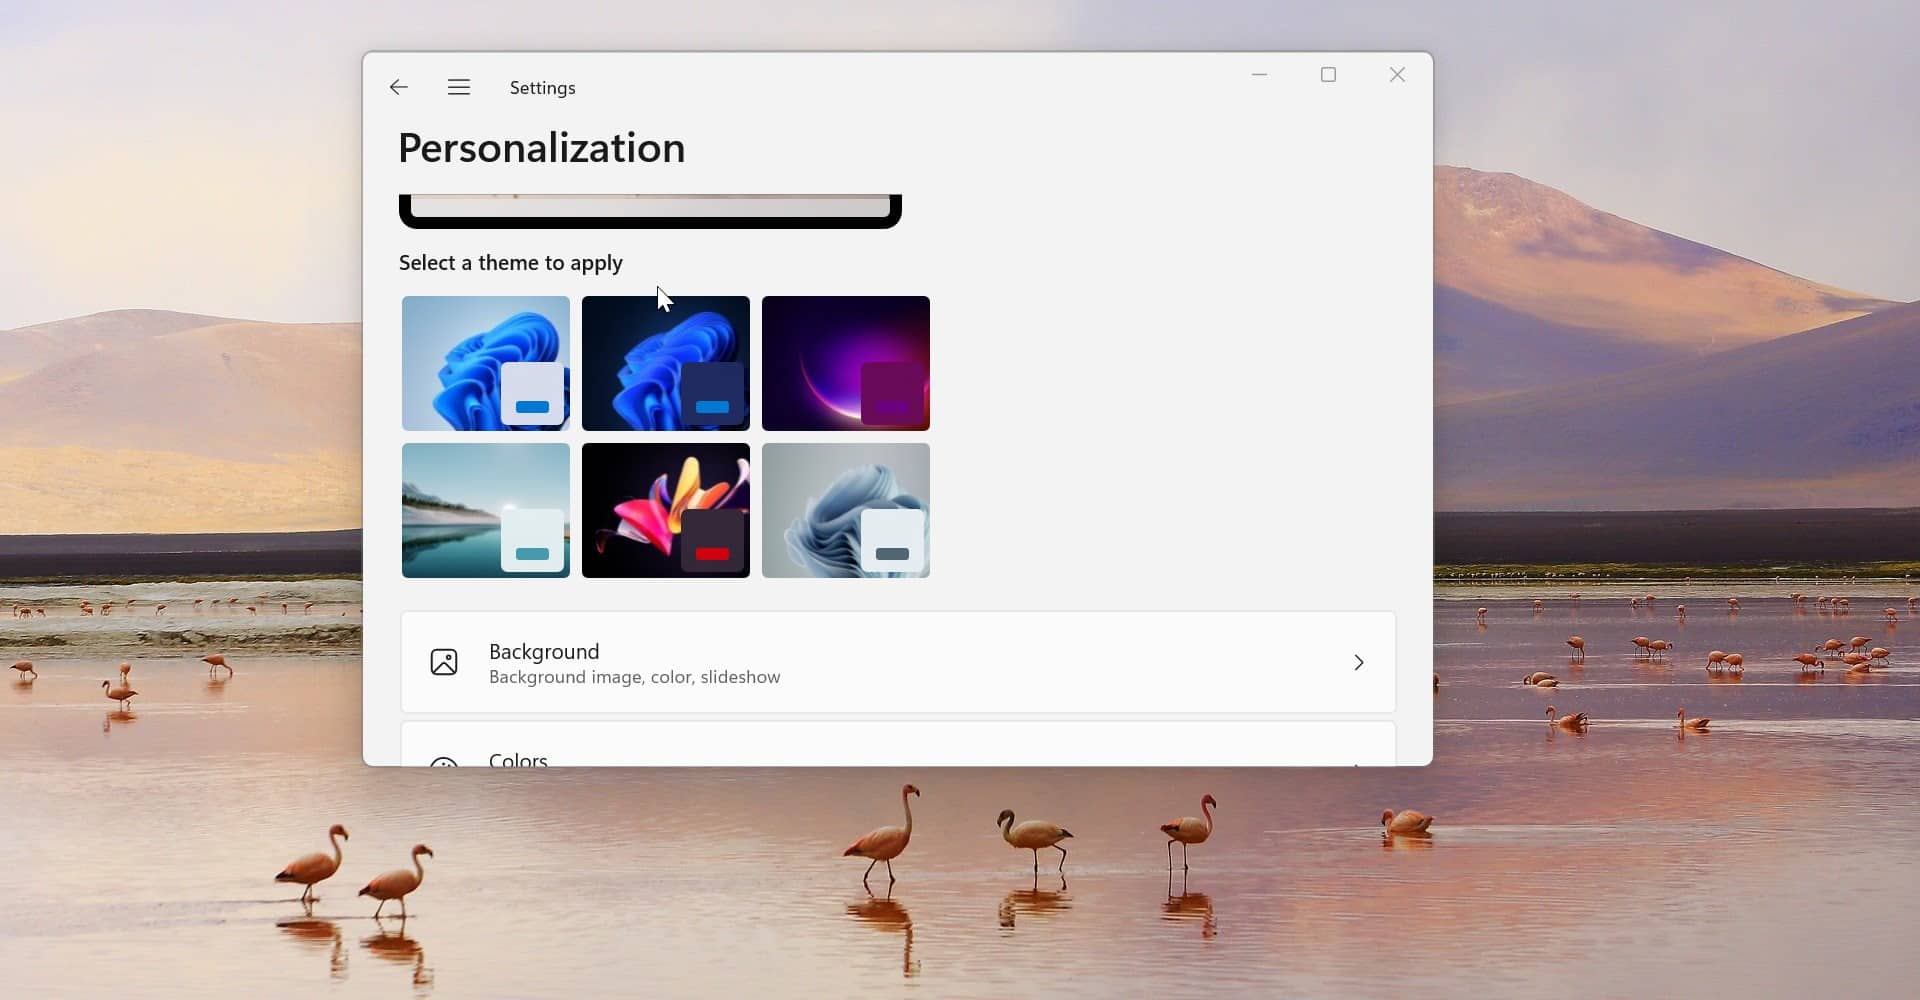
Launch the Terminal app, and click on the drop-down button and choose Settings.
From the left-hand side, under Profiles choose any command-line tools profiles and from the right-hand side, click on the Appearance tab.
Under the Appearance tab, from the Background image section, choose your background image. And click on Save.

And Terminal app offers lot of options to customize the background image, like you can stretch the background image, Background image alignment, opacity, Acrylic, and Window.
Change the settings as per your wish and click on Save.
Using JSON File:
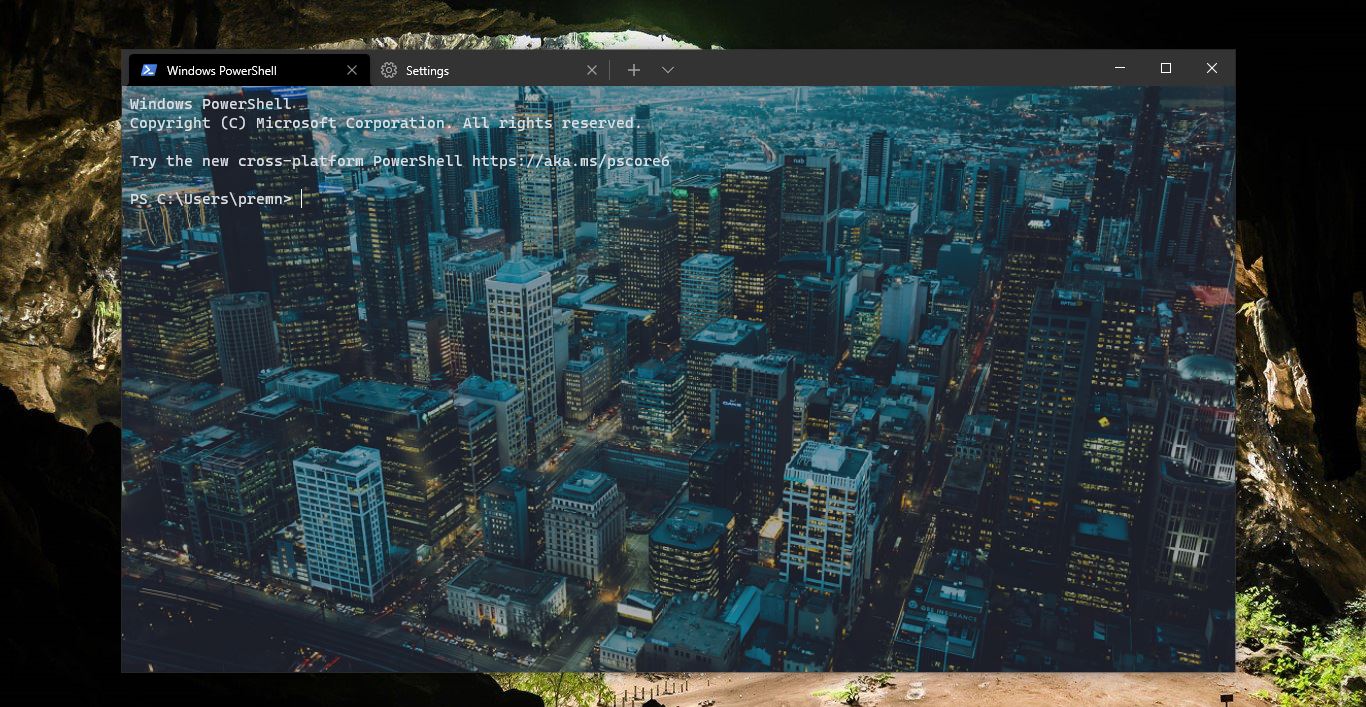
You can also set the background image using a JSON file. Open Terminal Settings and from the left-hand side click on Open JSON file.
The JSON file will open up in your default text editor, choose Your favorite command-line Profile and add the following line of code.
"backgroundImage": "C:\\YourPictureFileLoction\\TerminalBackground.png",Here you need to modify the file name and the location of the image file. Your final code should look like this.
{
                "altGrAliasing": true,
                "antialiasingMode": "grayscale",
                "closeOnExit": "graceful",
                "colorScheme": "Red Sands",
                "backgroundImage": "C:\\Users\\premn\\Pictures\\TerminalBackground.png",
                "commandline": "%SystemRoot%\\System32\\WindowsPowerShell\\v1.0\\powershell.exe",
                "cursorShape": "bar",
                "experimental.retroTerminalEffect": false,
                "fontFace": "Cascadia Mono",
                "fontSize": 12,
                "guid": "{61c54bbd-c2c6-5271-96e7-009a87ff44bf}",
                "hidden": false,
                "historySize": 9001,
                "icon": "ms-appx:///ProfileIcons/{61c54bbd-c2c6-5271-96e7-009a87ff44bf}.png",
                "name": "Windows PowerShell",
                "padding": "8, 8, 8, 8",
                "snapOnInput": true,
                "startingDirectory": "%USERPROFILE%",
                "useAcrylic": false,
 "useAcrylic" : true,
 "acrylicOpacity" : 0. 6
           },
Save the file and close the file editor. Now Relaunch the Terminal app and open your favorite command line console.
To change the Opacity of the Background image, add the following code in the JSON file and save it.
“backgroundImageOpacity” : 0.5,
Using the line of code, you can Increase\Decrease Background image Opacity. Windows Terminal also supports Acrylic effects, Acrylic Effect is a kind of Transparency effect. If you want to use this effect, then add the following line of code in the JSON file.
"useAcrylic" : true,

"acrylicOpacity" : 0. 6,
Save the JSON file and relaunch the Terminal App.