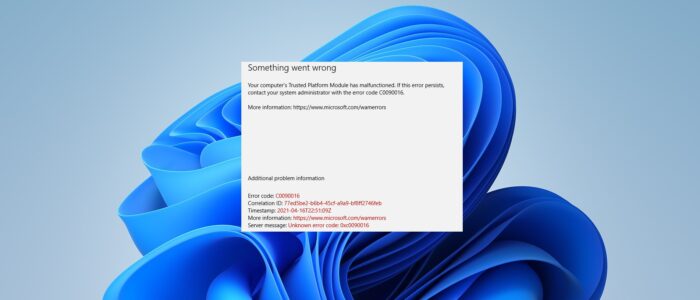
If you encountered an error message “Something Went Wrong, Your Computer’s Trusted Platform Module has Malfunctioned” error code C0090016, while logging in to your Outlook account, Office 365 account, or Microsoft Teams account. Then this article is the perfect guide to fix computer’s Trusted Platform Module has malfunctioned error code C0090016.
Recently one user received this error while trying to sign into Teams, during the troubleshooting we noticed that the user has recently replaced the motherboard for some other issue. This error particularly occurs for Domain joined Windows devices. After replacing the motherboard, the TPM malfunction error occurs while trying to log in to Teams. There are various that cause TPM malfunctioned error. Most common and possible reasons are as follows.
- Corrupt Ngc folder
- Outdated TPM device driver
- Problem in TPM keys
Follow the below-mentioned resolution methods to fix this problem, these methods I have tried and fixed the error.
Fix Your computer’s Trusted Platform Module has malfunctioned error code C0090016:
This error caused by various factors, so we cannot fix this issue in a single solution, try the following solutions one by one until the issue gets resolved.
Solution 1: Clear TPM
Before proceeding first make sure the TPM is working fine, and the TPM is updated. If the TPM version is below 2 then follow this video to update the TPM.
Open Run command by pressing Windows + R and type tpm.msc and hit enter, this command will open the Trusted Platform Module console.
Make sure the TPM is ready for use and the version is above 2.
On Trusted Platform Module Management, under the actions tab click on Clear TPM.
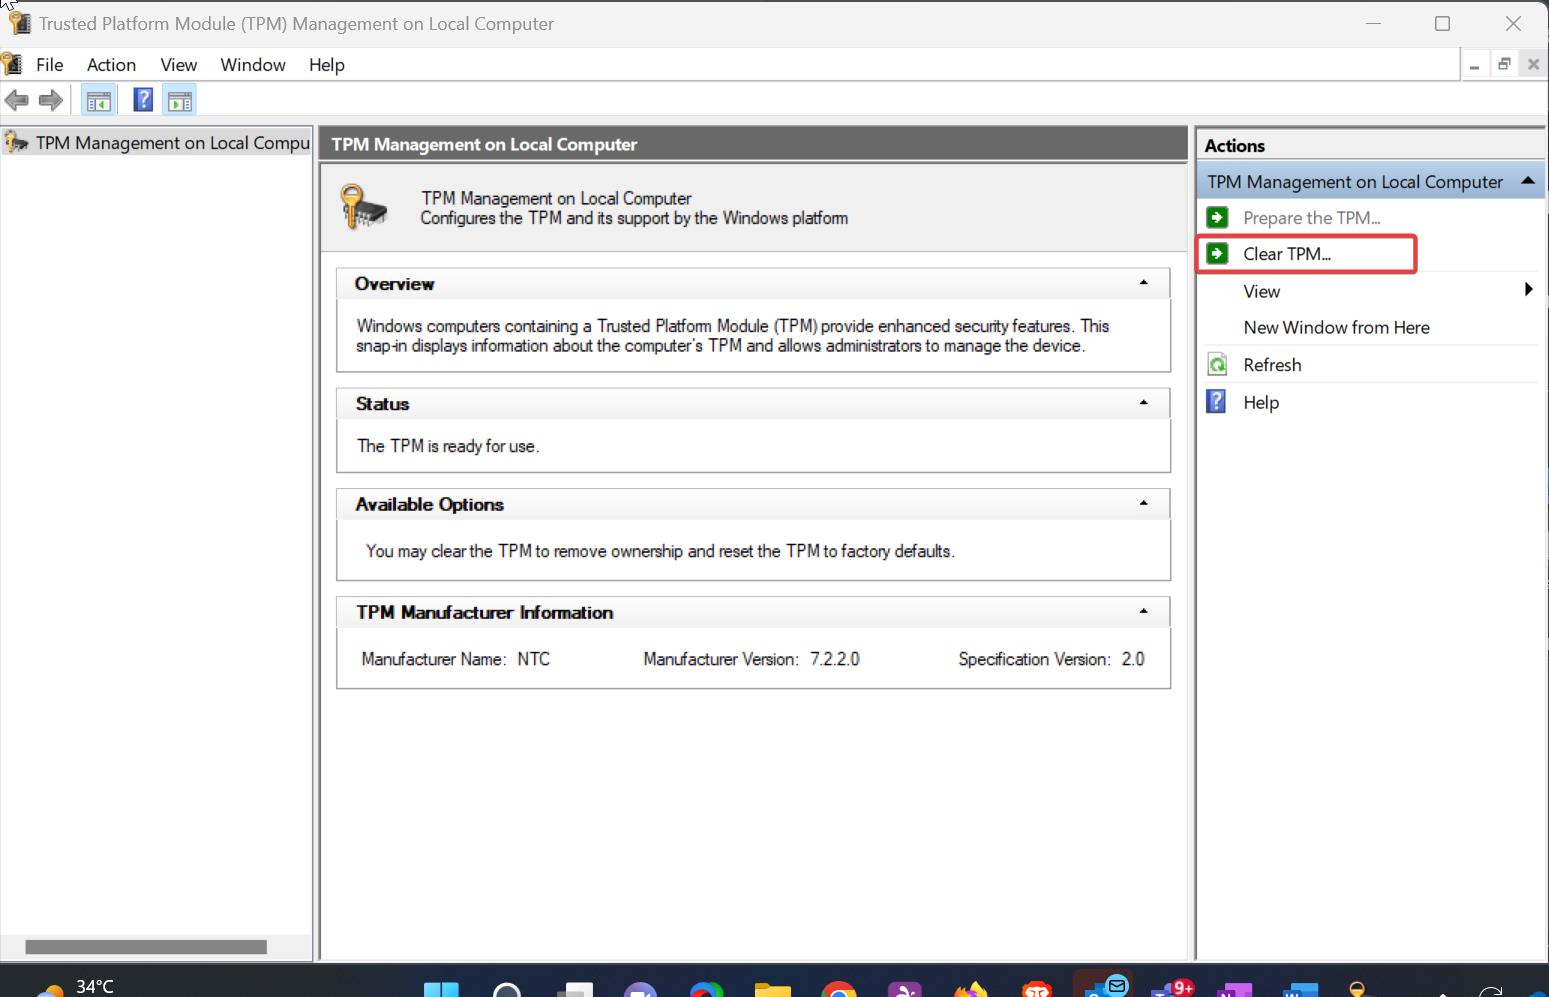
Once you clicked on Clear TPM, the system will prompt for a warning message and you can see the Restart button. Click on the Restart button to clear the TPM.
Make sure you have the backup of the Recovery Key. Enter the Recovery key if the system asks for the Bitlocker key.
Next, you can try to login to Teams or other office apps and check whether the issue is resolved or not.
Solution 2: Delete Ngc Folder
This issue may occur due to the corrupted Ngc folder, to delete this folder first you need to take ownership of the folder. You can’t simply delete this folder by hitting the delete button, even though you have admin access without folder Ownership you can’t delete this Folder.
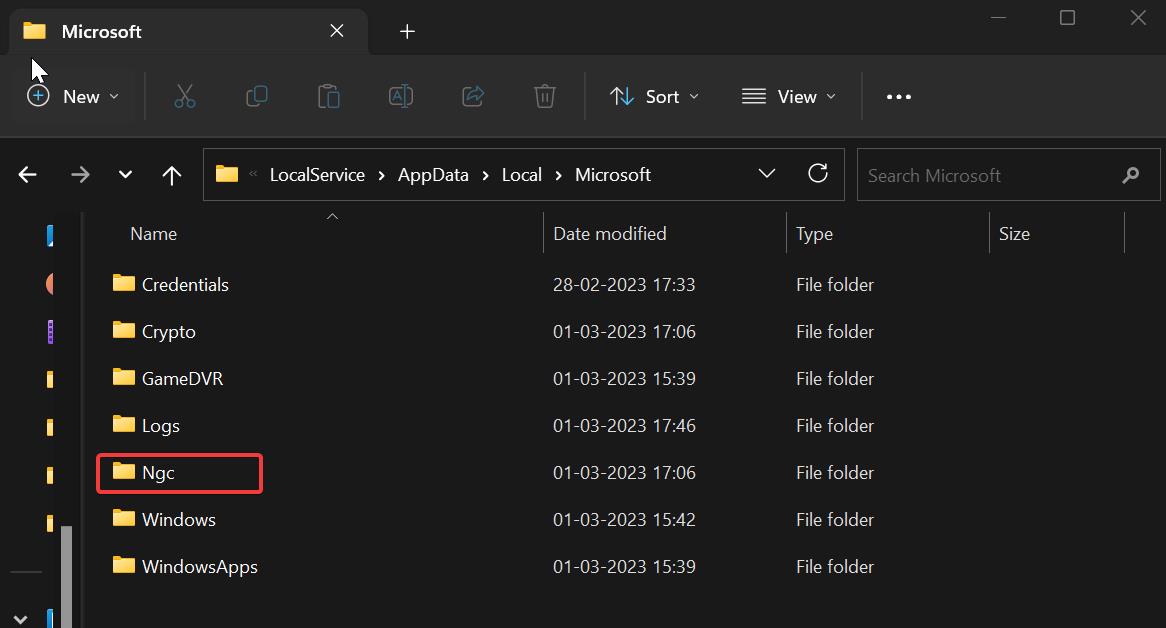
Open File Explorer by pressing Windows + E and navigate to the following path.
C:\Windows\ServiceProfiles\LocalService\AppData\Local\MicrosoftOpen the Ngc folder and you’ll get a UAC confirmation pop-up, click on Continue and proceed.
On the Next prompt you’ll get You have been denied permission to access this folder, click on the security tab link.
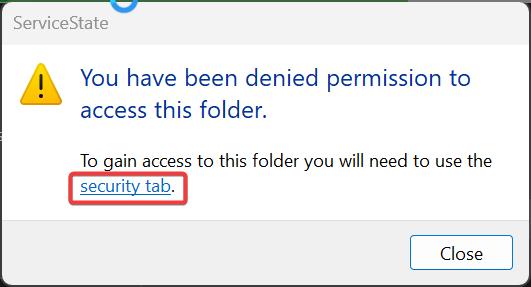
Under the Security tab, click on the Advanced button.

Then on the Owner field click on Change, and you’ll get a confirmation UAC.
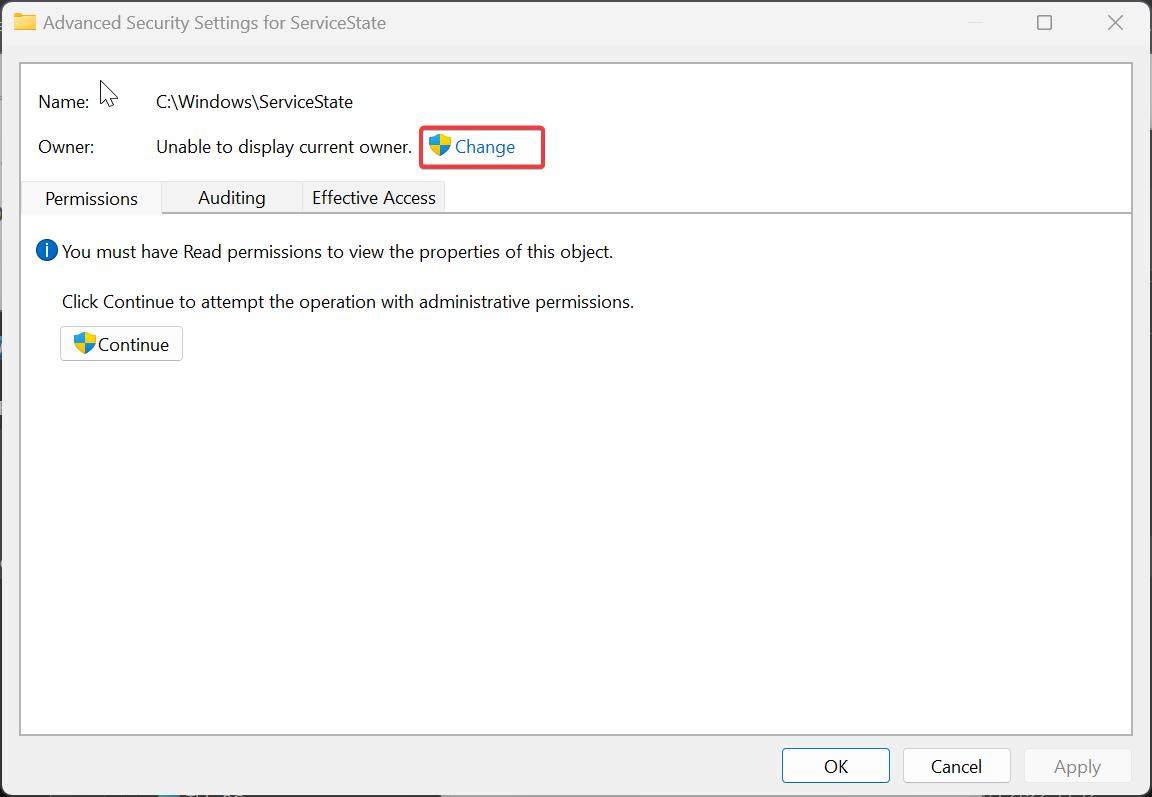
Next, you need to add users or groups to get permission for that folder. Under the Enter the object name to select field, enter your local account username in the text box, click on Check Names, and press OK.
Next, click on “Replace owner on subcontainers and objects” checkbox.
Now you can open the Ngc folder and delete all its contents.
Restart your system once and check whether you are able to log in to Teams or not.
Solution 3: Clear Credentials Manager
Open run command by pressing Windows + R and type control and hit enter, this will open the control panel.
Set view to large icons from the top right corner. Click on Credential Manager

Click on Windows Credentials, in the Generic Credentials section, you will find a list of credentials.
Click and remove all the Credentials, you can see the Remove option from the dropdown of each Password.
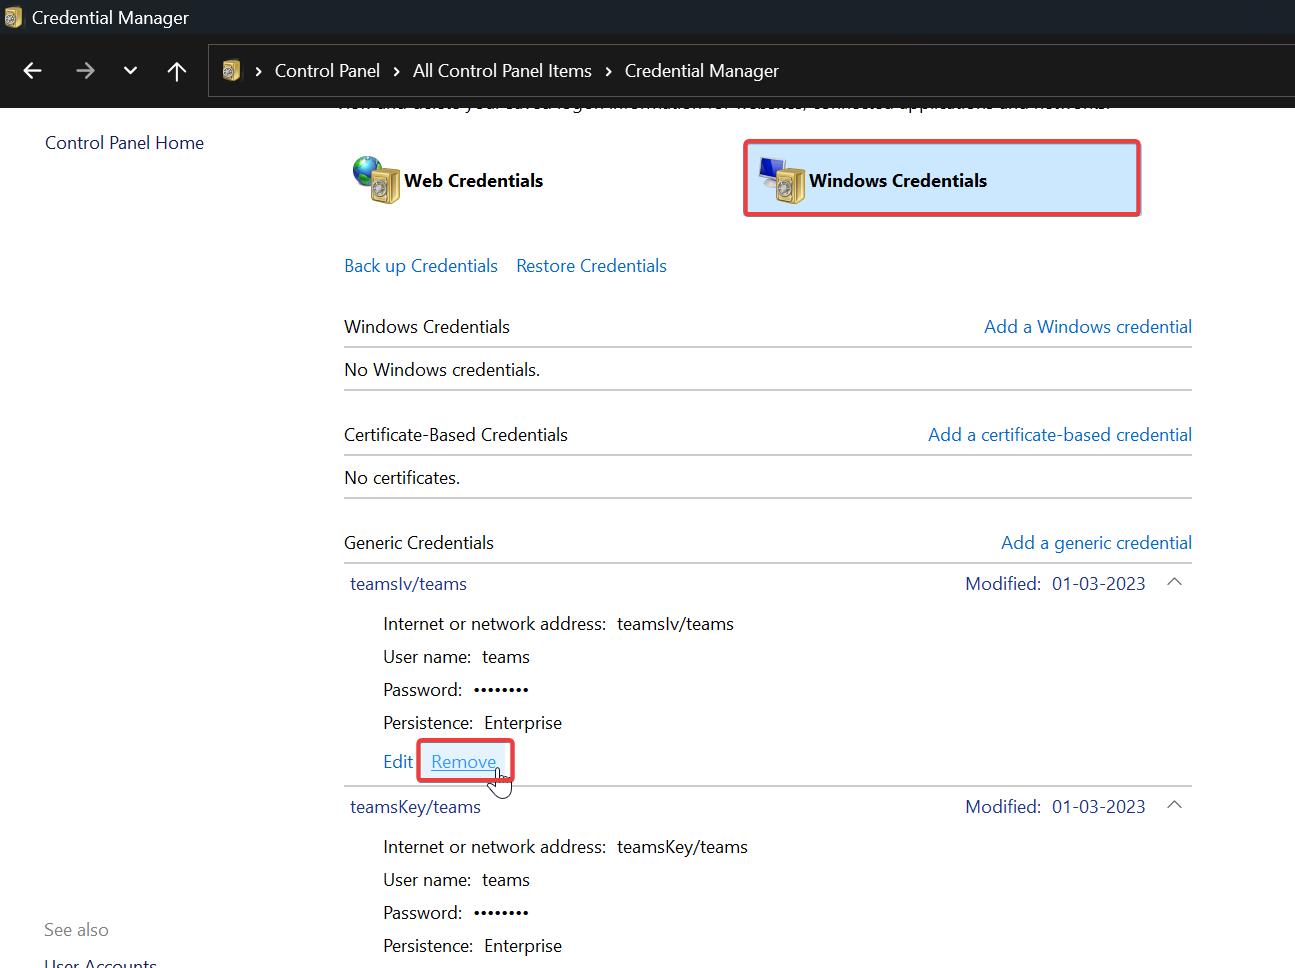
Once you removed, Restart your PC and check that resolves your issue.
Solution 4: Reconnect Work or School Account
As I mentioned earlier this error mainly occurs with the Domain joined Windows Devices, If you have a work or school account then try to disconnect the account and rejoin the Work or school account. Mostly this will fix the issue.
Follow the below-mentioned steps to Disconnect the user account from Azure AD.
Log in with the local admin account on user’s laptop.
Open Windows Settings by pressing Windows + I and go to Accounts > Access work or school accounts.
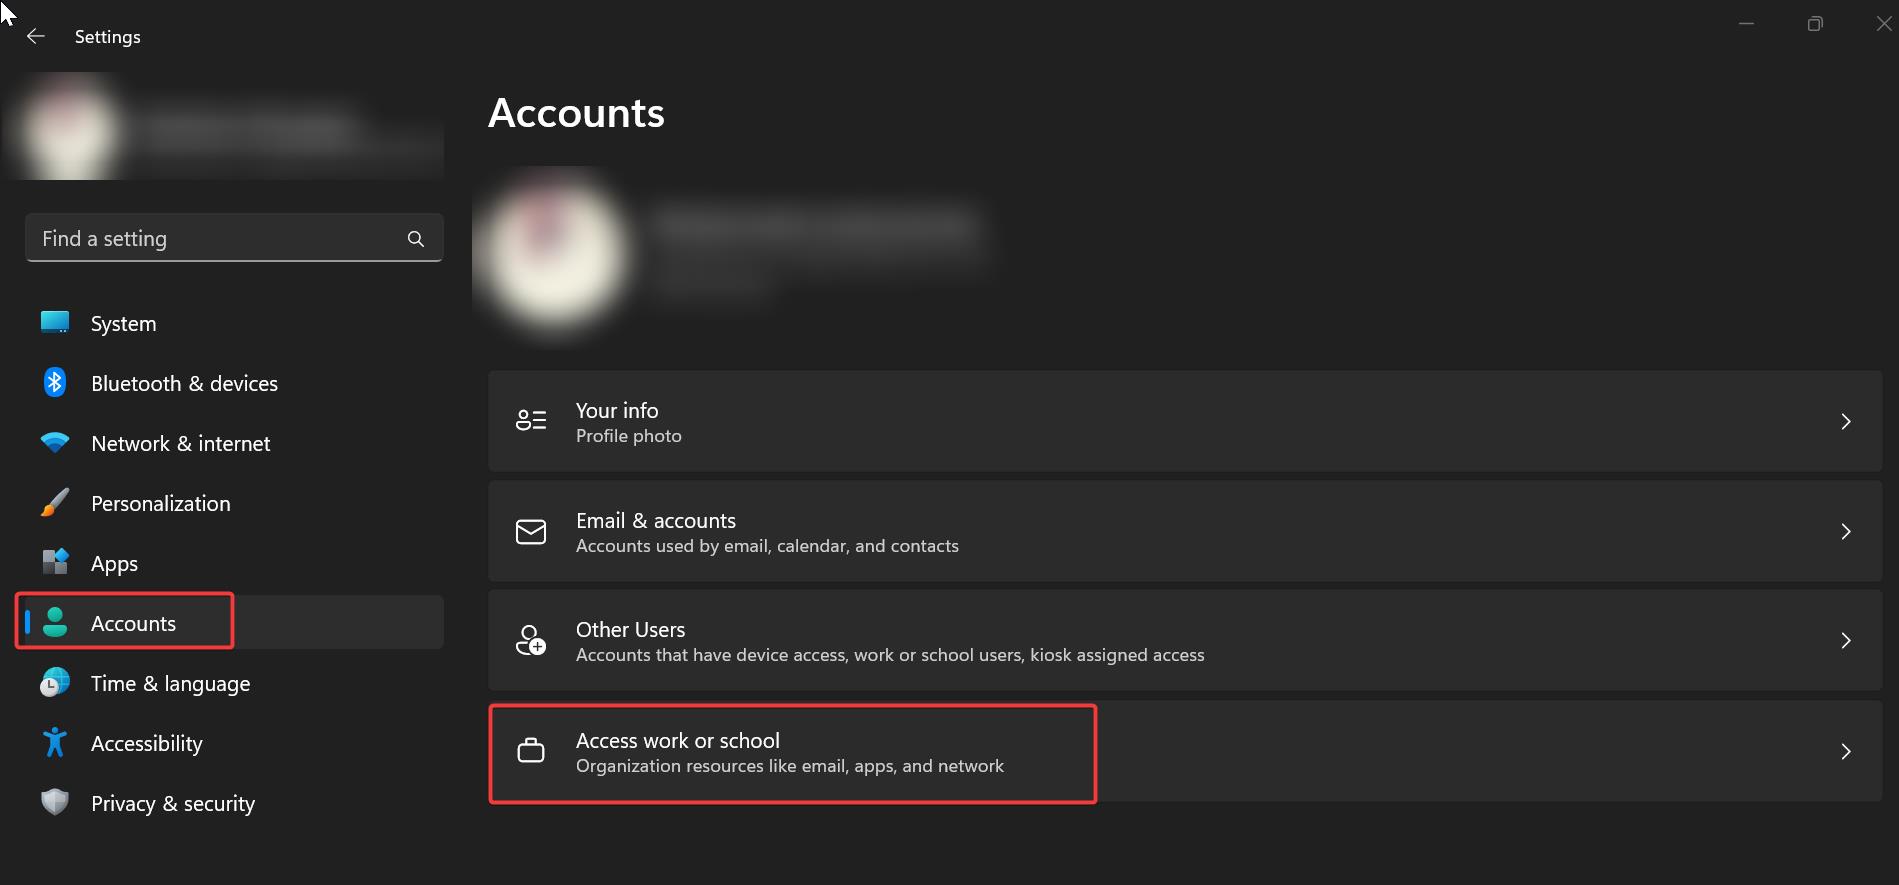
It will ask you the confirmation to remove the account, click on Yes and disconnect the user account from the device.
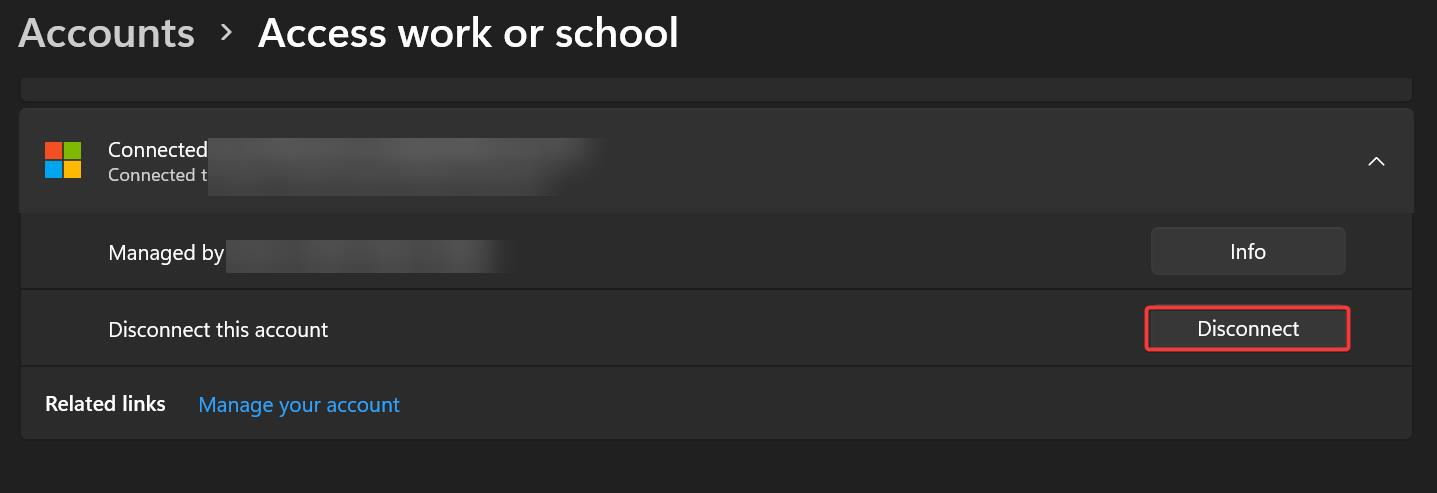
Next, restart the system and log in to the local admin profile and rejoin your device to the azure ad.
Open Windows Settings by pressing Windows + I and go to Accounts > Access work or school account and click on Connect.
Proceed with the rejoin procedure, once you rejoin Azure ad then restart the system and log in to the user profile.
Now you can login to Office 365 apps and Teams without any issues.
Read Also:
Fix Something went wrong error code C0090016 in Windows 11/10
How to Fix CAAC000E Device Cap or Limit reached error in Microsoft 365?

