Generally, kiosk mode is usually meant to refer to a particular “mode” that most browsers offer. When you set up an account with the assigned access feature, the user does not have access to the desktop, Start Menu, or any other part of the PC. “Kiosk Mode” is offered by browser applications (Internet Explorer, Chrome, Firefox, etc) to run the application full screen without any browser user interface such as toolbars and menus. Kiosk Mode Limit the device functionality to a single app or multiple apps, you can choose the app based on your business needs, you need to install the particular app before setting up the Kiosk account.
Creating a Kiosk account involves two important steps, one is Setting Up a Kiosk account and Choosing the App to Launch. Follow the below-mentioned steps to Create Kiosk account in Windows 11.
Create Kiosk account in Windows 11:
Open Windows Settings by pressing Windows + I and from the left-hand side click on Accounts.
And from the Right-Hand side click on Family & other Users.

Under Set up a Kiosk Section, Click on Get Started.

Once you click on Get Started, you’ll get Create an account pop-up, Type a Name for the account and click on Next.

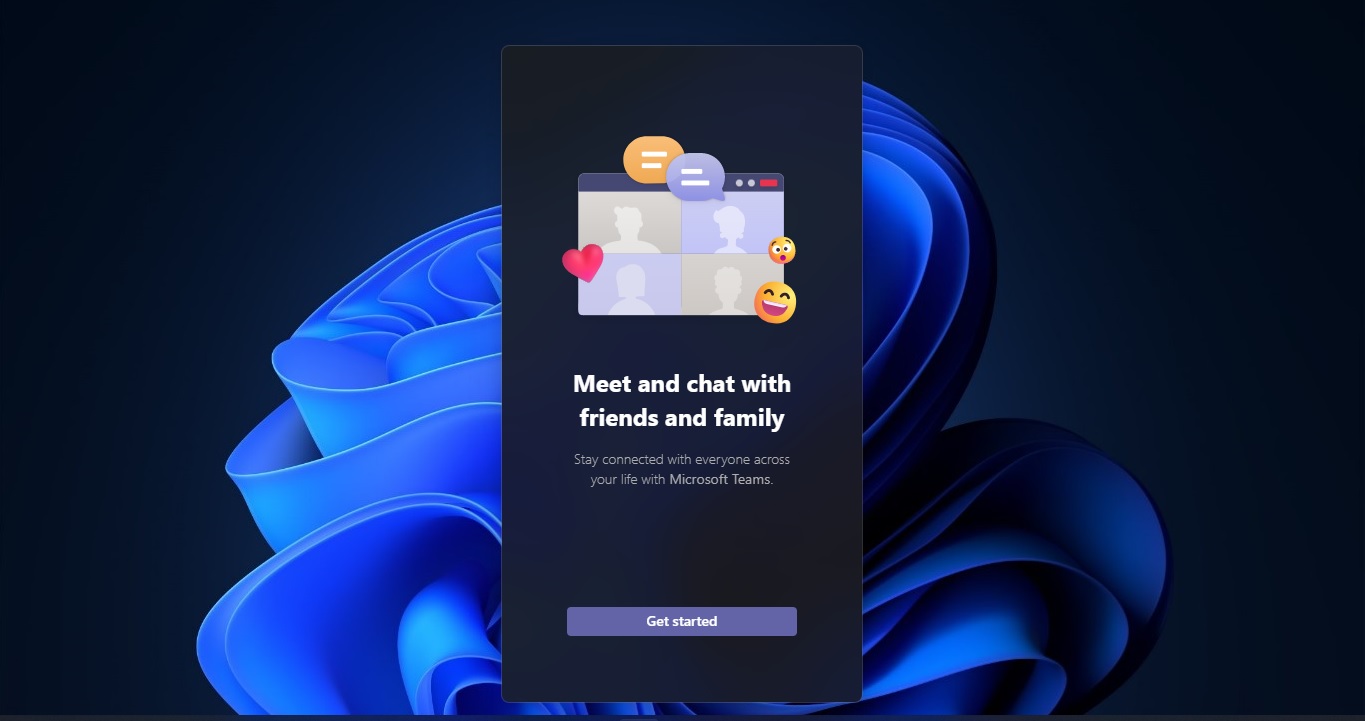
Now it will ask you to choose the app, Under Choose a Kiosk app, you’ll get a list of installed apps. Choose the app which you want to configure and then click on Next.

Next Choose the Option Under How will this Kiosk be used, you’ll get two options based on the app. If you are choosing the Edge browser you’ll get the following options.
- As a digital sign or interactive display
- As a public browser
Choose the option you want and click on Next.

Next Configure the website URL, Enter the URL, and set the time to refresh automatically. Then click on Next.

Once you’re done then Press Ctrl + Alt + Del to exit.
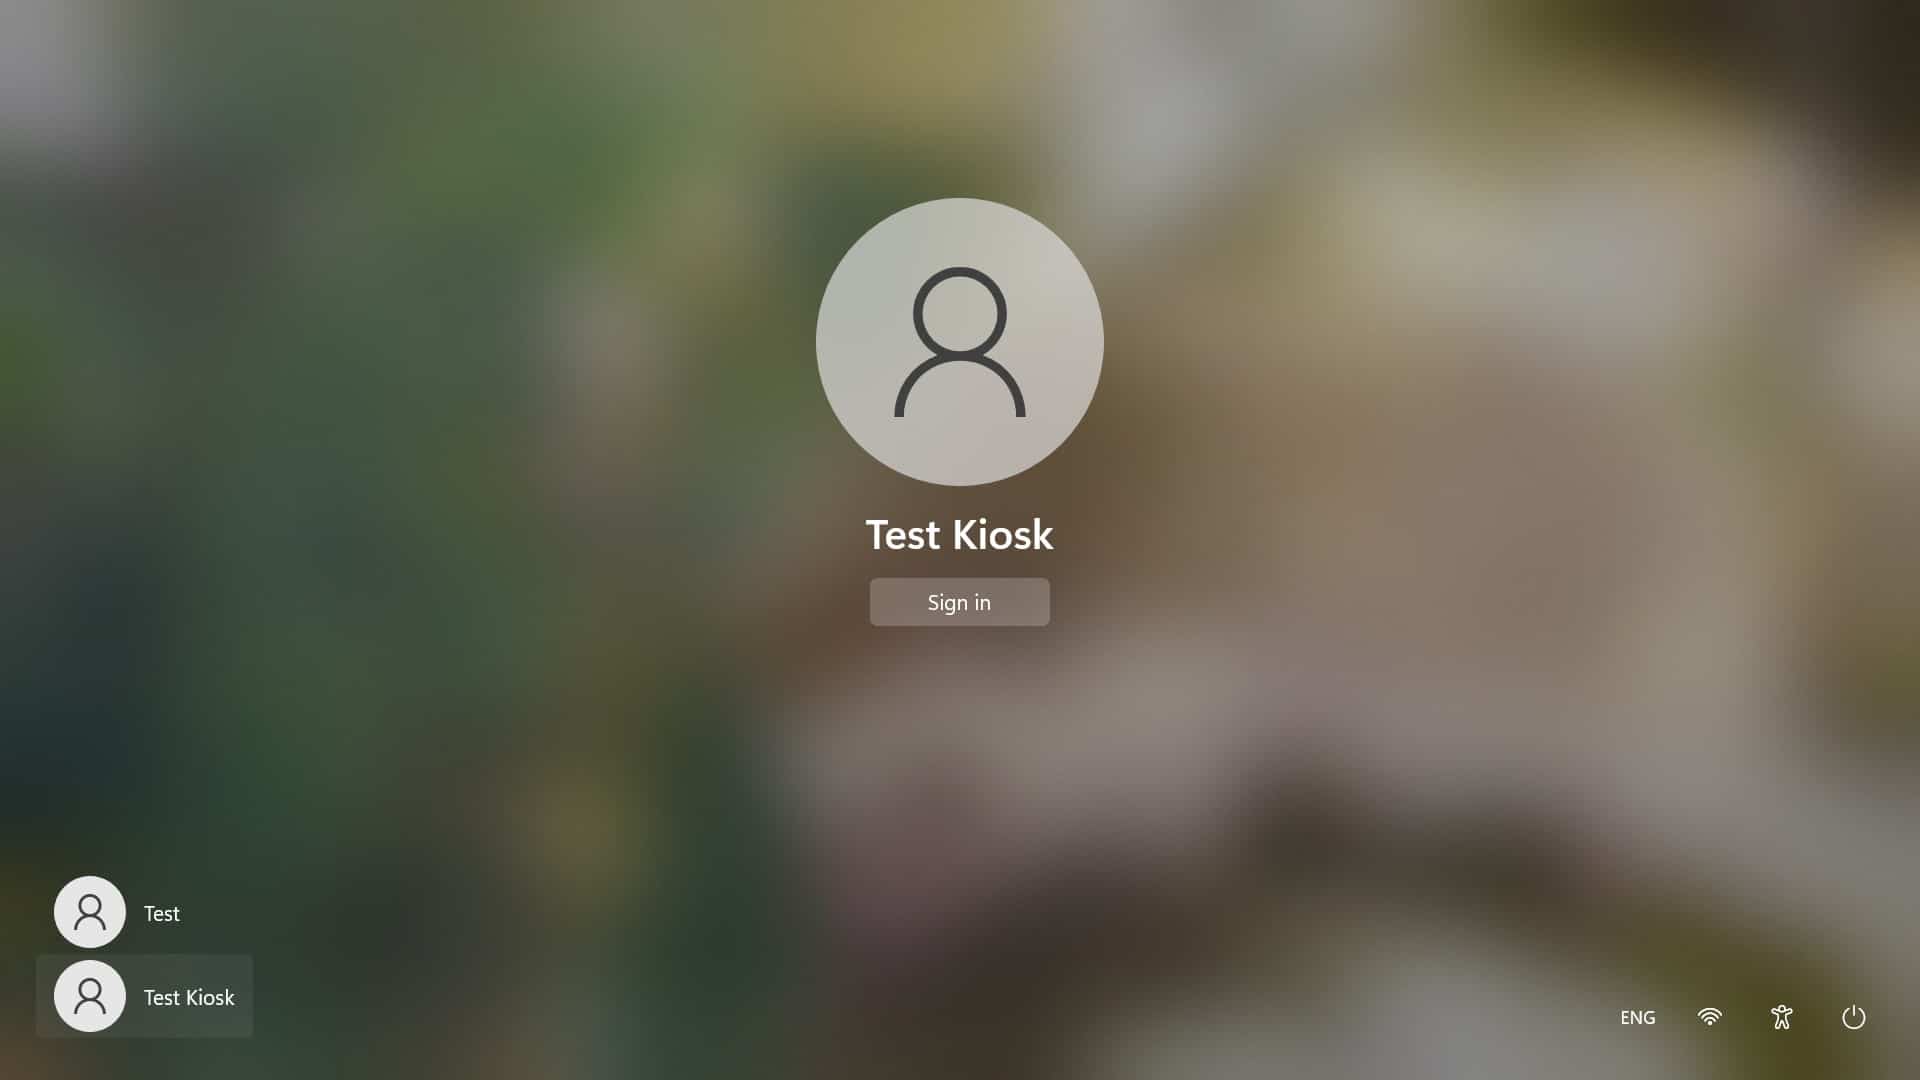
Now you can do the Switch user and login to the Kiosk account, you’ll get the configured app in full version.
Remove Kiosk Account:
Open Windows Settings by pressing Windows + I and from the left-hand side click on Accounts.
And from the Right-Hand side click on Family & other Users.
Under the Set up a Kiosk section, you can see the Active Kiosk account, click on it, to get the Kiosk info.
Under Kiosk Info you can see the configured Kiosk application, Click and expand the Kiosk app.
Look for Remove this Kiosk section and click on Remove to delete the Kiosk Account.

After Removing the Kiosk account, just restart the system once. That’s it the Kiosk account will be no longer visible after the Restart.