When the pulse secure is not connecting properly or disconnecting frequently the IT people require logs for the troubleshooting So this article will guide you to generate Log files in Pulse secure
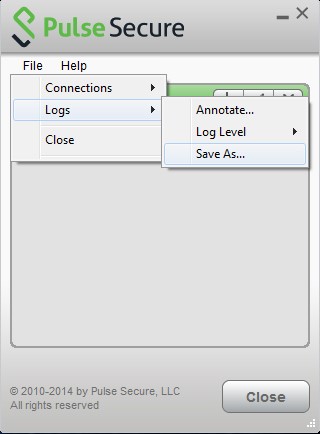
Generate Log files in Pulse secure on Windows 7/8/10
- Open the Pulse Secure Client and select File –> Logs –> Save As to save the LogsAndDiagnostics.zip file.
Generate Log files in Mac OS X
- Open the Pulse Secure Client and from the active application menu bar select File –> Logs –> Save As to save the LogsAndDiagnostics.zip file.

Generate Log files in Pulse secure On iOS
The Pulse Secure logs from an iOS device will be automatically sent via the default mail program on the device. Please ensure you have a valid e-mail account setup before generating the support logs.
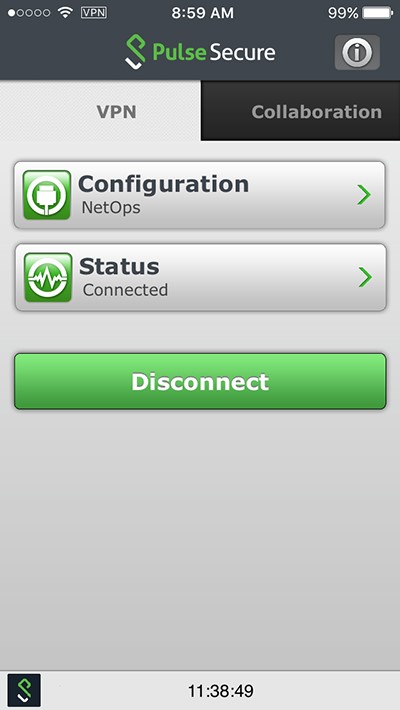
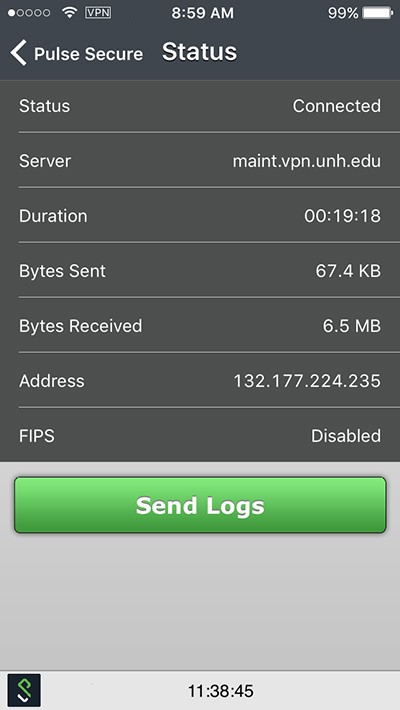
- Open the Pulse Secure app and select the Status button.
- On the following screen click the Send Logs button.
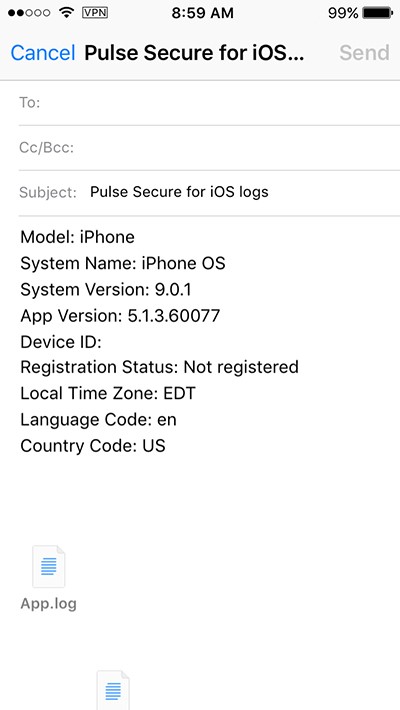
- A new e-mail message with the appropriate logs attached to the message will appear. You may send the logs to yourself for access from a laptop/desktop or directly to support personnel as directed.
Generate Log files in Android OS
The Pulse Secure logs from an Android OS device will be automatically sent via the default mail program on the device. Please ensure you have a valid e-mail account setup before generating the support logs.
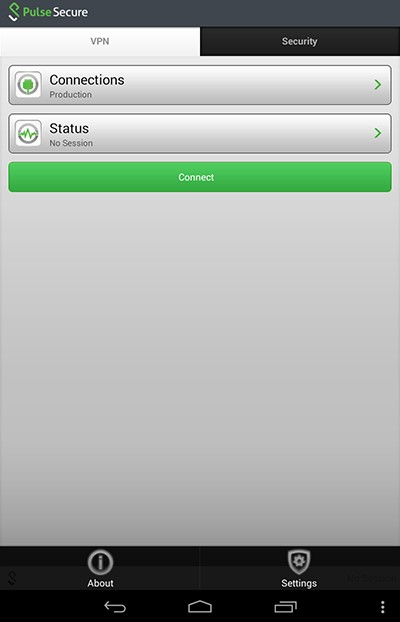
- Open the Pulse Secure app and select the three-dot menu button in the lower-right corner of the app to open the overflow menu bar and select Settings.
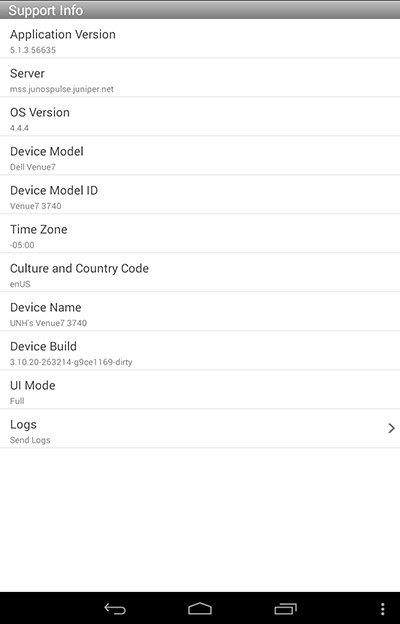
- The Support Info for the device and Pulse Secure connection will be displayed. Select the Logs button at the bottom to send logs.
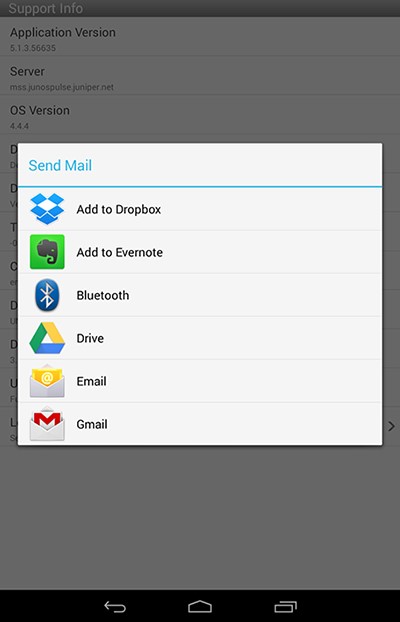
- A new e-mail message with the appropriate logs attached to the message will appear. You may send the logs to yourself for access from a laptop/desktop or directly to support personnel as directed.


