Capturing screenshots is an essential feature for many users, whether it’s for work, school, or personal use. The Snipping Tool is a built-in Windows application that allows you to capture screenshots and save them for later use. By default, the Snipping Tool saves screenshots to the Pictures folder, and copies the picture to the clipboard, for some users this is an annoying feature because if the user wants to save the edited or captured screenshot in a different location, each time he/she has to navigate to the folder manually and move the picture to other location. And there is no direct option to change the default save location in the Snipping tool app. If you want to change the save location to better organize your captures, then this article will guide you to Change Snipping Tool Save Location in Windows 11.
Why Change the Save Location?
The default save location for the Snipping Tool might not be convenient for everyone. It’s important to have an organized folder structure to easily find your screenshots without scrolling through hundreds of files in the Pictures folder. Changing the save location allows you to store your captures in a specific folder or directory, making it easier to locate them. But as I mentioned above, the snipping tool doesn’t comes with the “Change Default location” option. Alternatively, you can use the following method to save the captured images in different locations. So each time when you take a screenshot, by default windows will ask you to choose the location to save the captured images.
How to Change Snipping Tool Save Location?
This method allows you to save the screenshot in a different location, once you apply the following settings, the snipping tool will ask you to choose the location to save the screenshot.
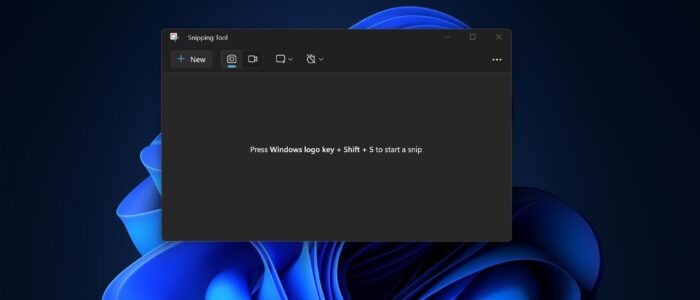
Launch the Snipping Tool, Click on the start menu and search for Snipping Tool.
Click on the Three dots menu button from the top right corner of the snipping tool window. Choose Settings.

Under Snipping tool Settings, disable the following options, these options are enabled by default.
- Automatically copy changes
- Automatically save screenshots
- Ask to save edited screenshots.

That’s it now the Snipping tool will ask you to choose the save location by default, and you can choose any folder to save the captured screenshots.
Read Also:
How to Fix Snipping tool can’t open error in Windows 11?
Fix Snipping tool Keyboard shortcut not working in Windows 11/10