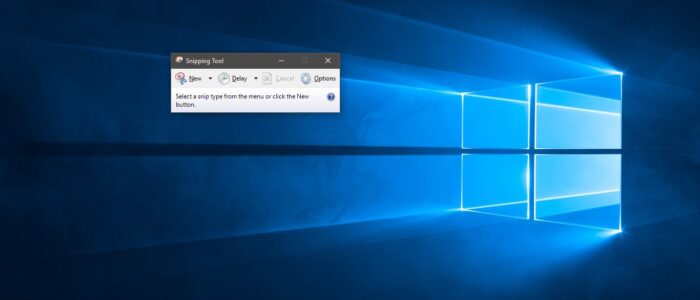
Snipping tool is an essential tool in windows 10. We can take an easy screenshot just by snipping any part of the screen but somehow we cant take popups, error tabs because while opening snipping tool the tab will close automatically by that time print screen will work. But it’s a little bit rusty to take a screenshot using a print screen. Because it just takes the entire screenshot and you have to paste the copied screenshot in the paint and then you have to crop the required part. Lot of people won’t aware of this method we can use this method in all windows 10 machines. All you need is just create a shortcut for the snipping tool first. How to create a Keyboard shortcut for snipping tool click here. So in this post, I am going to show how to take a quick screenshot using snipping tool.
Take a quick screenshot using snipping tool

Steps: Open the snipping tool first. Then press ctrl + print screen. Then your screen will turn white Select the desired area which you want to crop Save it to your favorite location.
Read Also:
How to reset screenshot numbering in Windows 11?
How to Change Snipping Tool Save Location in Windows 11?