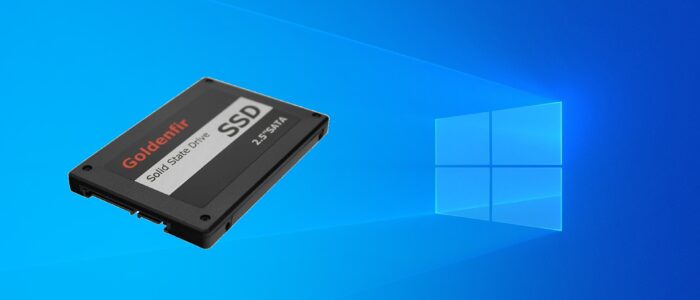
If you are Using SSD then you may heard a feature named TRIM, if you haven’t, then this article will explain What is TRIM and how to enable or Disable the SSD TRIM feature in Windows 10. TRIM is an essential feature for an SSD, it helps SSD to achieve full performance and to last much longer. SSD TRIM is an Advanced Technology Attachment (ATA) command that enables an operating system, to notify an SSD which blocks of data are no longer in use and can be safely wiped out to be writable again. To Know better about this feature, you need to know how the SSD reads and writes data. SSDs read and write data in units known as pages; a typical SSD constitutes 128 pages in a single data block. But before writing any data or program, the entire block of data that is not in use must be erased. This kind of process is known as Garbage Collection, Garbage Collection manages and maintains the available storage space. SSD TRIM is Complementary to garbage collection, it commands the Operating system to notify the SSD which data pages in a particular block can be erased. SSD TRIM manages the storage space efficiently, and it eliminates any unnecessary copying of discarded or invalid data pages during the Garbage collection process. Also, it saves time and improves the performance of the SSD. So it is very important to check the TRIM is enabled or not. In Windows 10 the TRIM feature is enabled by default, in this article we’ll see how to Check and Enable SSD TRIM feature on Windows 10.
Check and Enable SSD TRIM feature on Windows 10:
To check the TRIM feature, you no need to download any specific tool or program, all you need is a Command prompt with admin privileges.
Check TRIM Status:
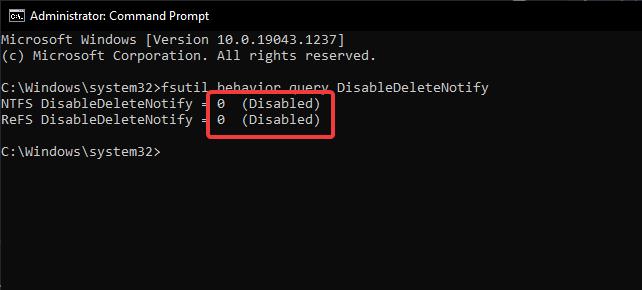
Open Command Prompt in elevated Mode and type the following command.
fsutil behavior query DisableDeleteNotifyThis Command will display the status of the TRIM feature, if the TRIM is enabled, you’ll get 0 and if the TRIM is disabled then you’ll receive 1. If you have SSD on your machine then you’ll receive the output like this DisableDeleteNotify = 0, which means the TRIM feature is enabled, if you get 1, then you need to enable the TRIM manually.
Check TRIM feature Status using TRIM check tool:
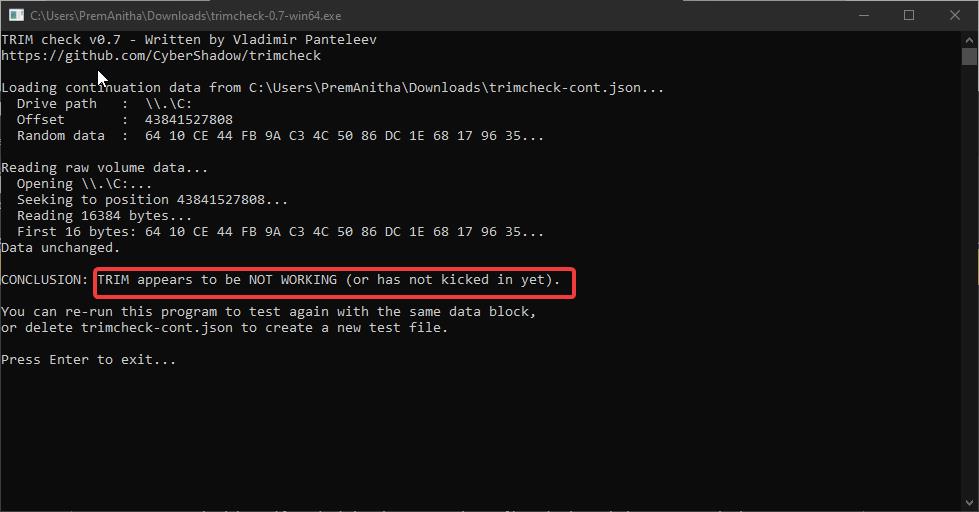
Download the tool from this link and copy-paste the exe file to the drive which you want to check.
Right-click on the Exe and choose Run as Administrator.
After the command execution, hit enter to close the command prompt window.
To see the Result, just open the same application again. For me its showing as TRIM is not Working, because I don’t have SSD on my machine.
Enable TRIM feature:
Once you check the TRIM feature status and if it’s not enabled then follow the below steps to enabled the TRIM feature.
Open the Command Prompt in elevated mode and type the following command and hit enter.
fsutil behavior set DisableDeleteNotify 0This command will enable the TRIM feature immediately.
To Disable the TRIM feature:
Open the Command Prompt in elevated mode and type the following command and hit enter.
fsutil behavior set DisableDeleteNotify 1This command will Disable the TRIM feature immediately.
Read Also:
How to Check Hard Drive RPM in Windows 10?
How to Check SSD speed using Command Prompt in Windows 11/10?

