Have you been experiencing issues with your Microsoft Teams lately? Is it running slow or behaving in an unexpected manner? If so, clearing the cache might just be the solution.
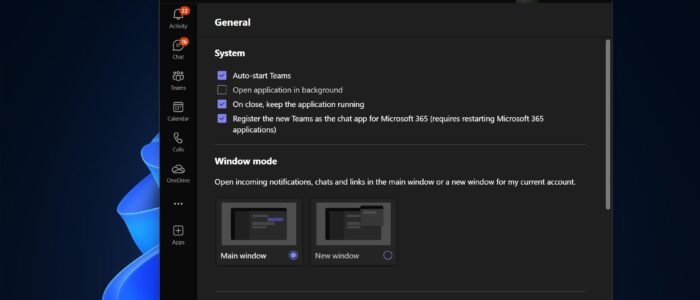
In this comprehensive guide, we will walk you through the process of clearing the cache in the new Microsoft Teams. Recently Microsoft has unveiled a faster and redesigned version of its Microsoft Teams, that has begun rolling out to Windows Users as a preview release. Microsoft announced that the new Teams is twice as fast and consumes 50% less memory and up to 70 % less disk space when compared to the Classic Teams app. By default, you can access the new teams by enabling the Try New Teams toggle button on the classic Teams. You can quickly switch to a new Team by turning on the “Try New Teams” toggle button. Most of the users reported issues in New Teams, if you encounter any issues on New Teams, clearing the Locally stored cache of Microsoft Teams is a viable solution.
Microsoft Teams has become an essential tool for many organizations, enabling seamless collaboration and communication among team members. However, like any software, it can have its fair share of glitches and performance issues. Clearing the cache is a troubleshooting technique that can resolve various problems, such as slow loading, freezing, or display issues.
In the following sections, we will explain why clearing the cache is important and guide you through the step-by-step process of doing it in the new Microsoft Teams interface.
Why Clear Teams Cache?
Clearing the cache in Microsoft Teams can help resolve several issues that you might encounter during your day-to-day usage. Here are a few reasons why clearing the cache is beneficial:
- Improved Performance: Over time, cached files can accumulate and occupy a significant amount of space, causing Teams to run slowly or lag. Clearing the cache frees up this space and can help improve performance.
- Fix Display Issues: If you notice visual abnormalities such as missing images, distorted layouts, or inconsistent fonts, clearing the cache can often resolve these display issues.
- Resolve Authentication Problems: At times, cache files can interfere with the authentication process, causing login failures or unusual sign-in prompts. Clearing the cache can help resolve such authentication issues.
- Resolve Syncing Issues: In case you are experiencing problems with data syncing across devices or platforms, clearing the cache can often rectify these issues and ensure consistent data synchronization.
Now that we understand the importance of clearing the cache, let’s move on to the next section to determine when it is necessary to perform this action.
Step-by-Step Guide: How to Clear Cache in New Microsoft Teams
Follow these simple steps to clear the cache in the new Microsoft Teams interface:
Step 1: Close Microsoft Teams
Before proceeding with clearing the cache, make sure to close the Microsoft Teams application completely. This ensures that all the necessary files are not in use during the cache-clearing process.
Right-click on the Teams icon from the Taskbar and choose “Quit”. Check the System tray and make sure the Teams is closed completely, If you see the Teams icon on the System tray, right-click on it and choose “Quit”.

Step 2: Clear Cache Files
To clear the cache files, follow the below steps:
Press the Windows key on your keyboard, type “Run”, and open the Run command dialog box.
In the Run command dialog box, type “C:\Users\%Username%\AppData\Local\Packages\MicrosoftTeams_8wekyb3d8bbwe” and press Enter. This will open the Teams’ local app data folder.
Inside the Teams folder, select all files and folders by pressing Ctrl + A.

Press the Delete key on your keyboard to delete all the selected files and folders.
A confirmation dialog box will appear. Click on Yes to confirm the deletion.
Note: Clearing the cache files will not delete your chat or call history. It only removes temporary files and helps in resolving performance issues.
Step 3: Launch Microsoft Teams
After completing the cache clearing steps, you can proceed to launch Microsoft Teams. The cache files will be regenerated automatically, and you should experience improved performance and resolved issues.
Clearing the cache in the new Microsoft Teams interface is a straightforward process that can help resolve several performance issues, display anomalies, and authentication problems.


