Shared Folder is a Folder that use virtualization software to access files on your local machine, Shared Folder allows you to share a File to a group of people who have access to the Shared Folder, If you are working in a corporate company then you already aware of how to access the shared folder and how to give permission to the other users, In Most of the Organizations Share Folder is created by a team member so that the other users from the same team can access the files with their user credentials. Sometimes while accessing shared folder, you may feel slowness or the contents of the folder might be corrupted. Mostly this issue occurs due to the corrupted shared folder cache. The main purpose of caching is to store data in the local cache and serve the data faster when requires. So clearing the cache will fix the issue with Shared folder. This article will guide you to Clear Mapped Shared Folder Cache in Windows 10.
Clear Mapped Shared Folder Cache:
In this article we are going to use three different methods to clear mapped shared folder cache.
Clear Mapped Shared Folder cache using Registry:
Note: Modifying the Registry is risky, and it causes irreversible damage to your OS Installation Follow the steps correctly. Friendly advice Before Modifying Registry Creating Restore Point is recommended.
Open the Run command by pressing Windows + R and type Regedit and hit enter. This command will open the registry editor.
Now Navigate to the following path.
HKEY_CURRENT_USER\Software\Microsoft\Windows\CurrentVersion\Explorer\MountPoints2Expand the MountPoints2 Registry key and right-click on the sub-registry key and choose delete.

Next, navigate to the following path.
HKEY_CURRENT_USER\Network
And from the left-hand side, expand the Network registry key and right-click on the shared folder drive letter, and choose delete.

This registry key exactly resembles the mapped shared folder, deleting this registry key will delete all the cache of the shared folder.
Using Command Prompt:
Open Command prompt in elevated mode and type the following command and hit enter.
.net use H: /delete
Here H: represents the shared folder drive letter, this command will delete or remove all the active connections on a local computer. Wait for the successful message to appear.
Remove a Network Location by deleting its shortcut:
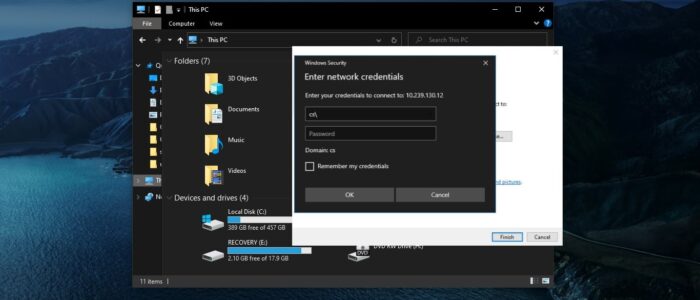
Open File Explorer by pressing Windows + E and click on This PC from the left pane. Now you’ll see the list of all mapped shared folders.
To clear the shared folder cache, right-click on the shared folder and choose Disconnect and connect it back.
Read Also:
Reset File and Folder Permission to default in Windows 10