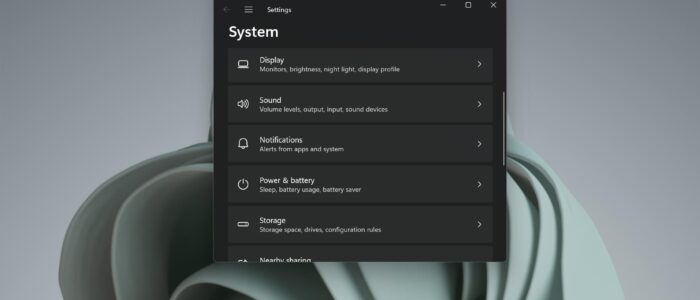
In Windows 11 Settings app is the place where you can customize and configure the Operating system. The settings app is introduced in Windows 8, and it intends to replace the existing Control Panel. The settings app provides access to the main configuration options and settings for a user’s PC. Like the control panel, the Windows Settings app contains a lot of configuration and customization options, like you can install devices, change the keyboard language, change the desktop wallpaper, configure privacy settings, etc., In Windows 10 the Windows Settings app name was renamed to settings, and added more options to the settings app. And Microsoft made the settings app as a Universal Windows app, which is supported for smartphones and Tablet computers. In Windows 11 the settings app got a lot of improvements and significant visual redesign. The new Windows Settings app got a new layout, greater translucency, and refreshed icons. The settings app has become the heart of the Windows Operating system. Like other inbuilt apps settings app is a UWP app that is pre-installed with Windows 10/11 operating systems. For security reasons, if you want to Disable the settings app, then this article will guide you to Disable Windows Settings app in Windows 11.
Disable Settings app in Windows 11:
In Windows you can disable the Settings app using two different methods, the following methods will also restrict users to access the Control panel.
Method 1: Using Registry Editor:
Open Run command by pressing Windows + R and type Regedit and hit enter, this command will open the Registry Editor console.
Now navigate to the following registry path.
Computer\HKEY_CURRENT_USER\Software\Microsoft\Windows\CurrentVersion\Policies\ExplorerFrom the left-hand side click on Explorer, and from the right-hand side right click on an empty area and choose New > DWORD (32-bit) Value, name the DWORD as NoControlPanel.
Double-click on NoControlPanel DWORD and modify the value data as 1 and click on OK.

This will disable the Settings app, Close the Registry editor and restart the system once.
If you want to enable the settings app back again, then follow the same steps and modify the value data as 0, and click on OK.
Method 2: Using Group Policy Editor:
Open Run command by pressing Windows + R and type gpedit.msc and hit enter, this command will open Registry Editor console.
Now navigate to the following path.
User Configuration > Administrative Templates > Control Panel.
From the left-hand side click on the Control Panel policy folder and from the right-hand side look for the policy named Prohibit access to Control Panel and PC settings.

Double-click on the “Prohibit access to Control Panel and PC settings” policy and choose Enabled.

Click on Apply and OK, open the command prompt, and type gpupdate /force, once the policy updated successfully, restart the system.