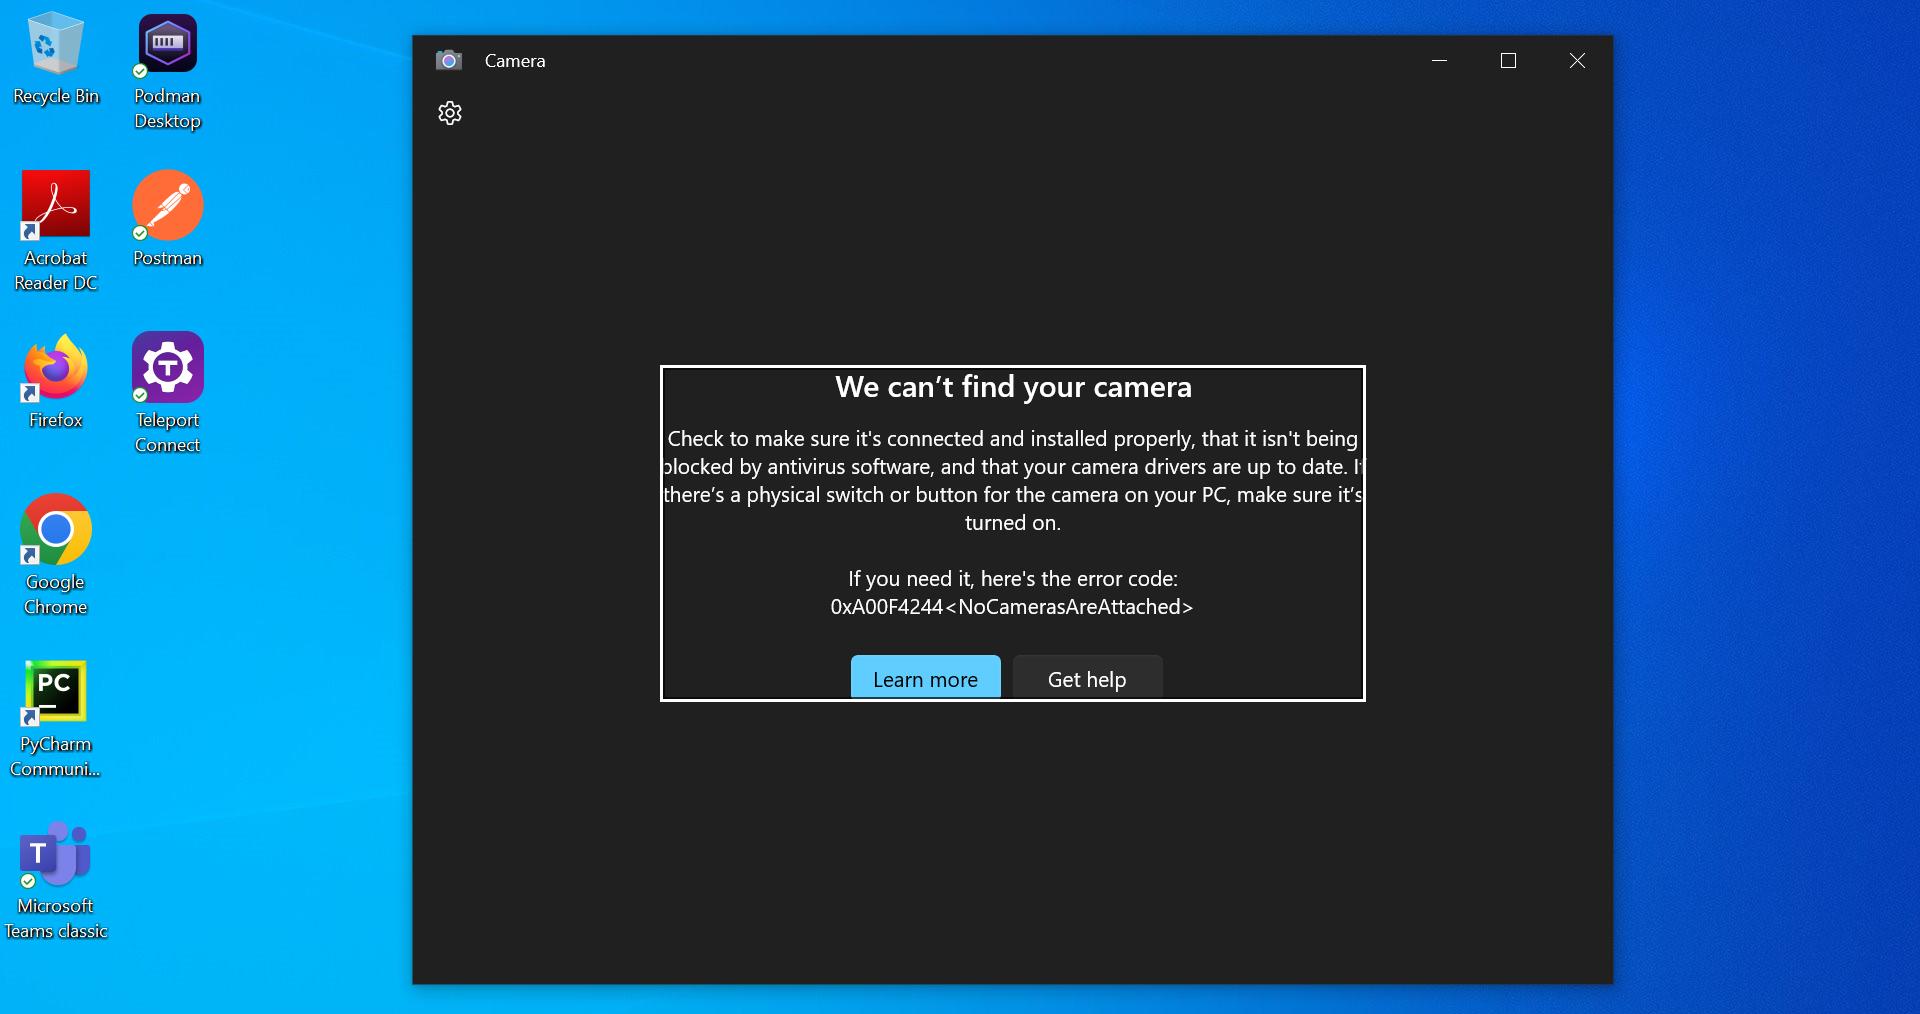
In Windows 11 and Windows 10, if you encounter any issues with a specific app, re-registering that particular app can help resolve various problems related to it. Re-registering an app in Windows 11, as well as in previous versions like Windows 10, involves the process of resetting or reconfiguring an application’s settings and its associations with the Windows operating system. This action can be taken for a variety of reasons, such as when an app isn’t functioning correctly, becomes unresponsive, or fails to launch as expected. When you re-register an app, Windows essentially restores the app to its default settings and re-establishes its connections with system components and file associations. In this article, we are going to see how to Re-register a Specific App in Windows 11/10.
Re-register a Specific App in Windows 11/10:
In Windows 11/10 we can re-register all Windows apps at once using a single command, if you are facing an issue while launching store apps then you can reset all apps at once. But this guide will only focus on re-registering a specific app in Windows 11/10.
Open PowerShell in elevated mode, then first you need to note down the app package name, the name of the app.
Type the following command in the PowerShell window to list out all installed Windows apps.
Get-AppxPackageThis command will list all installed Windows apps, here you can see the PackageFullName and note down the PackageFullName for the specific app, which you want to re-register.
If you are facing difficulties in finding the app then you can use the following command.
Get-AppxPackage | Where-Object { $_.Name -like "*PartialAppName*" }This command will filter out the specific app, you have to replace PartialAppName with the actual name of the app. For example:
Get-AppxPackage | Where-Object { $_.Name -like "*Teams*" }
Once you note down the PackageFullName, then apply it in the following command.
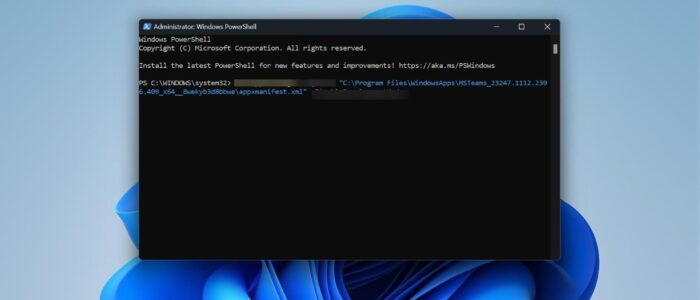
Add-AppxPackage -register "C:\Program Files\WindowsApps\<PackageFullName>\appxmanifest.xml" -DisableDevelopmentModeReplace the <PackageFullName> with the actual name of the package the actual command would look like this.
Add-AppxPackage -register "C:\Program Files\WindowsApps\MSTeams_23247.1112.2396.409_x64__8wekyb3d8bbwe\appxmanifest.xml" -DisableDevelopmentModeExecute the command, you’ll see the progress bar. That’s it you have successfully re-registered a specific app.
Read Also:
How to Re-register Windows Update Components in Windows 11/10?

