In Windows, you can take screenshots in different ways, like by using the inbuilt screen capturing app (Snipping tool), Print screen button, or by using any Third-Party apps. So, whenever you take the screenshot immediately the picture will store in a specific location, the location will differ based on the app you use to take screenshots. For example, if you are using any third-party apps to take screenshots, then the picture will store in a specific location that is already configured on the app. You can change this location by configuring or changing the storage location from the app. If you are using the PrtScn key to take the screenshot then the picture will store in the following location by default. C:\Users\%username%\Pictures
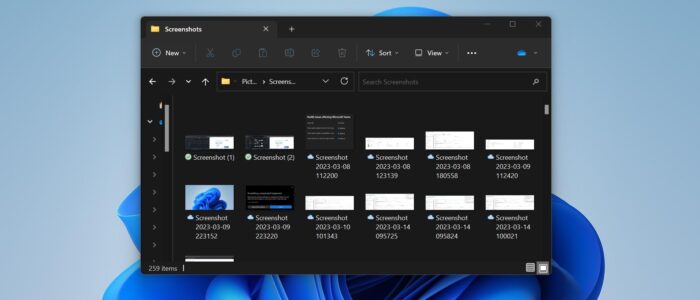
Pressing Print Screen or (Windows + PrtScn) captures an image of your entire screen and automatically saves a screenshot to the above-mentioned location. These screenshots will be named automatically like Screenshot(1), Screenshot(2), Screenshot(3), etc. These index values are stored in the registry, so even if you delete any Screenshot the index number value won’t change and it will start from the last Screenshot index value. For Example, if you delete Screenshot(3), and again take a screenshot, windows will continue to name them from the last number onward, Screenshot(4), this would be the same even if you delete all the screenshots. To resolve this issue, we need to reset the Screenshot counter, this article will guide you to reset screenshot numbering in Windows 11.
Reset screenshot numbering in Windows 11:
Open Run command by pressing Windows + R and type regedit and hit enter, this command will open the Registry Editor Console.
Now navigate to the following registry path
HKEY_CURRENT_USER\Software\Microsoft\Windows\CurrentVersion\ExplorerFrom the left-hand side click on the Explorer Registry key and from the right-hand side look for the DWORD named ScreenshotIndex.
Double-click on the ScreenshotIndex registry value and modify the value data, you can see the last index number, to reset the Index value, just enter 1, so the Index value will start from 1.

Click on OK and close the registry editor, restart your system once.
Read Also:
How to Change the Default PrtScn Screenshots location in Windows 11?
How to allow or prevent apps to Take Screenshots in Windows 10?