In Windows, you can take the screenshots in different ways, like by using the inbuilt screen capturing app (Snipping tool), Print screen button, or by using any Third-Party apps. So, whenever you take the screenshot immediately the picture will store in a specific location, the location will differ based on the app you use to take screenshots. For example, if you are using any third-party apps to take screenshots, then the picture will store in a specific location that is already configured on the app. You can change this location by configuring or changing the storage location from the app. If you are using the PrtScn key to take the screenshot then the picture will store in the following location by default.
C:\Users\%username%\Pictures
Pressing Print Screen or (Windows + PrtScn) captures an image of your entire screen and copies it to the clipboard in your computer’s memory. Latter you can paste the image into a document, email, or MS paint to edit the image. Print Screen is a very useful feature that helps users to capture any screen frame for their reference. This article will guide you to Change the Default PrtScn Screenshots location in Windows 11.
Related: How to Enable Sound Alert for PrintScreen Key in Windows 10?
Change the Default PrtScn Screenshots location:
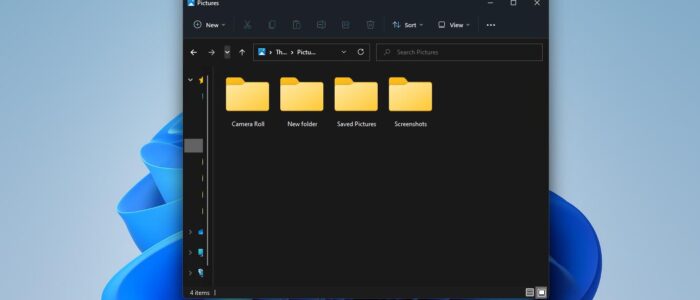
First, open the Print screenshots folder location, you can open the default location by navigating to the following path.
C:\Users\%username%\Pictures\Screenshots
If you don’t have a screenshots folder, then it might be because you haven’t taken any screenshots using PrintScreen or by pressing Windows + PrtScrn yet.
If you see the screenshots folder then follow the steps below to change the default location of the print screen.
Right-click on the Screenshots folder and choose “Properties”.

Under the Properties window, click on the Location tab, and under the location click on the Move button.

Next browse to your new folder and choose Select Folder. You can choose any folder from the same or different partition. Or you can create a new separate folder.
Press Apply, now you will get a confirmation pop-up to move all your files, click on Yes and proceed.

Next you will get another confirmation pop up click on Yes to redirect all screenshots to your new screenshot save location.

Click on OK in print screen folder properties.
That’s it you have successfully moved the Default Print screen location.
Read Also:
How to reset screenshot numbering in Windows 11?