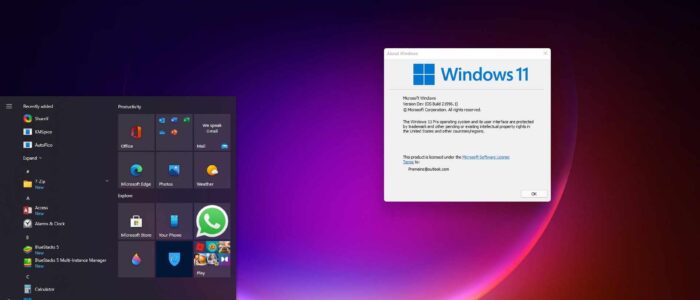
Recently Windows 11 leaked version gives us an early look of Microsoft’s next-generation Operating system. The Leaked Windows 11 21996 build has a lot of new features and the immersive cool User Interface, it has the New start menu, Centered taskbar, rounded corners, cool animation, new wallpapers. And another noticeable feature of Windows 11 is the new boot logo and start menu logo. Many users already downloaded this leaked Windows 11 21996 build and installed it on their PC. The most obvious new feature in Windows 11 is the floating and centered Start Menu and the Centered Taskbar. This redesigned Taskbar and the Start Menu is a completely new interface for most of the users. And users clearly not ready to adapt to this completely new interface, many users are well familiar with the old Windows 10 start menu. And users cant adapt to the sudden change in the new start menu interface. If you are using Windows 11 and willing to switch to the old Windows 10 start menu then this article will guide you to Switch back to Windows 10 start menu in Windows 11 using Registry Editor.
Switch back to Windows 10 start menu in Windows 11:
As for now, we have to rely on registry editor tweak to bring back the old windows 10 start menu with Live Tiles. There is no direct option to switch between these two Start menu, but we could expect Microsoft will add a toggle button or any option in the settings app to make this process straightforward and simpler.
Use Registry Editor to Switch Back to old Windows 10 Start Menu:
Note: Modifying the Registry is risky, and it causes irreversible damage to your OS Installation Follow the steps correctly. Friendly advice Before Modifying Registry Creating Restore Point is recommended.
Open the Run command by pressing Windows + R and type Regedit and hit enter, this command will open the Registry Editor.
Now navigate to the following path
HKEY_CURRENT_USER\Software\Microsoft\Windows\CurrentVersion\Explorer\AdvancedFrom the left-hand side, right-click on the Advanced Registry key and Choose New > DWORD (32-bit) Value, and name it as “Start_ShowClassicMode”.
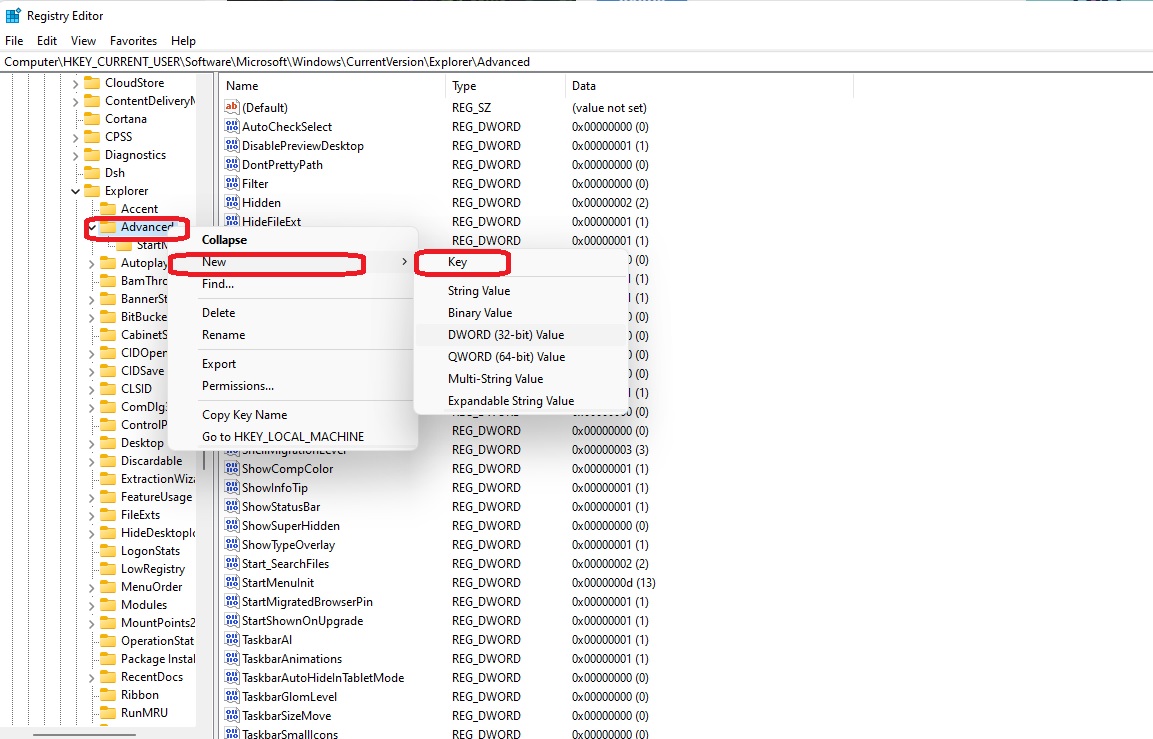
Double click on the “Start_ShowClassicMode” and change the Value Data to 1 and click on OK.

Now Close the Registry Editor and Restart the system Once. After the restart, you will get the Old Windows 10 start menu with the Live Tiles. But this start menu will be still located at the center of the Taskbar.
Move the Taskbar to the Left:
By default, in Windows 11 the Taskbar will be located at the Center of the Taskbar, and if you want you can change the location easily using the Windows Settings app.
Open the Windows Settings app by Pressing Windows + I and Choose Personalization.
Under Personalization from the left-hand side click on the Taskbar, under Taskbar settings, you can see the Taskbar alignment option.
Click on the Taskbar alignment drop-down menu and choose left. That’s it the Taskbar will be automatically moved to the left.

Now you can see the Old Windows 10 Start menu and the Taskbar.
Read: How to Fix this PC can’t run Windows 11?
Recent Post: How to Convert Teams Chats to Microsoft To-Do Tasks?