In Windows 11/10 Wifi will connect automatically once you save your Wifi network, also there is an option named “Connect Automatically”, checking this option will Connect to wifi whenever you are in wifi range. Sometimes your device fails to connect to Wi-Fi automatically. In this blog post, we will explore the common reasons why Wi-Fi doesn’t connect automatically in Windows and provide step-by-step solutions to fix this issue.
Why Does Wi-Fi Not Connect Automatically?
Before we dive into the solutions, let’s understand some of the possible reasons why Wi-Fi doesn’t connect automatically:
- Outdated network drivers
- Incorrect Password
- Power-saving settings
- Incorrect network settings
- Network interference
- Software conflicts
- Network card issues
Troubleshoot and Fix Wi-Fi Not Connecting Automatically:
Once you receive this issue, first make sure you are entering the correct password for your Wifi network, sometimes incorrect wifi password may cause this issue. If you still receiving the same error after entering the correct password, follow the below-mentioned resolution methods to fix Wi-Fi Not Connecting Automatically issue in Windows 11.
Solution 1: Change Your Wi-Fi Password
As i mentioned before, an outdated password can cause this kind of issue, to resolve this, check your wifi password and update your wifi password.
Open Windows Settings by pressing “Windows + I” and from the left-hand side click on “Network & Internet”, and from the right-hand side, click on the Wi-Fi option.

Then click on Manage Known networks.

Under Manage Known networks, Choose the Wi-Fi network that you want to remove and Click on Forget.

Next, Disable the Wi-Fi enable back, then connect to the same network by entering the Updated credentials, Check the “Connect automatically” option. Check if this resolves the issue or not, if not, proceed with the further resolution methods.
Solution 2: Turn on the Automatically Connect option
Open Windows Settings by pressing “Windows + I” and from the left-hand side click on “Network & Internet”, and from the right-hand side, click on the Wi-Fi option.
Then click on Manage Known networks.
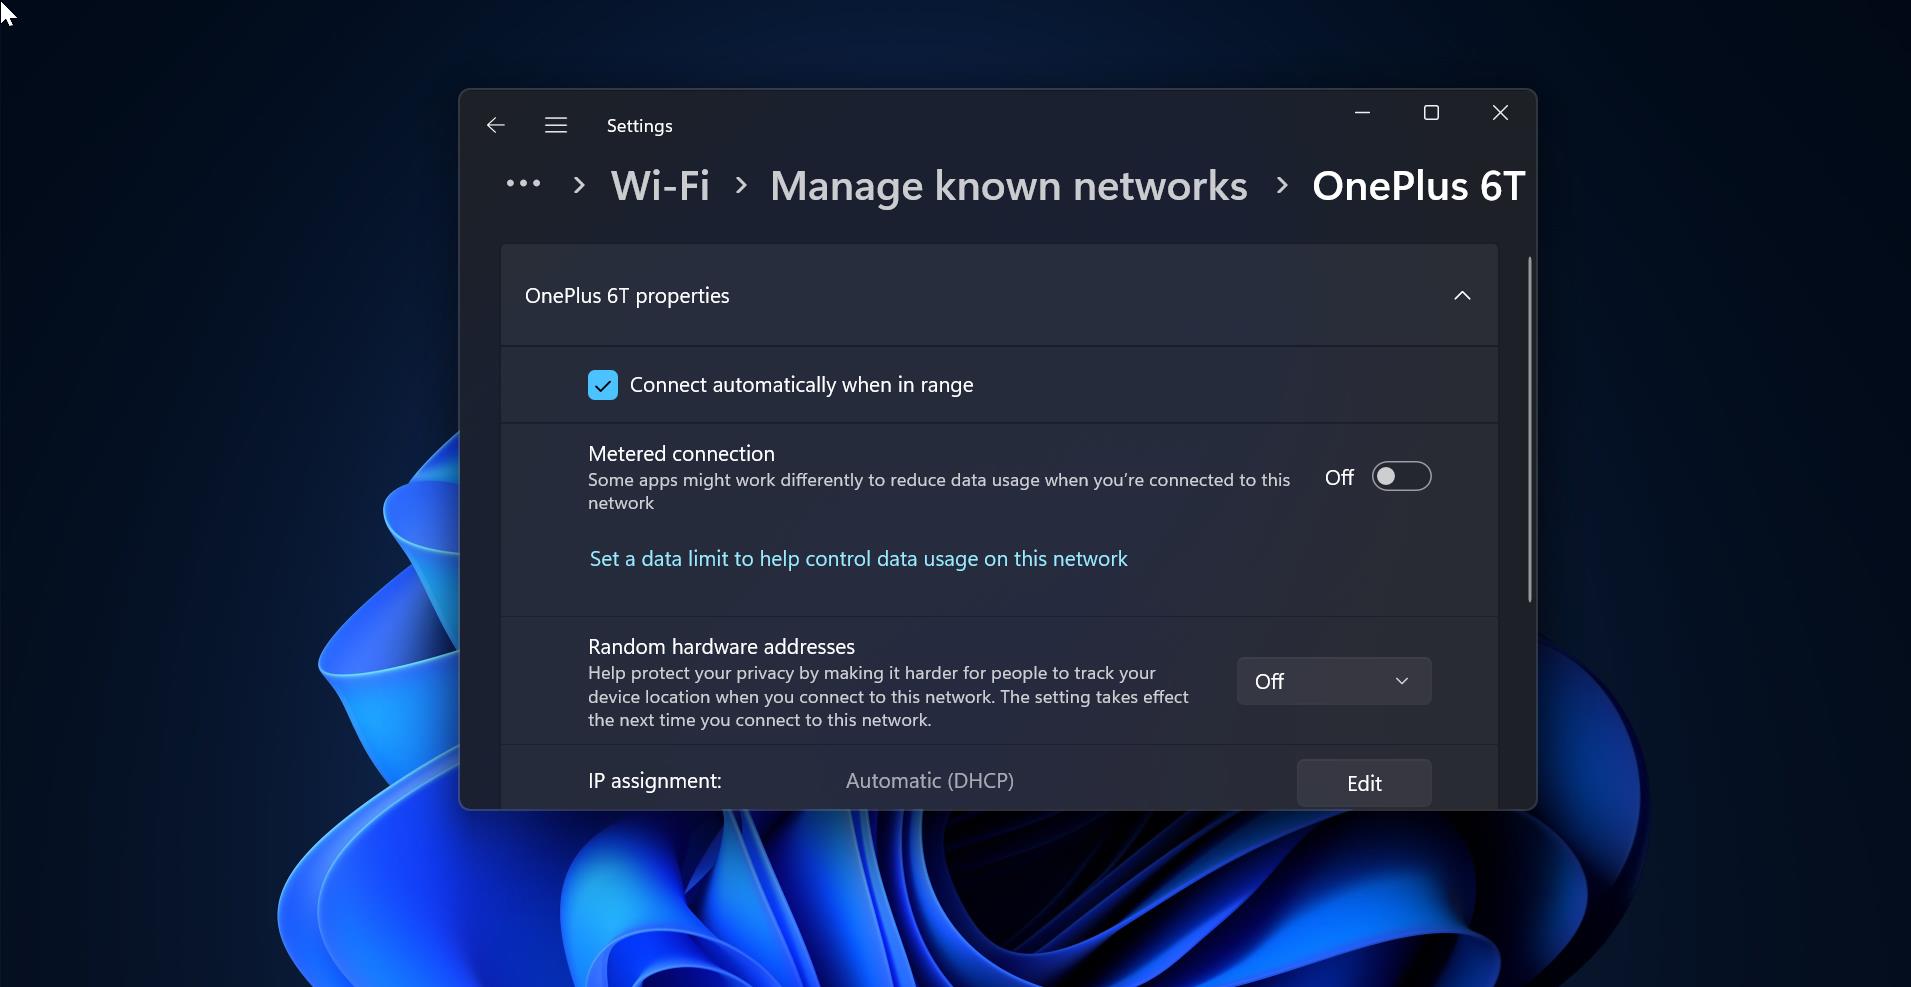
Under Manage Known networks, Choose the Wi-Fi network that you want to Connect.
Check the “Connect automatically when in range” option.

Restart the system to save the change and whether the issue resolved or not.
Solution 3: Update Your Network Drivers
Outdated or incompatible network drivers can prevent your device from automatically connecting to Wi-Fi. To update your network drivers:
Search for “Device Manager” in the Windows search bar or open it from the Control Panel.
Expand the “Network Adapters” category.
Right-click on your Wi-Fi adapter and select “Update driver.”

Choose “Search automatically for updated driver software” and follow the on-screen instructions to complete the update.

Directly visit your laptop manufacturer’s Official Website, download the suitable drivers, Install the drivers, and restart the system once.
Solution 4: Adjust Power-Saving Settings
Power-saving settings can sometimes interfere with automatic Wi-Fi connections. To adjust the power-saving settings:
Search for “Device Manager” in the Windows search bar or open it from the Control Panel.
Expand the “Network Adapters” category.
Right-click on your network adapter and choose “Properties”.
Under Wifi adapter properties, click on “Power Management” tab.
Uncheck “Allow the computer to turn off this device to save power”.

Click on OK and close the registry editor.
Note: If you are not able to see the Power Management tab under Network Adapter properties, follow this guide to Enable the Power Management tab in the device manager.
Solution 5: Reset Network using Windows Settings:
Open Windows settings by pressing Windows + I and from the left-hand side click on Network & internet, and from the right-hand side pane look for Advanced network settings.
Click on Advanced network settings, and under the More settings section click on Network reset.

Under Network reset click on the Reset Now option, this will remove and reinstall all your network adapters, and set other networking components back to their original settings.

Note: If you configured other network software such as VPN client software or virtual switches then you have to reconfigure after the Network Reset.
Having to manually connect to Wi-Fi networks every time can be an inconvenience, but with the troubleshooting steps provided in this guide, you should be able to fix the issue of Wi-Fi not connecting automatically.
Read Also:
Fix Wifi icon missing from Windows Taskbar