MsWord is one of the best document editor, most of them use MS office as a default editor for creating documents and editing documents. In old days when we try to edit any document or create a new document we put our lot of work and effort to make it worthwhile, But sometimes we may face a situation like before saving this document suddenly the system will get shut down or the office will get crash. It’s happened to all of us. Hours of work were lost because we forgot to save our work. Now Microsoft introduced the Autosave option in MS office 2016. AutoSave is a new feature included in the July 2017 update (version 1707 build 8236.xxxx) for Office 365 subscribers. Included in Excel 2016 and PowerPoint 2016, the new AutoSave feature not only saves your document every few seconds, depending on what you’re doing, but it also uses a simple UI to go back through previous versions of files. In this article, we are going to see how to enable or disable autosave option and how to change Auto-Save Time interval in MS Office apps.
How to Turn On or Off Auto-Save Option in MS office?
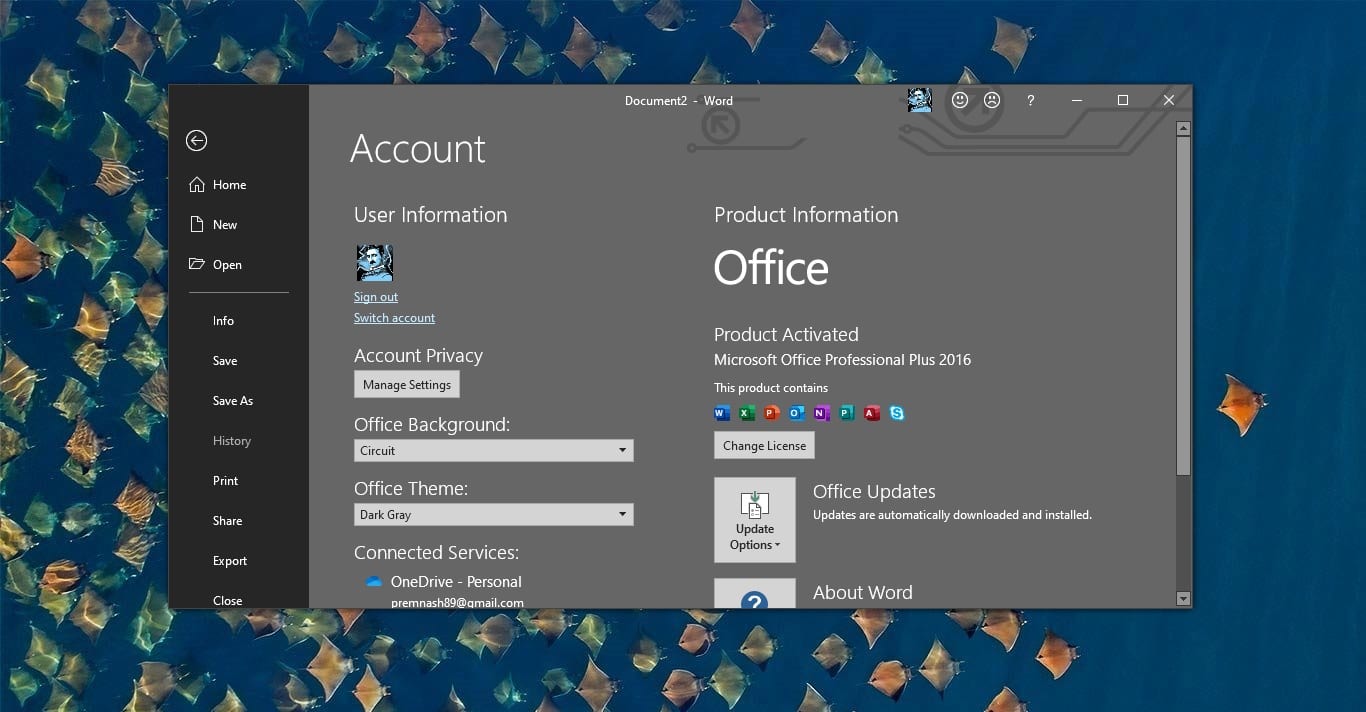
Auto-save is the safest option. Disabling Autosave is not a good idea. To Turn off the Auto-save Option just follow the below-mentioned steps. Open the word, excel, or PowerPoint which you want to disable the Auto-save. Go to–>File–>Options.
Once you clicked the option you will get the separate Option pop-up window. In that search for the save option and click on it. In save, Option uncheck the save auto recover information_mins. Now the autosave feature will be permanently disabled.

You can enable this Option by doing the same steps again and check the save auto recover information.
How to Change Auto-Save Time interval?
Changing the autosave interval to lesser minutes is a good idea when you are creating a new document. To Change Auto-Save Time Interval follow the below-mentioned steps.
Open the word, excel, or PowerPoint which you want to disable the Auto-save. Go to–>File –>Options.
Once you clicked the option you will get the separate Option pop-up window. In that search for the save option and click on it. In the save Option check the save auto recover information_mins to 5 – 10 mins. And click on save.

This procedure is the same for all the apps in the Office Suite for Windows. No matter if it is the 2016 release, 2013 release, or 2010 release, this tutorial works just fine. We tested this tutorial working with Word 2016, Excel 2016, PowerPoint 2016, and Access 2016. Hence, we are pretty sure that it will work just fine with other applications of the Office suite like Project 2016, Visio 2016, and more.
Read Also: How to Install OpenOffice on Windows 10?