Windows' recent build is more suitable for developers, It contains a lot of features like Integrated WSL. Microsoft already announces that it's going to integrate OpenSSH in the windows 10 platform, Now it was released but it’s a beta version. So how to enable it.
Table of Contents
ToggleWhat is OpenSSH?
Short for Open Secure Shell, OpenSSH is a free suite of tools (similar to the SSH connectivity tools) that help secure your network connections. It encrypts all traffic (including passwords) to effectively eliminate eavesdropping, connection hijacking, and other network-level attacks.
The OpenSSH suite includes the ssh program that replaces rlogin and telnet, and scp which replaces rcp and ftp. OpenSSH has also added sftp and sftp-server which implement an easier solution for file-transfer. OpenSSH comes in two downloadable distributions: the native OpenBSD distribution and the multi-platform portable distribution. OpenSSH is developed by the OpenBSD Project.
How to Enable Open SSH in Windows 10 (1709)?
First, check the windows version, Go to windows Run the command by pressing Windows + R and type WinVer and hit enter.
If your system is not above the 1709 version, Kindly Upgrade it to 1709.
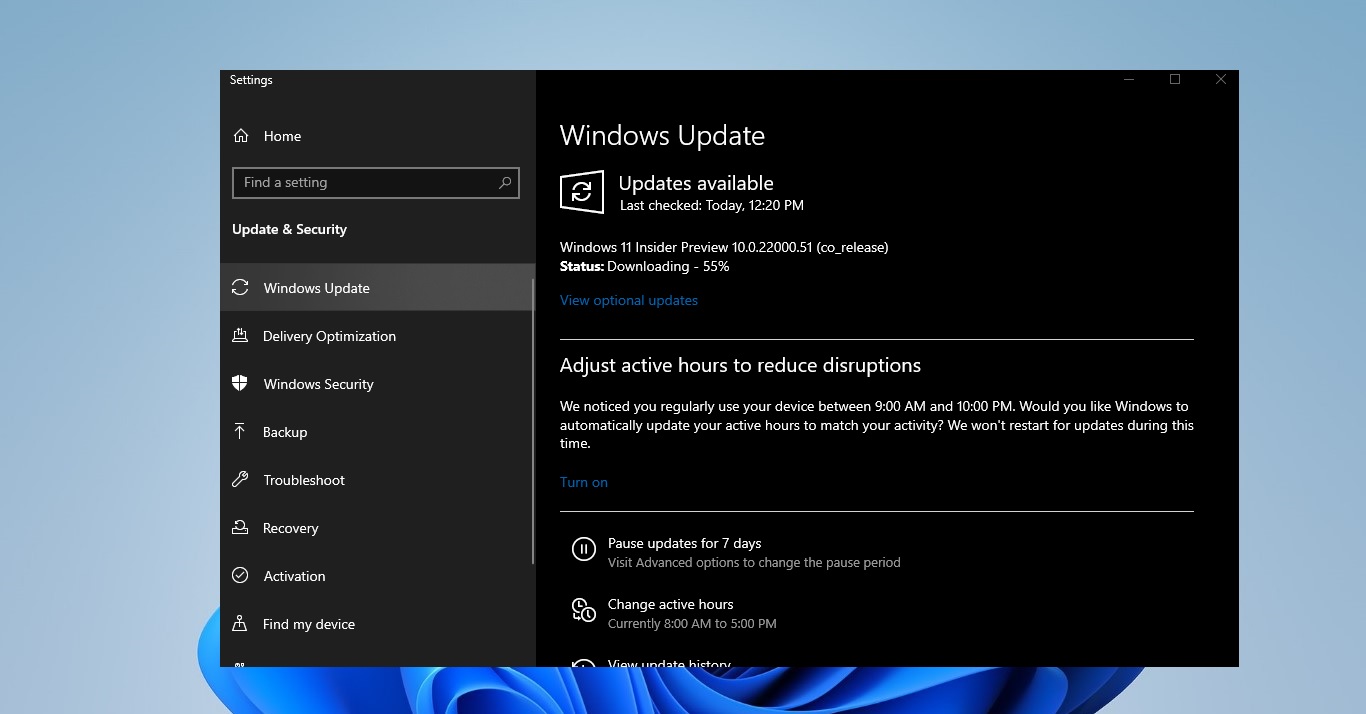
First Enroll for the windows insider program to get the fast upgrade.
Once your system is upgraded or if you're already in windows fall creators update then you are good to go.
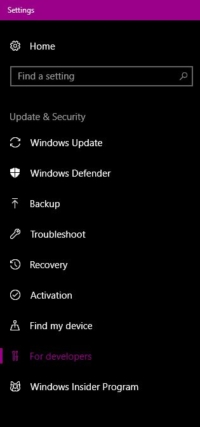
Go to the Cortana search bar and search for windows update settings. Open windows update settings and check for developers' option, click on it, and enable the developer mode.
Click on apply and restart the system once.
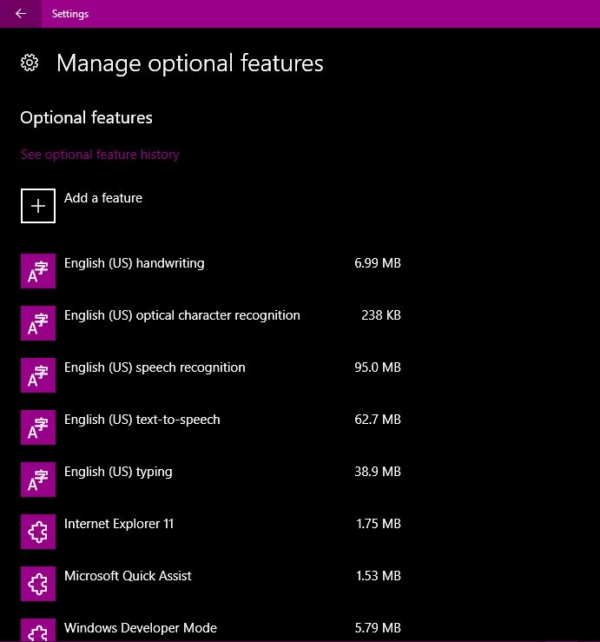
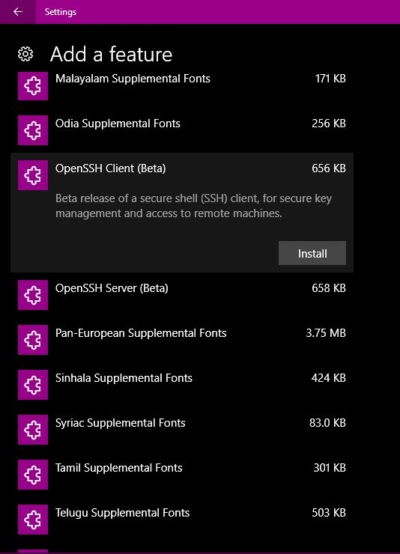
Now again search for manage optional features in the Cortana search bar. Click and open it, now you’ll be able to spot the + button in the above Setting with the text Add a feature. This will open a new screen with available new features. You need to scroll below to find OpenSSH Client and OpenSSH Server. Select the desired package and click Install. This will continue the installation in the background. Once finished, restart your PC.
After the installation is completed, open the command prompt and start using OpenSSH client. To do so, type ssh and hit enter. This will show the following result. Now, feel free to use it on your PC.
Read Also:
How to Install and Use OpenSSH Server in Windows 11?
How to Install OpenSSH server in Windows 10/11?


