OpenSSH is abbreviated for Open Secure Shell, OpenSSH is a free suite of tools (similar to the SSH connectivity tools) that help secure your network connections. It encrypts all traffic (including passwords) to effectively eliminate eavesdropping, connection hijacking, and other network-level attacks. The OpenSSH suite includes the SSH program that replaces rlogin and telnet and SCP which replaces RCP and FTP. OpenSSH has also added sftp and sftp-server which implement an easier solution for file transfer. OpenSSH comes in two downloadable distributions: the native OpenBSD distribution and the multi-platform portable distribution. OpenSSH is developed by the OpenBSD Project. Using OpenSSH you can establish a secure connection between and server and the client. And you can access the server by using a command-line interface. In Windows 10/11 you can install the OpenSSH server from the Optional features, this article will guide you to Install OpenSSH server in Windows 10/11.
Install OpenSSH server using Optional Features:
Open Windows Settings by pressing Windows + I and from the left-hand side click on the Apps and from the right-hand side choose Optional Features.

Under Optional features, click on Add an optional feature and search for OpenSSH.

Now you’ll get the OpenSSH server, tick the Optional feature and click on Next.
Click on Install, and wait till the installation completes.
Using PowerShell:
Open Windows PowerShell in elevated mode, Search for Windows PowerShell, right-click on it and choose Run as Administrator.
Next Copy-paste the following command to Install the OpenSSH server.
Add-WindowsCapability -Online -Name OpenSSH.Server~~~~0.0.1.0
This command will install the OpenSSH server, and let the command to execute fully.
Use the following command to install OpenSSH client.
Add-WindowsCapability -Online -Name OpenSSH.Client~~~~0.0.1.0This command will install SSH client.
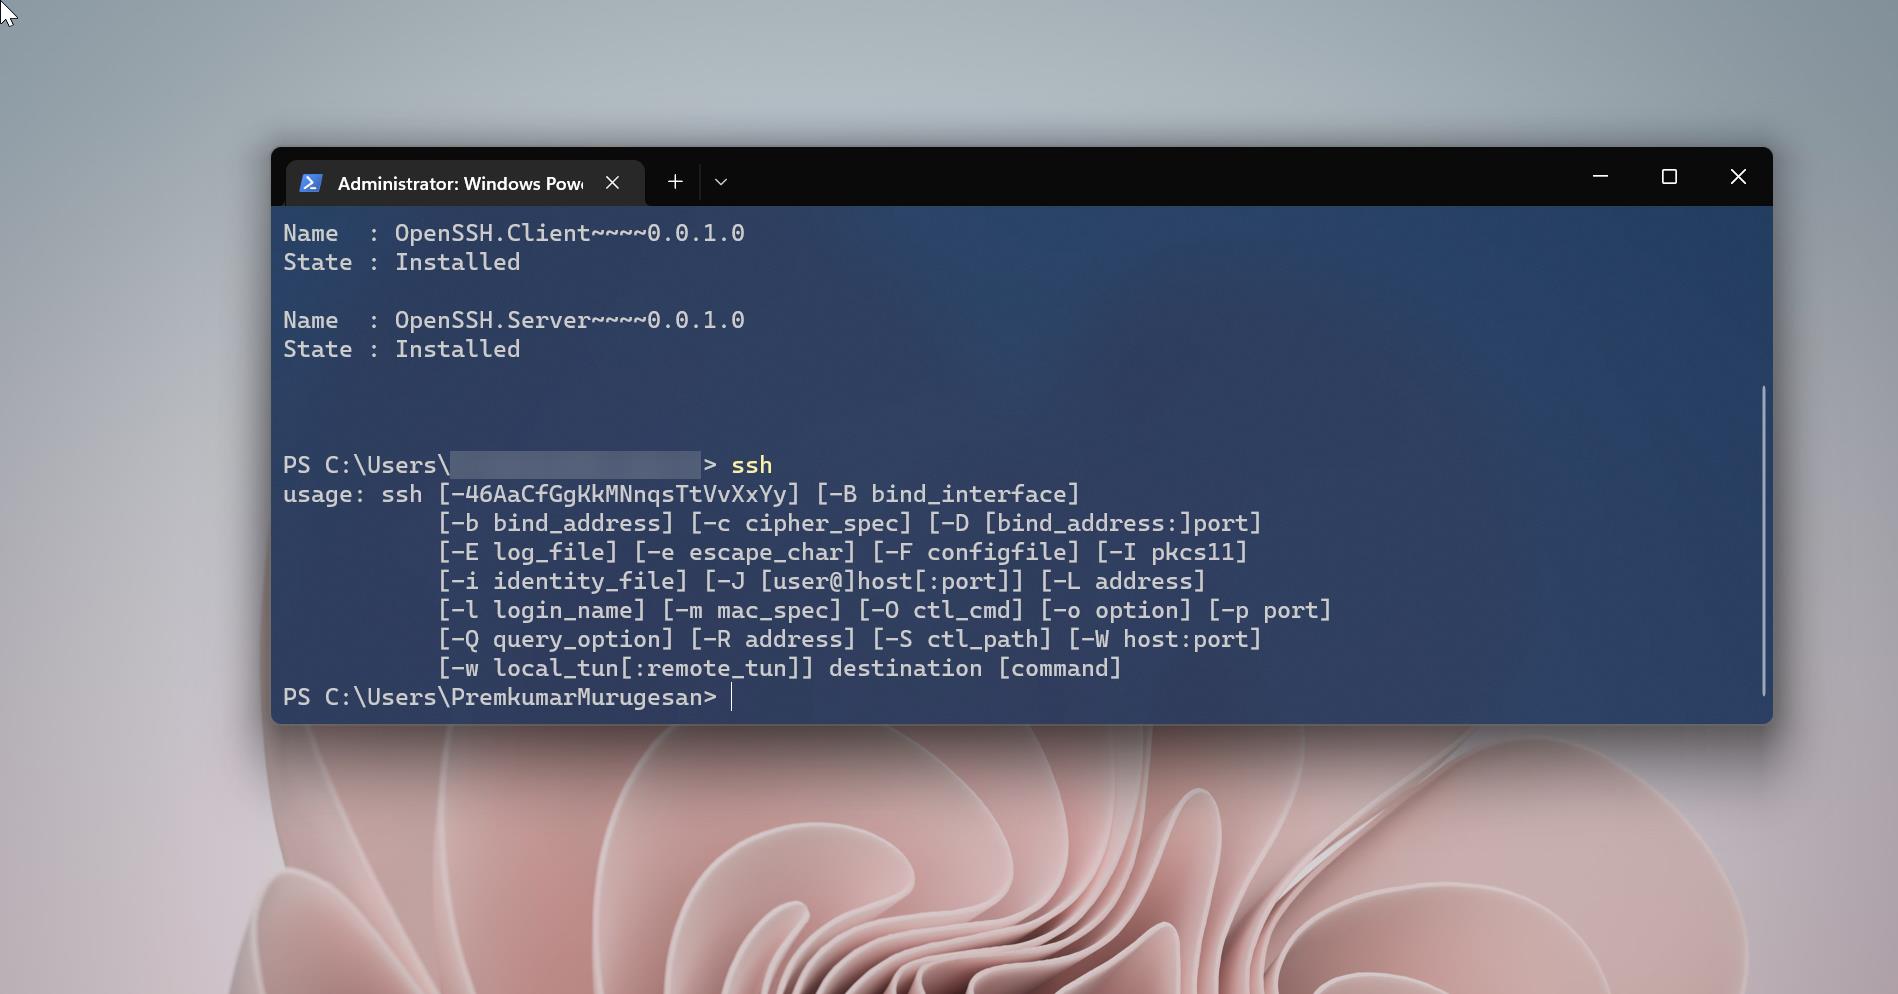
To verify the OpenSSH installation status use the following command, this command will show the SSH installed or not on your system.
Get-WindowsCapability -Online | Where-Object Name -like 'OpenSSH*'
Enable OpenSSH:
Once you installed the OpenSSH, then it’s not enabled by default, you need to enable the OpenSSH to use it. Follow the below-mentioned steps to enable the OpenSSH.
Open Run command by pressing Windows + R and type Services.msc and hit enter. This command will open the Service Management Console.
Next, look for OpenSSH Server and Start the Service.

This will enable the OpenSSH in Windows, now you can access the OpenSSH using the command prompt.
Check here to How to use OpenSSH in Windows 11.
How to Add or Remove Optional Features using Windows PowerShell?